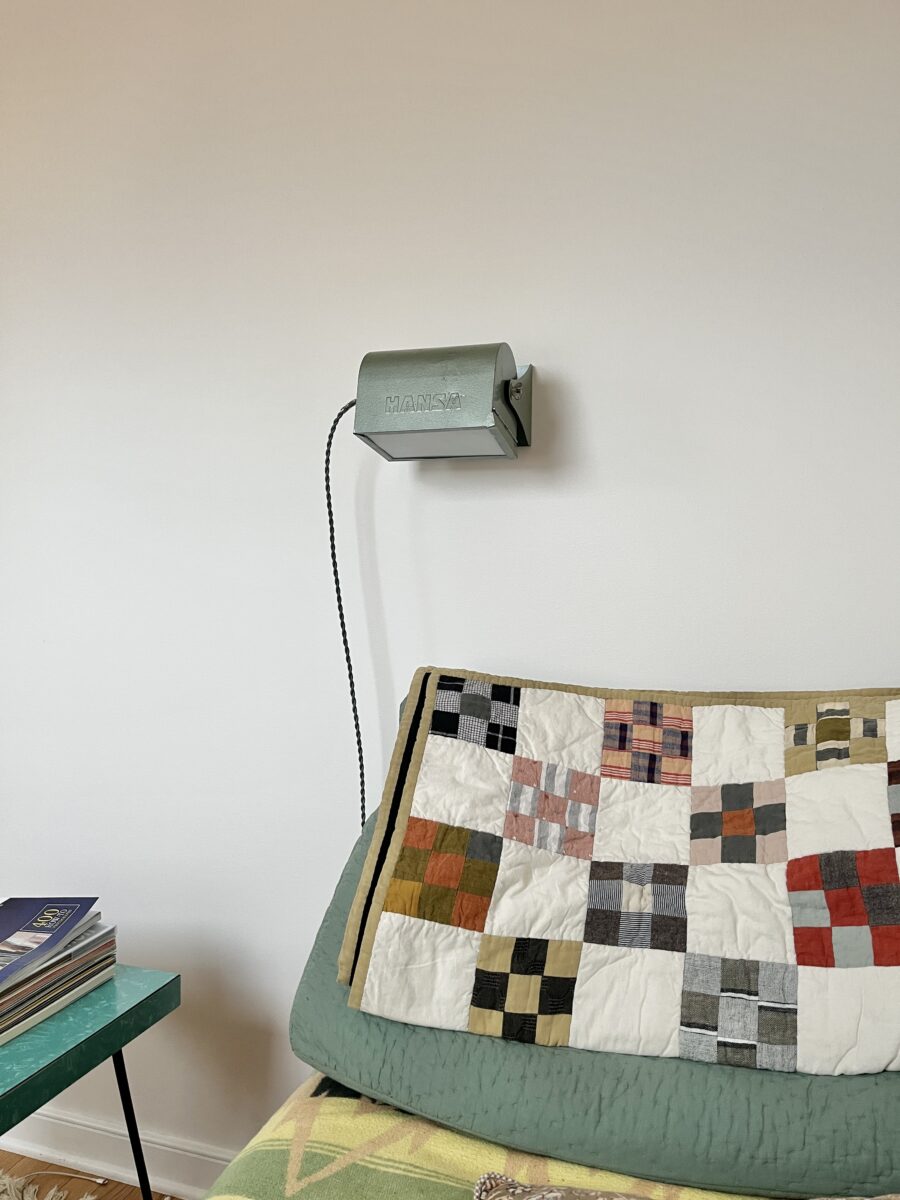
I started using Instagram like anyone else – posting food and scenes from daily life. It was used infrequently and I mainly followed a very small group of people, all of which I knew in real life.
Then I started sewing. Instagram became a huge source of inspiration and information. It was a place to socialize with other sewists, find indie patternmakers, see inventory of local fabric shops, be inspired by hacks, and learn what fit adjustments worked for others. It was great. And I was hooked… but it felt positive.
There were a lot of reasons I decided to deactivate my account, but the main one was all the couch rotting I was doing with it. I am all for resting, but I wasn’t even looking at things I cared about. My entire feed was ads and people I wasn’t following and yet, I was still on it all the time. When presented with time that could be spent doing anything pleasurable, I’d opt to open the app instead. Sure, I could have deleted it (and I did) but I always found some way to scroll.
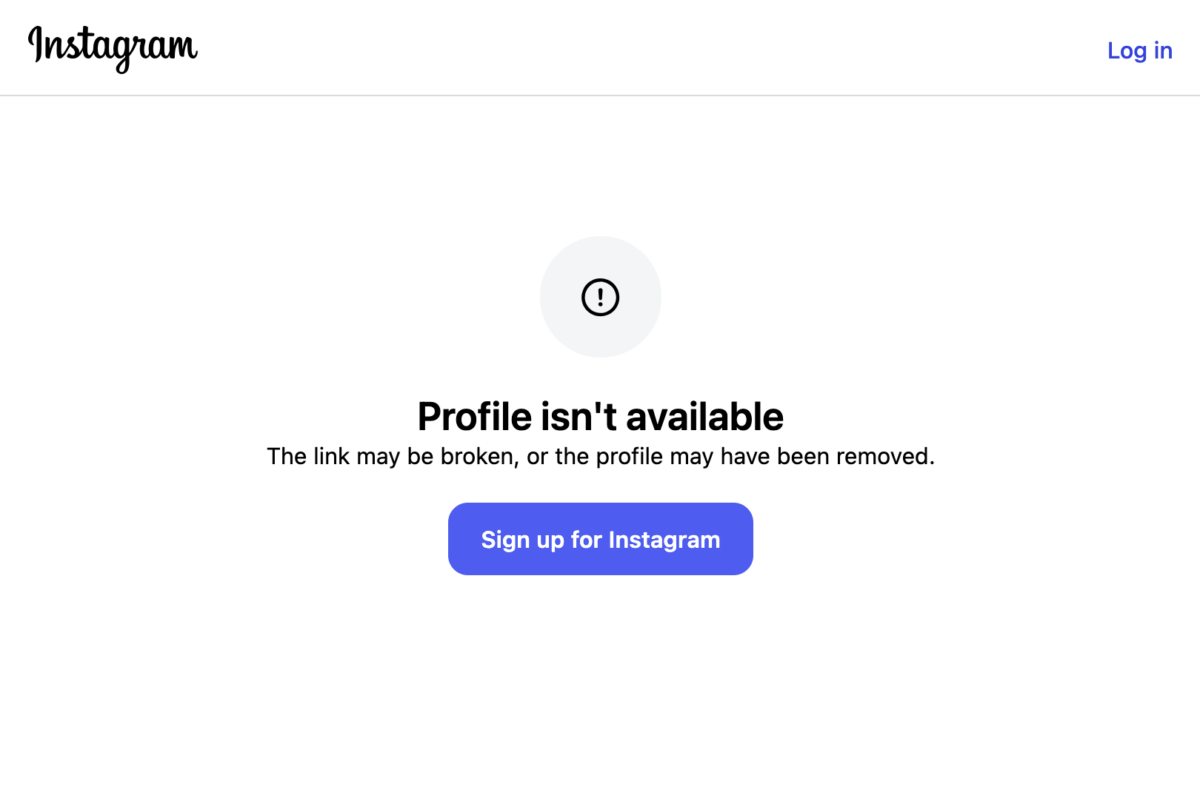
So what am I doing to stay connected? Ravelry and Threadloop. I have been regularly using Ravelry for about four years and although I’ve had an account since beta testing, I’m only just starting to use the free version of Threadloop. There aren’t any public posts yet, but I do value the sharing of makes, so once I’ve taken helpful pictures and written some words, I’ll make some projects public.
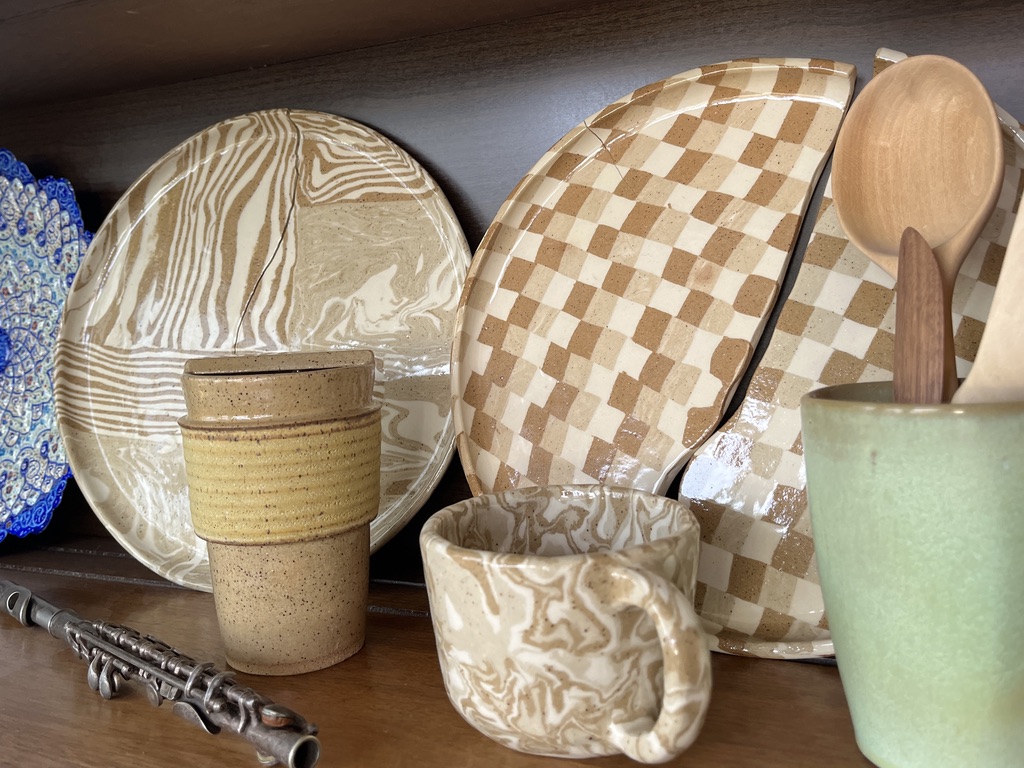
I miss seeing ceramics and paintings and travel sketches and all that. And I miss occasionally being fed something cool happening in my city. So I’m not sure where to seek out content like this. Pinterest has about as many ads as Instagram.
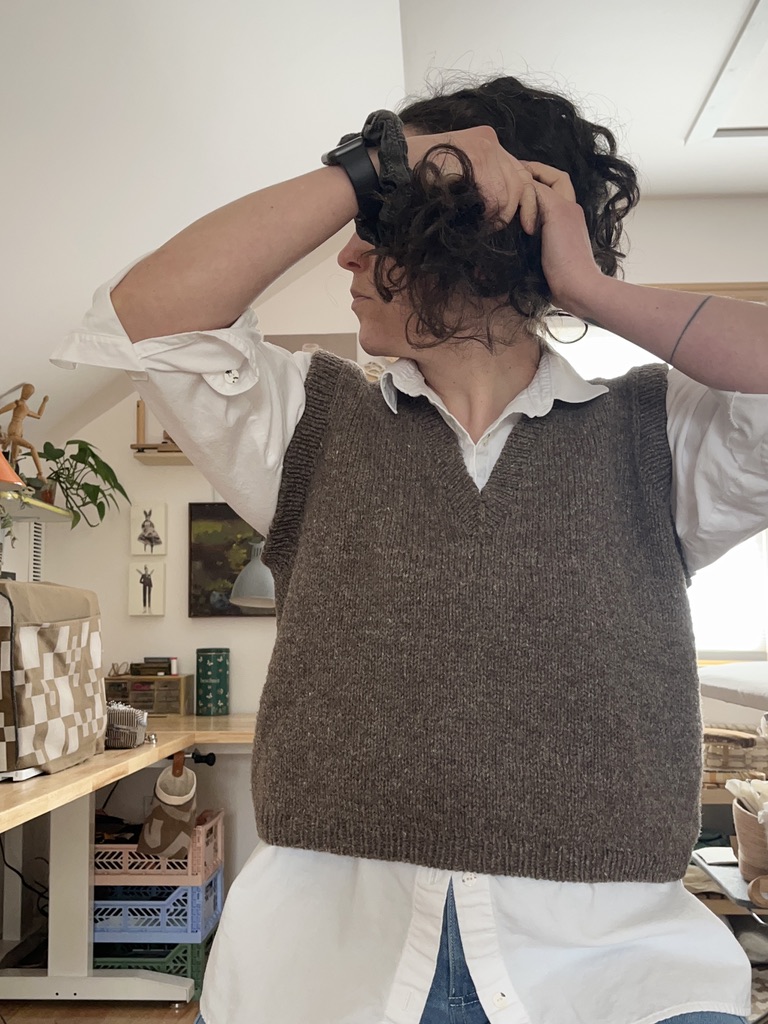
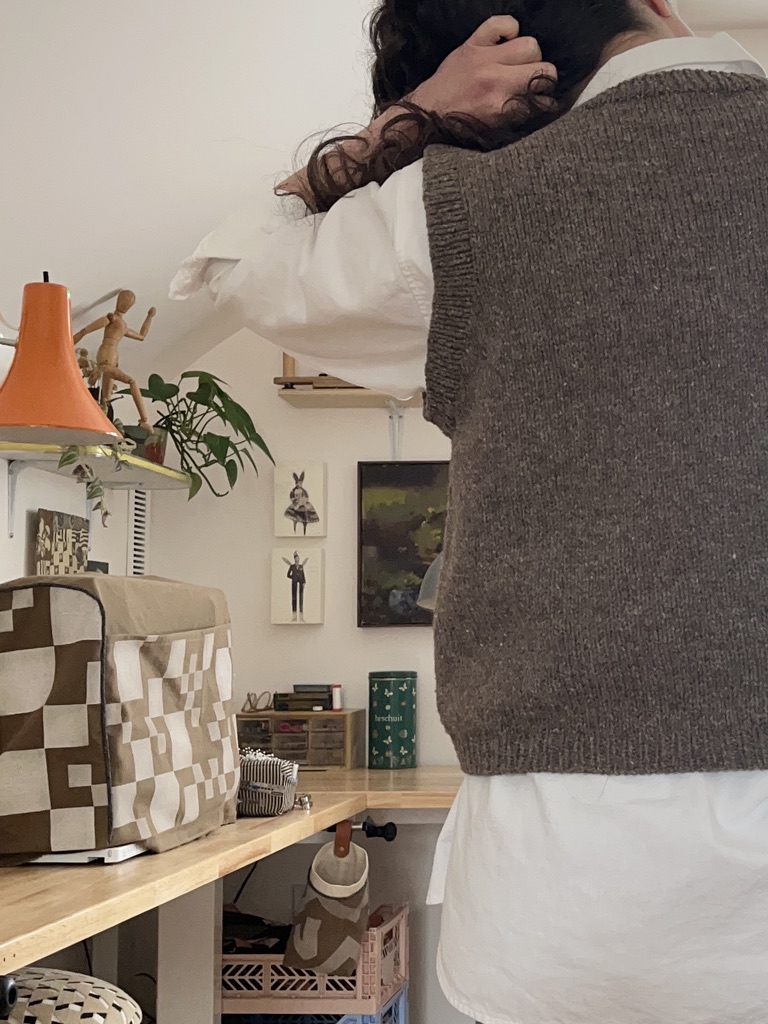
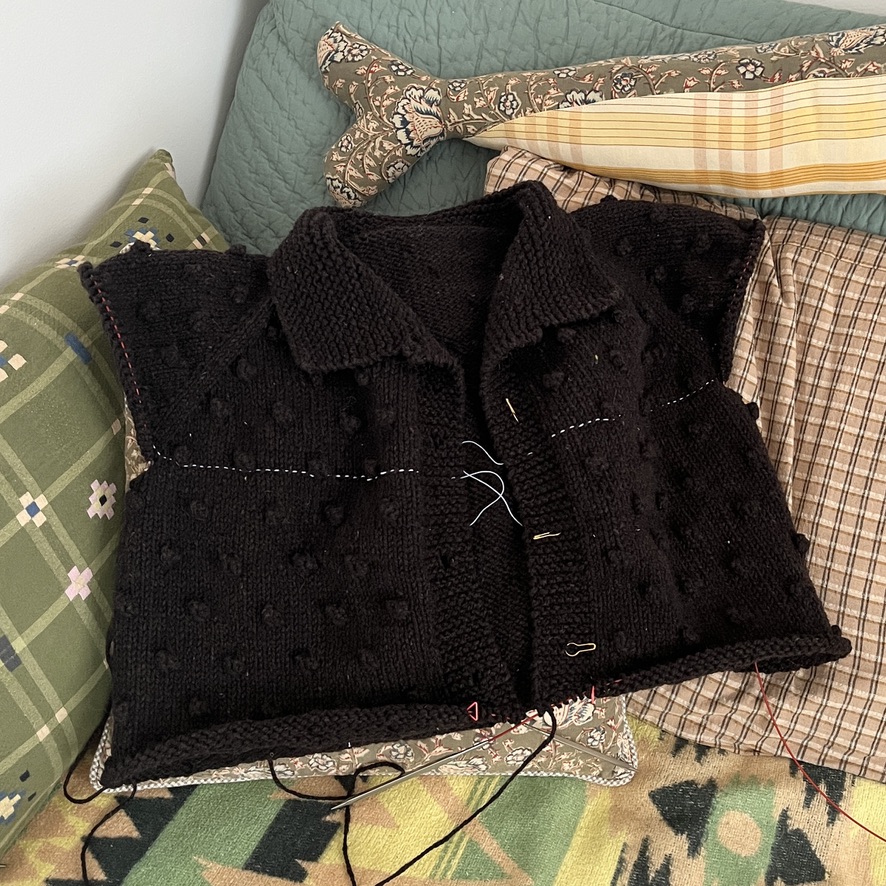
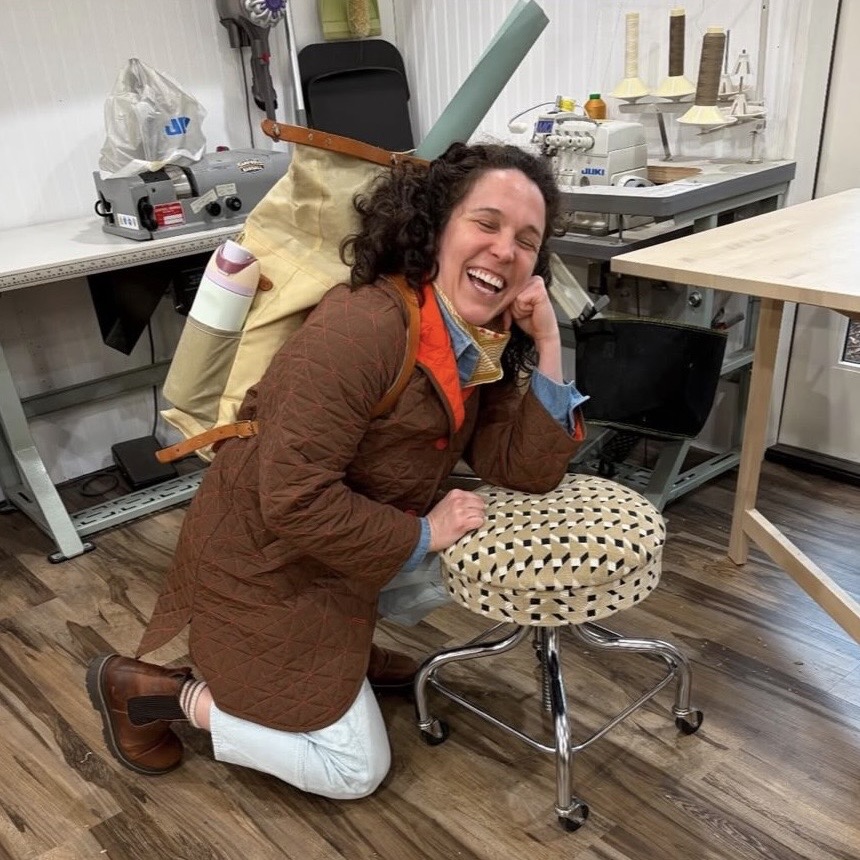
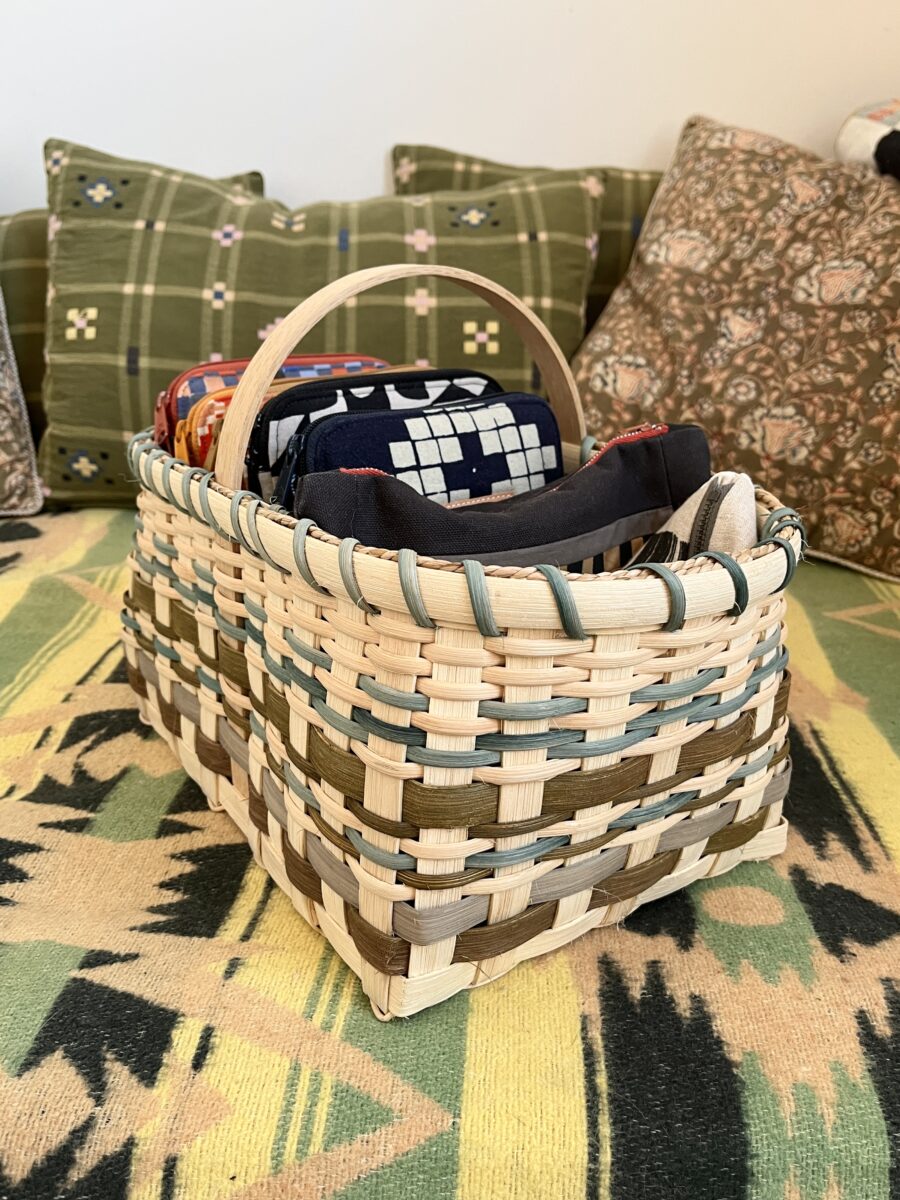
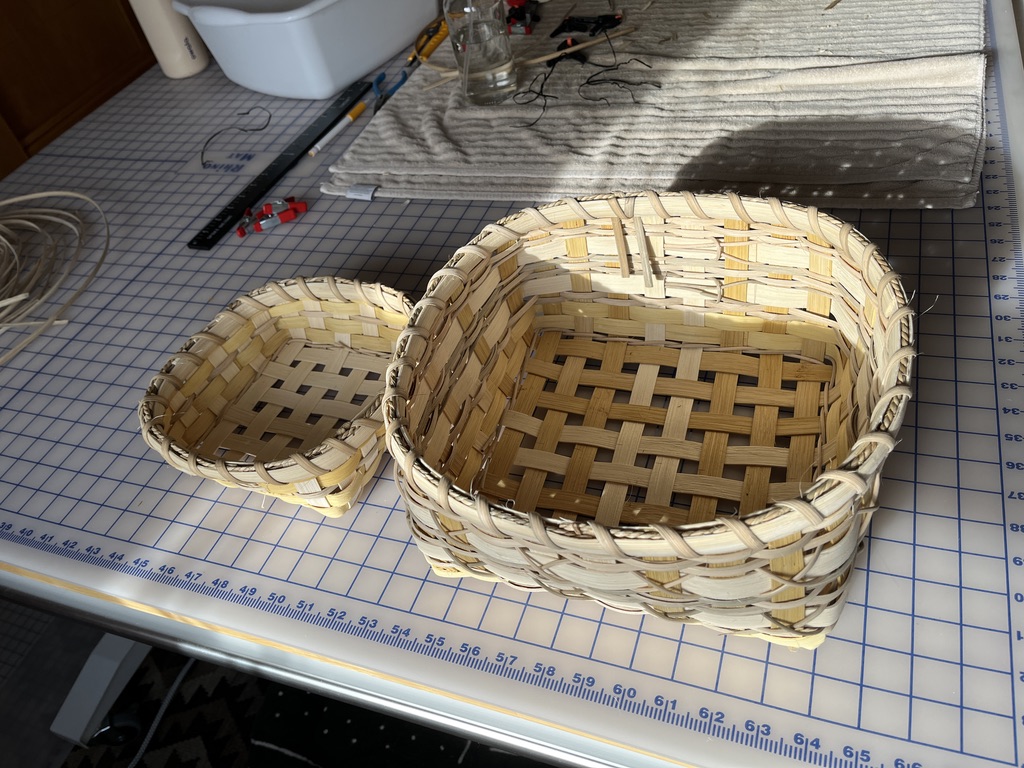
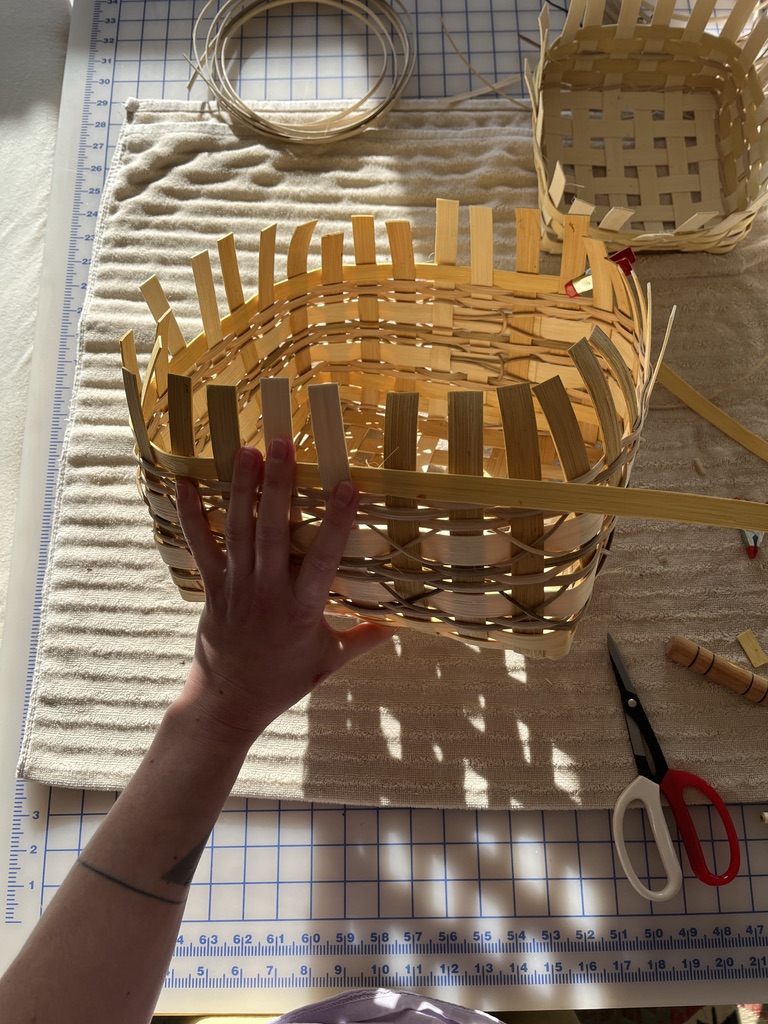
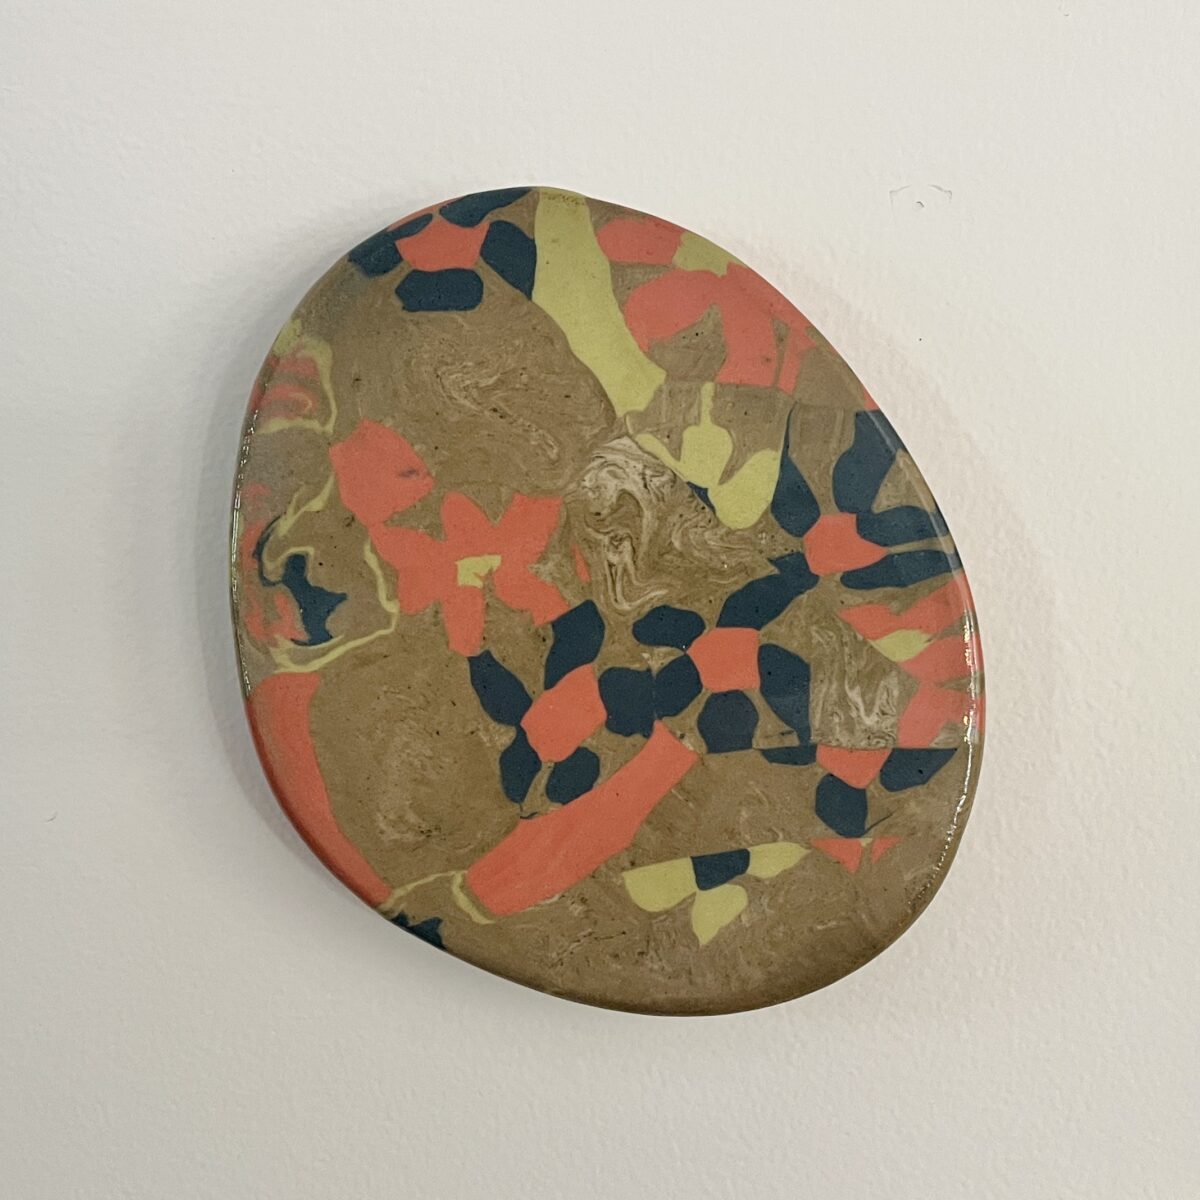
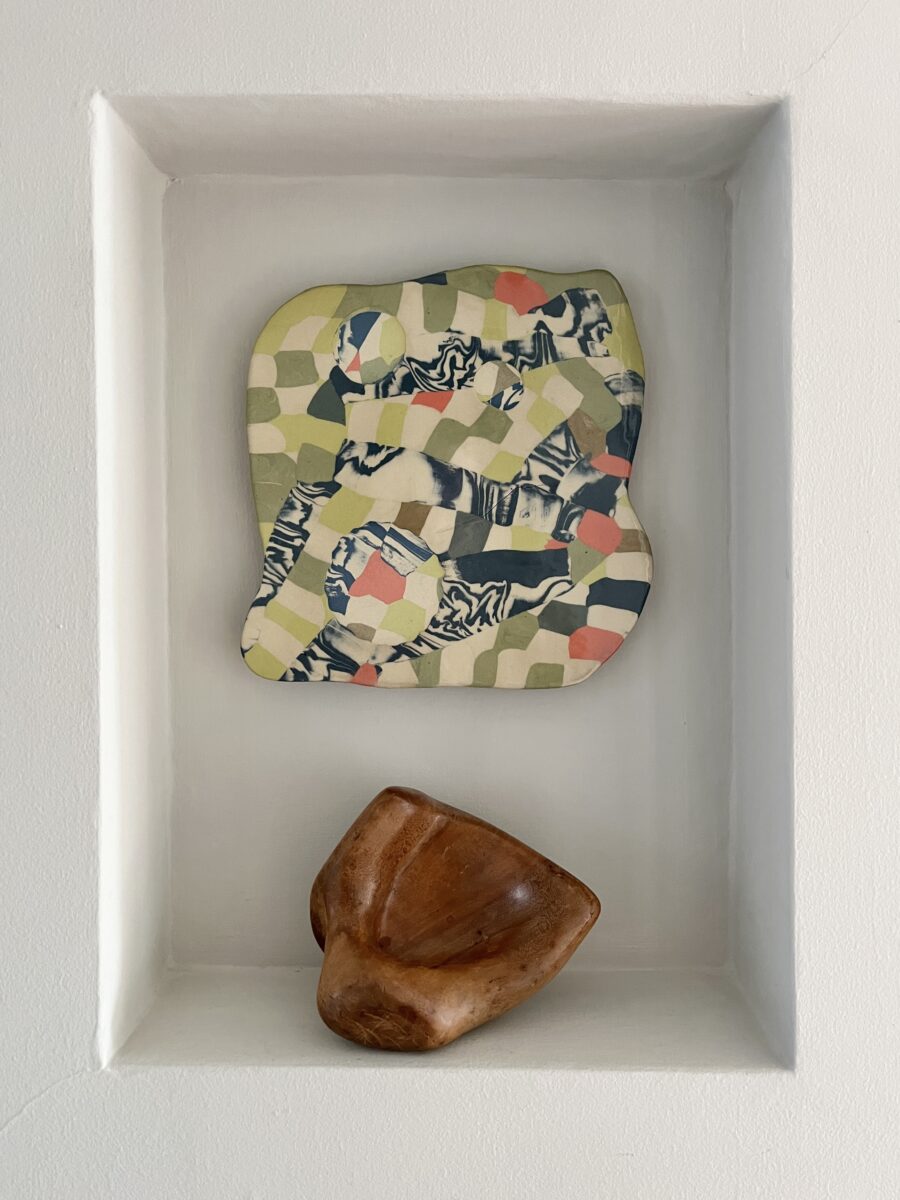
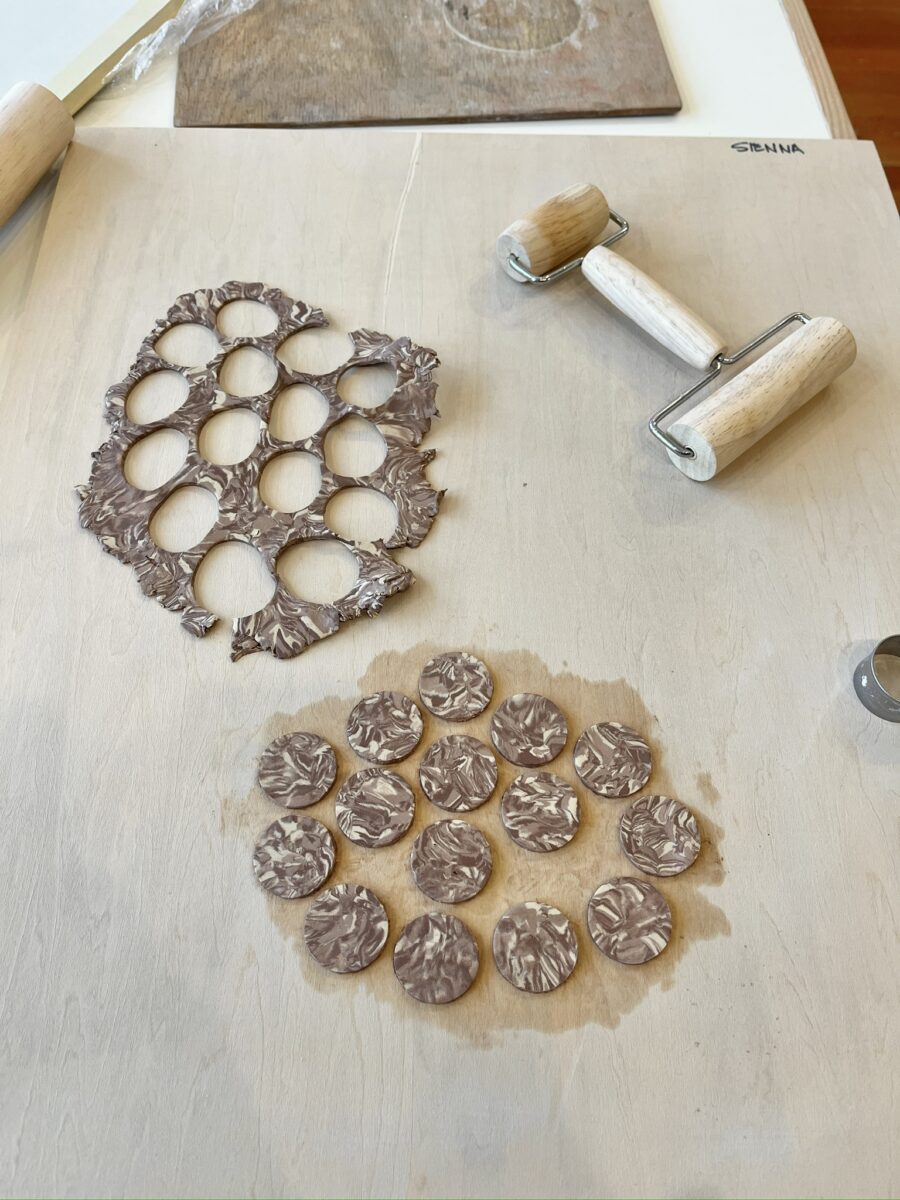
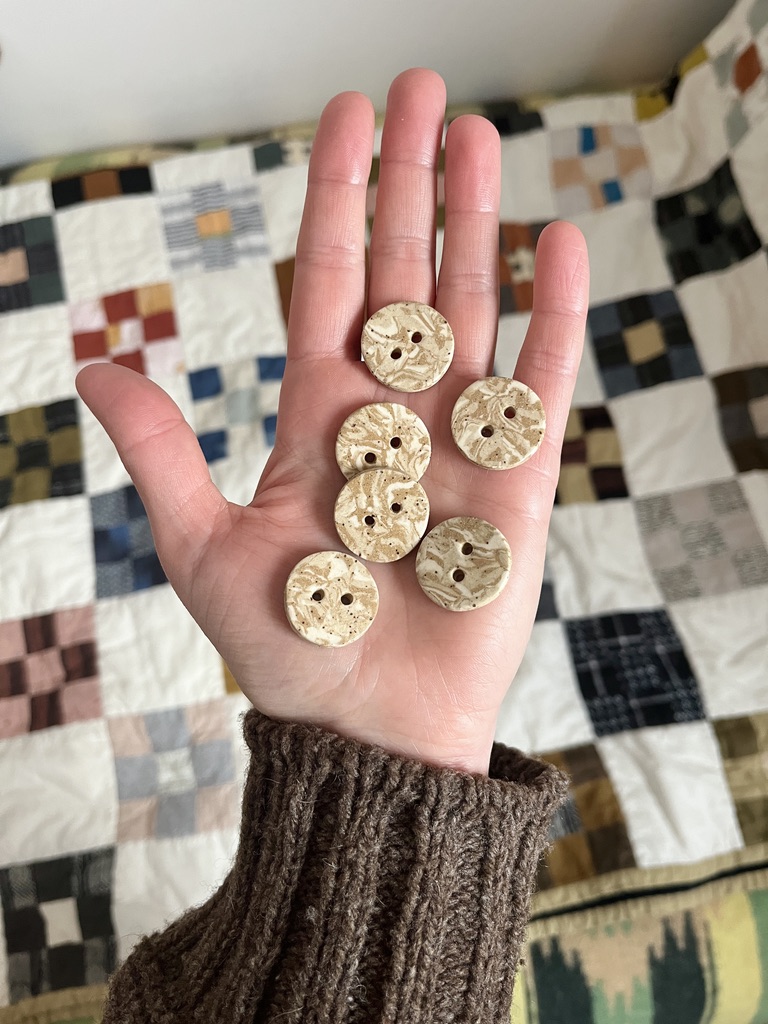
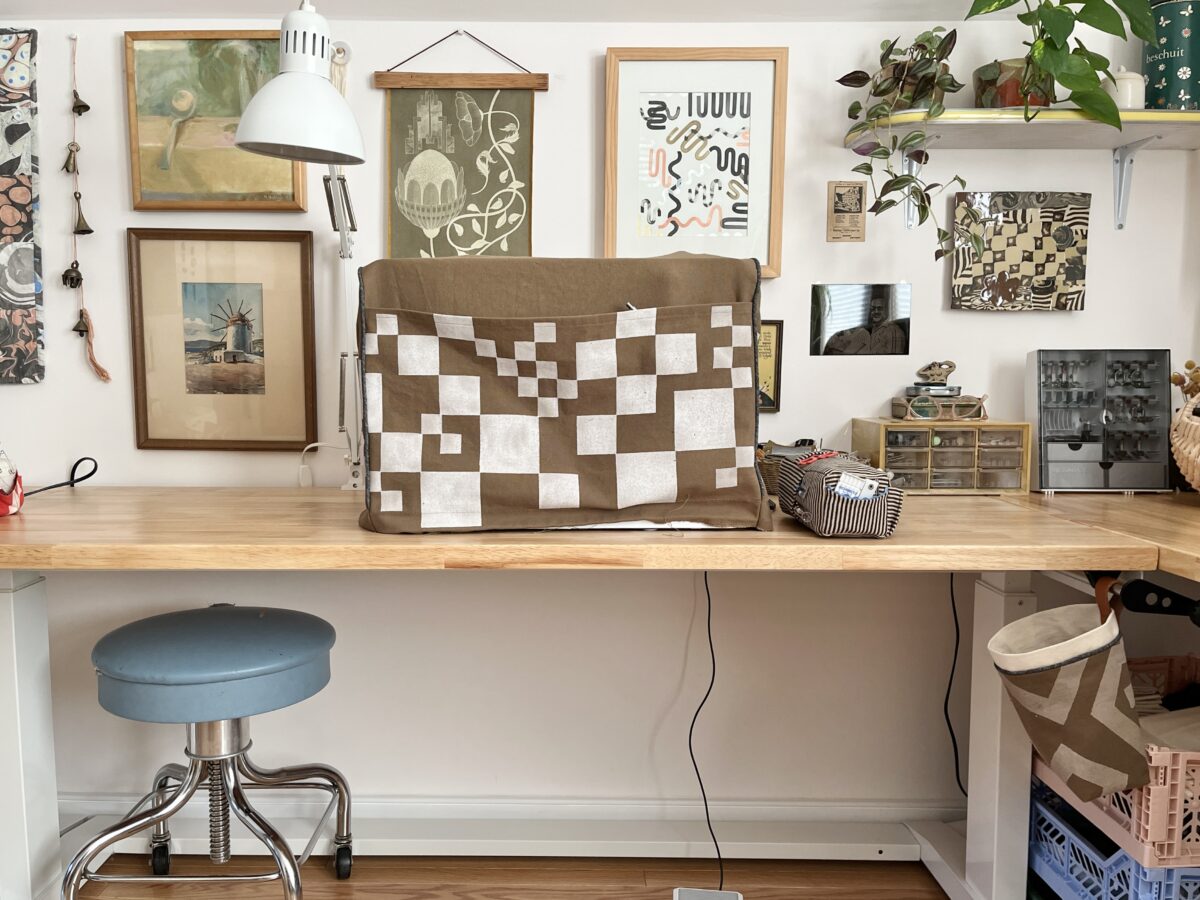
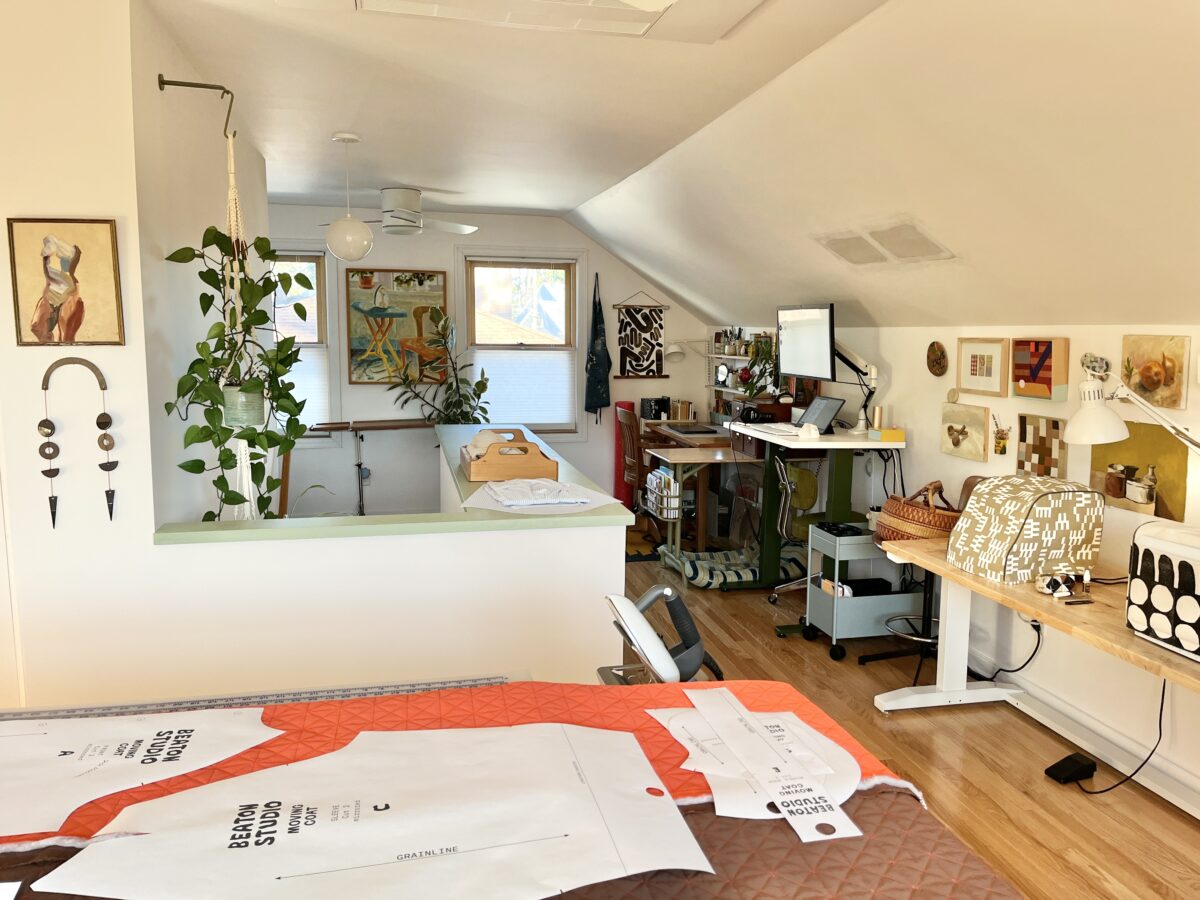
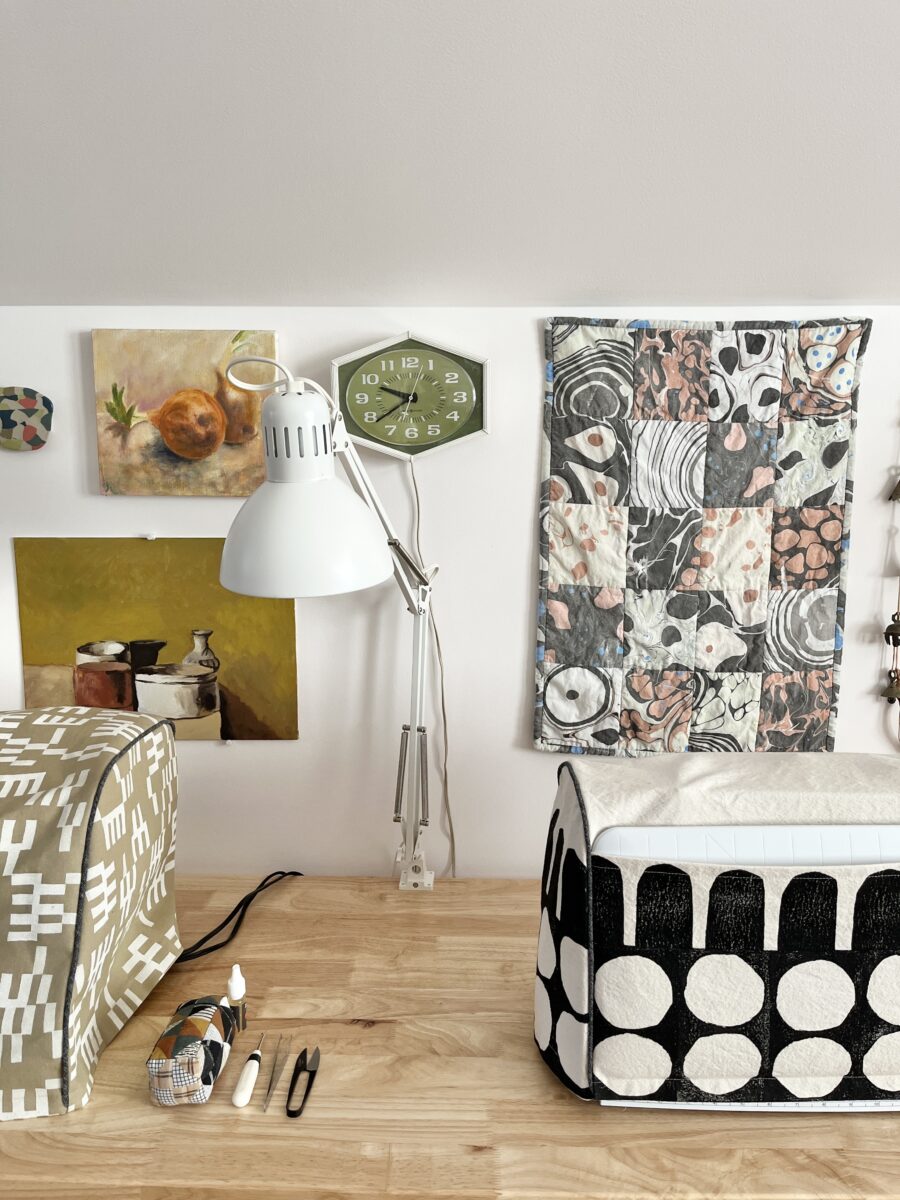
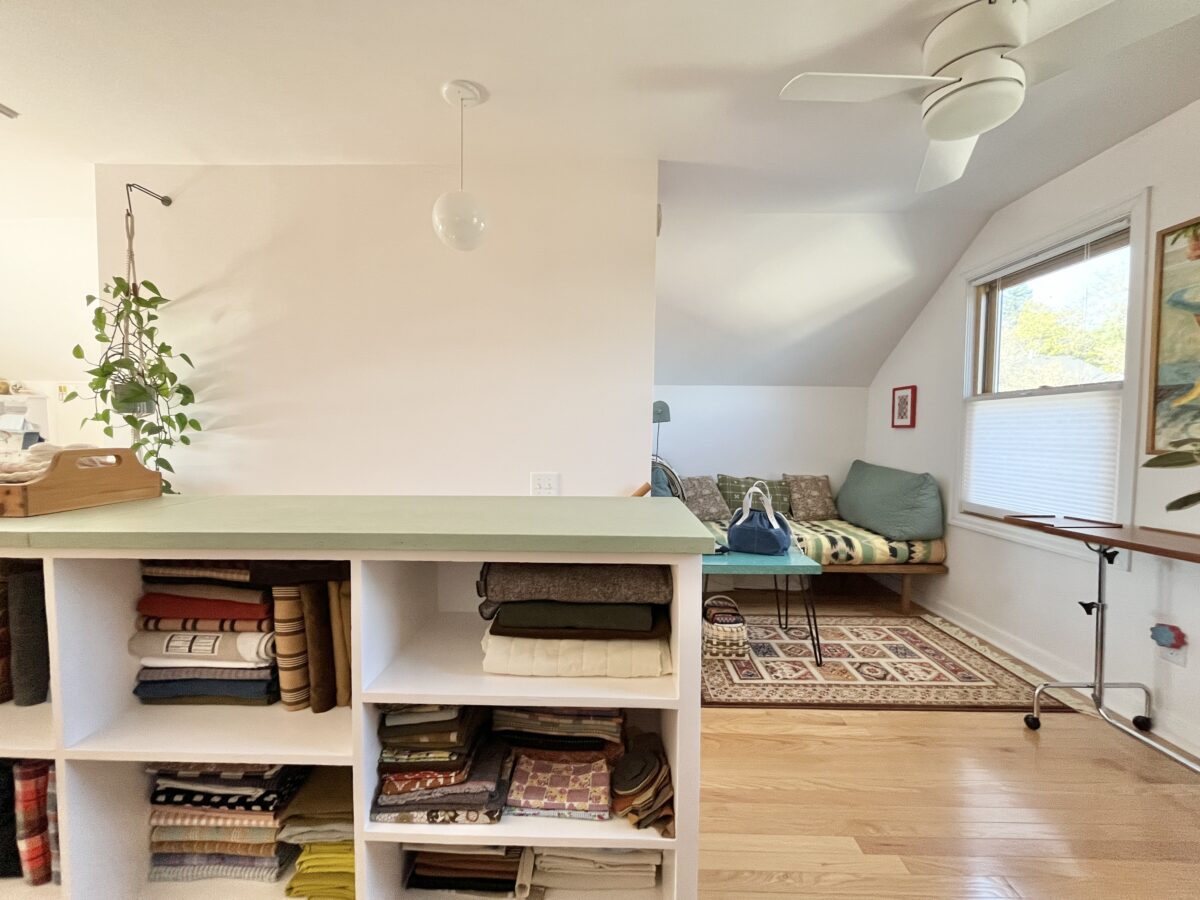
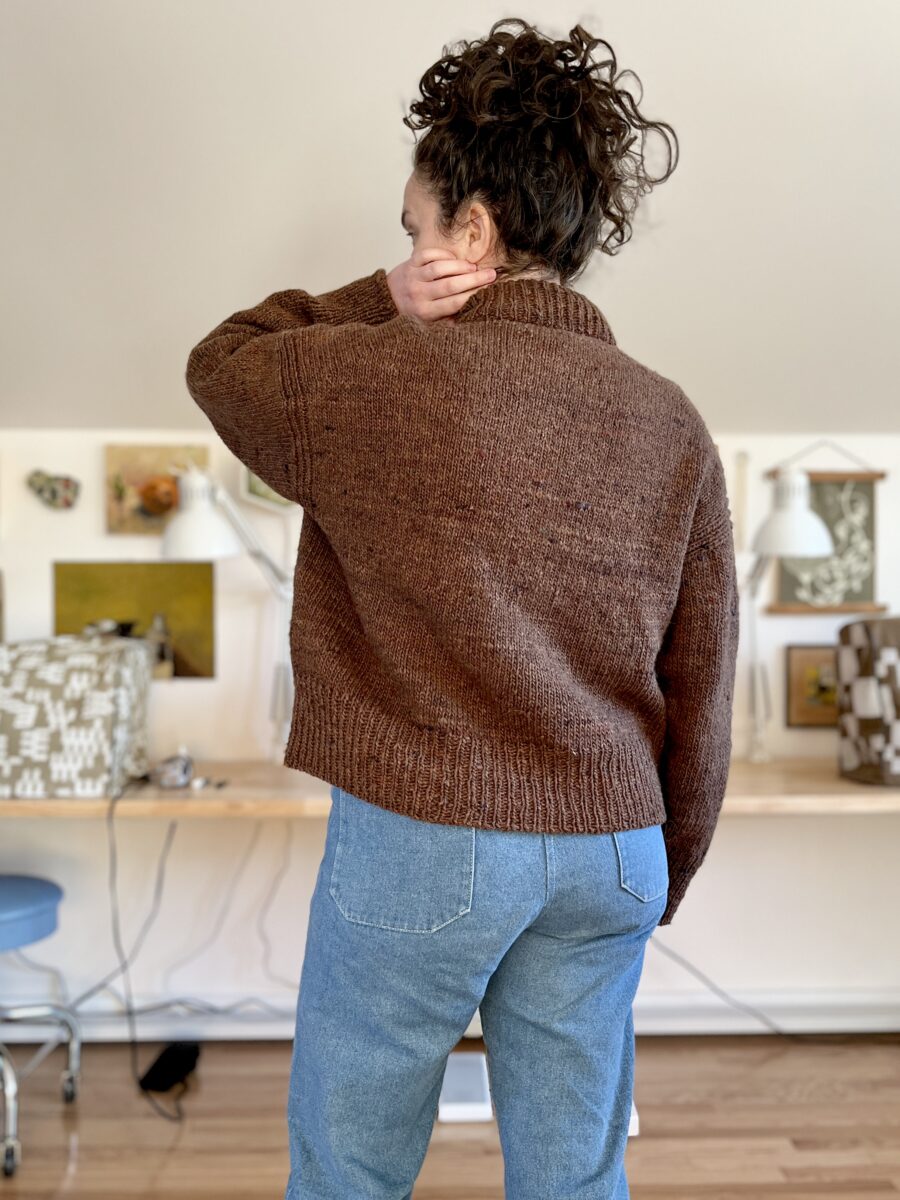
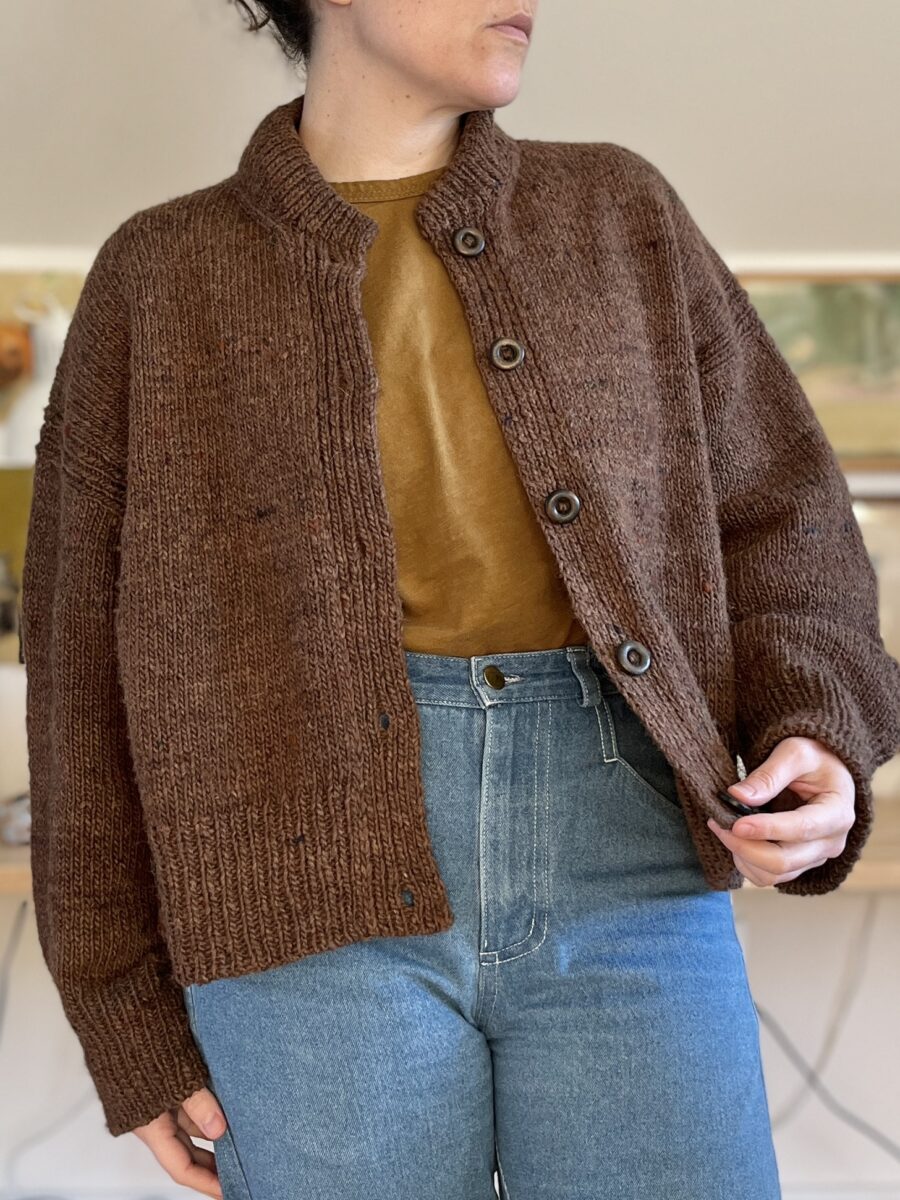
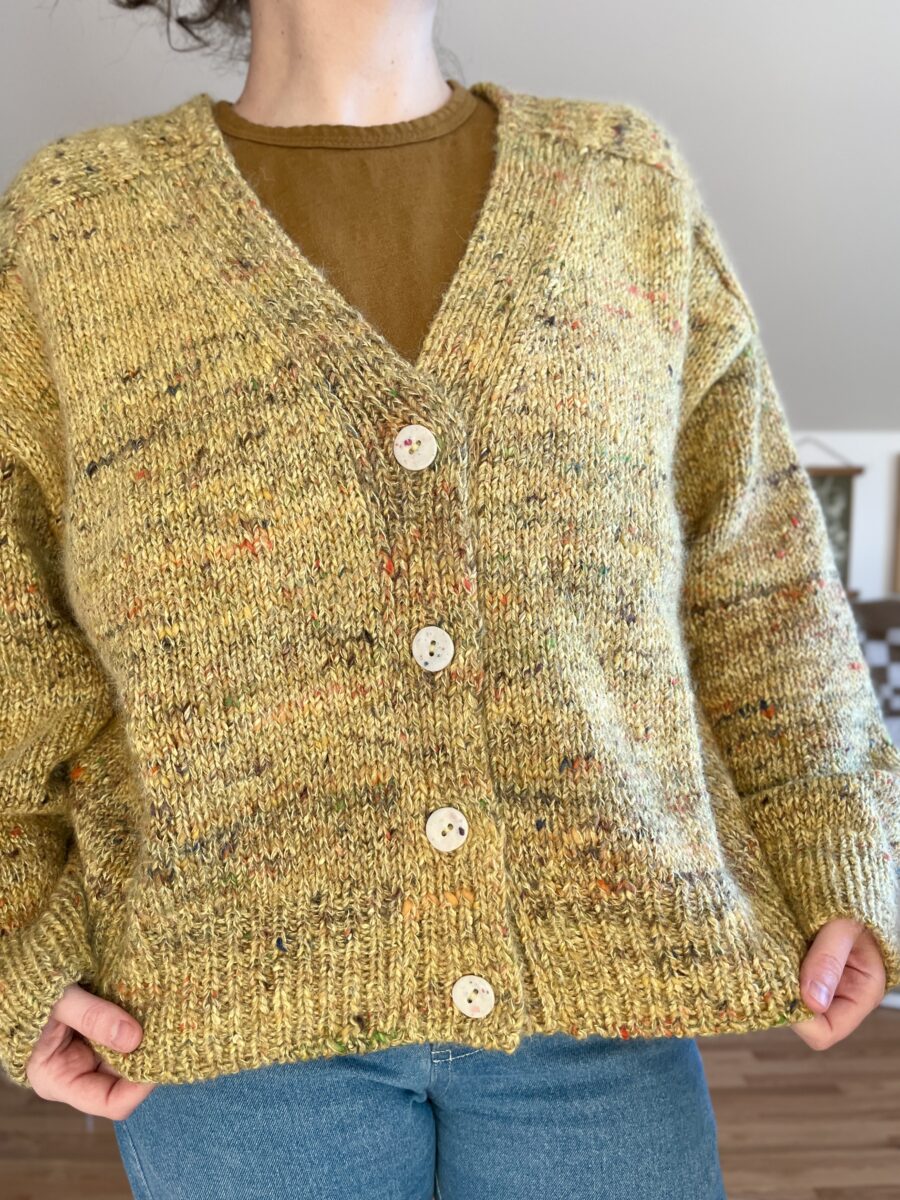
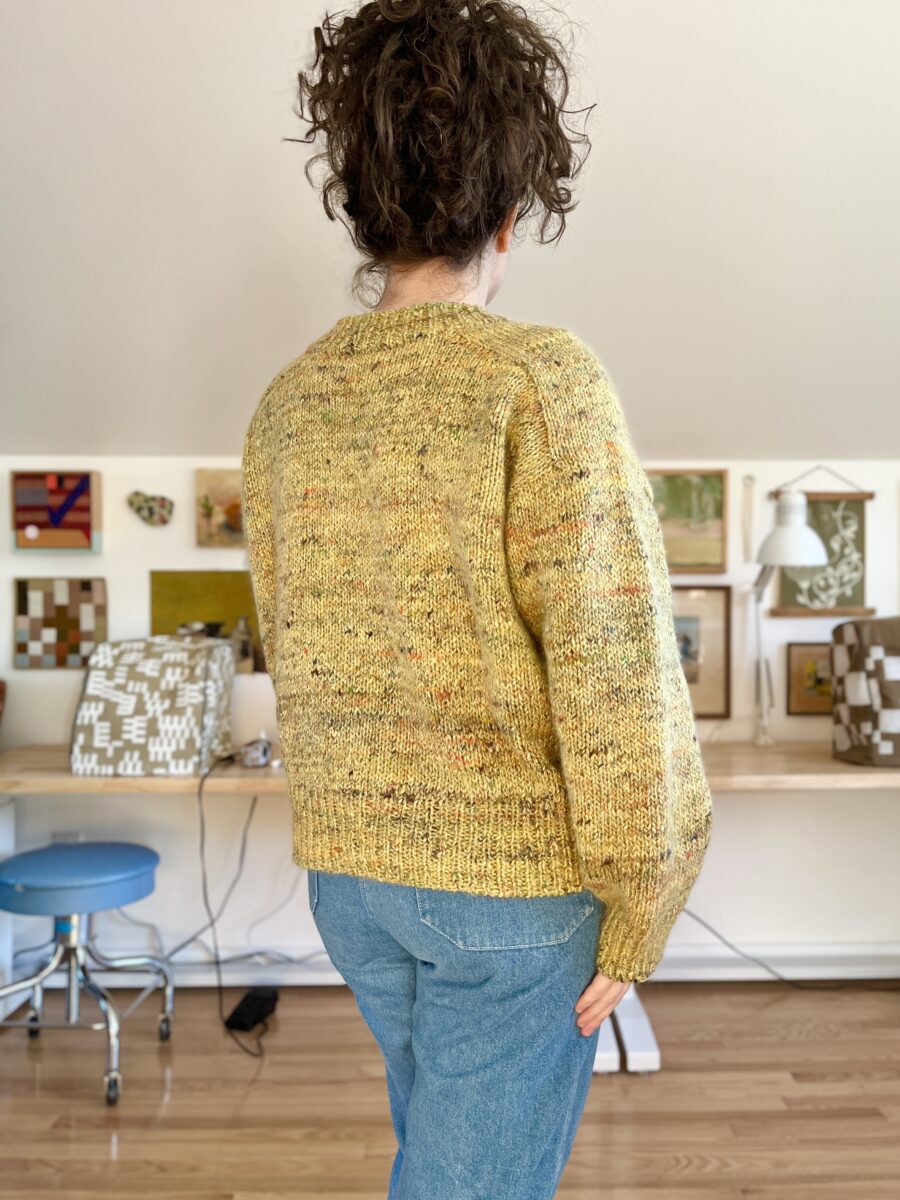
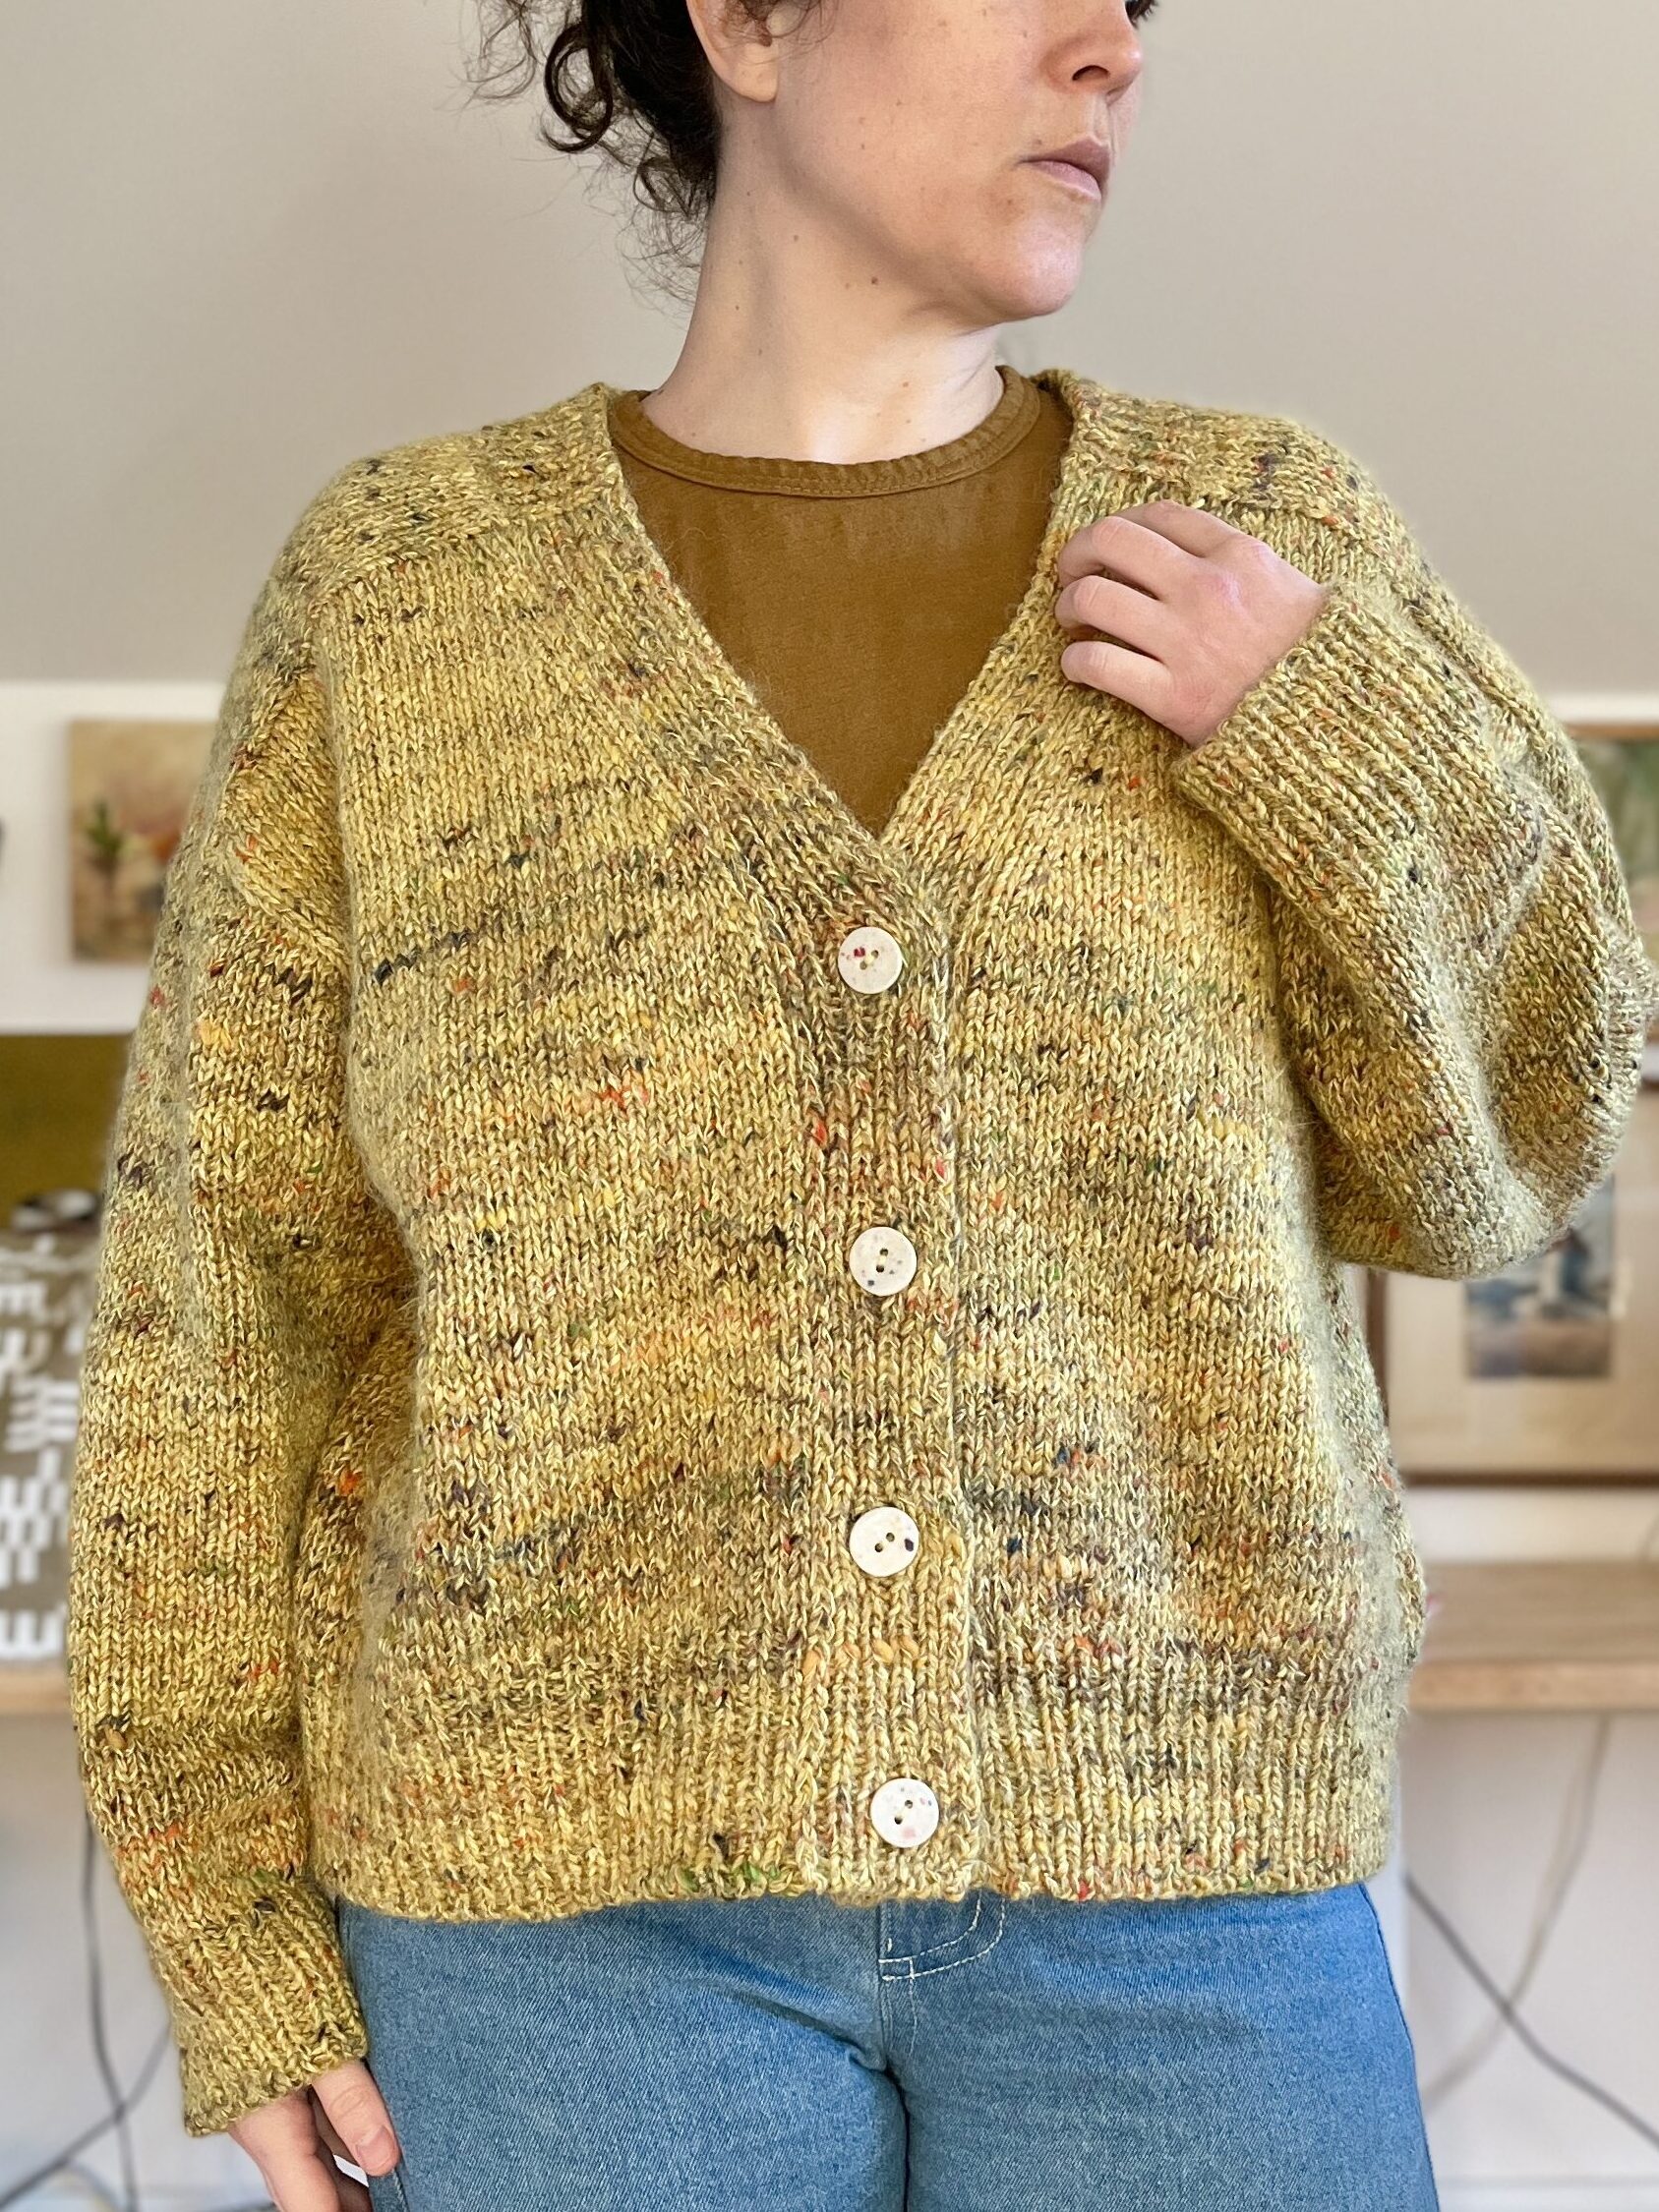
It’s only been a couple weeks, but I have felt some mental changes. I’ve been reading and Logbooking, and I’ve been sewing! Like a lot! Here’s some of what I’ve been making:
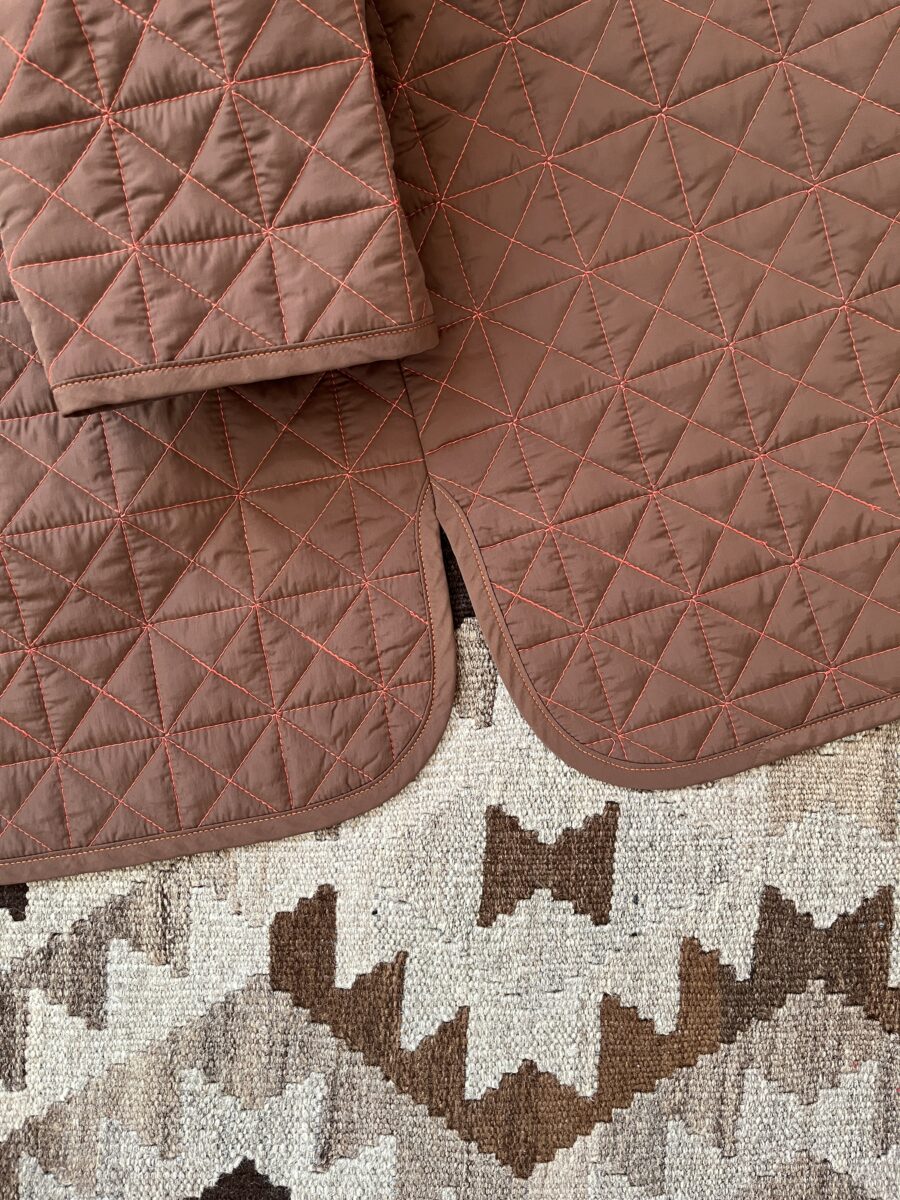
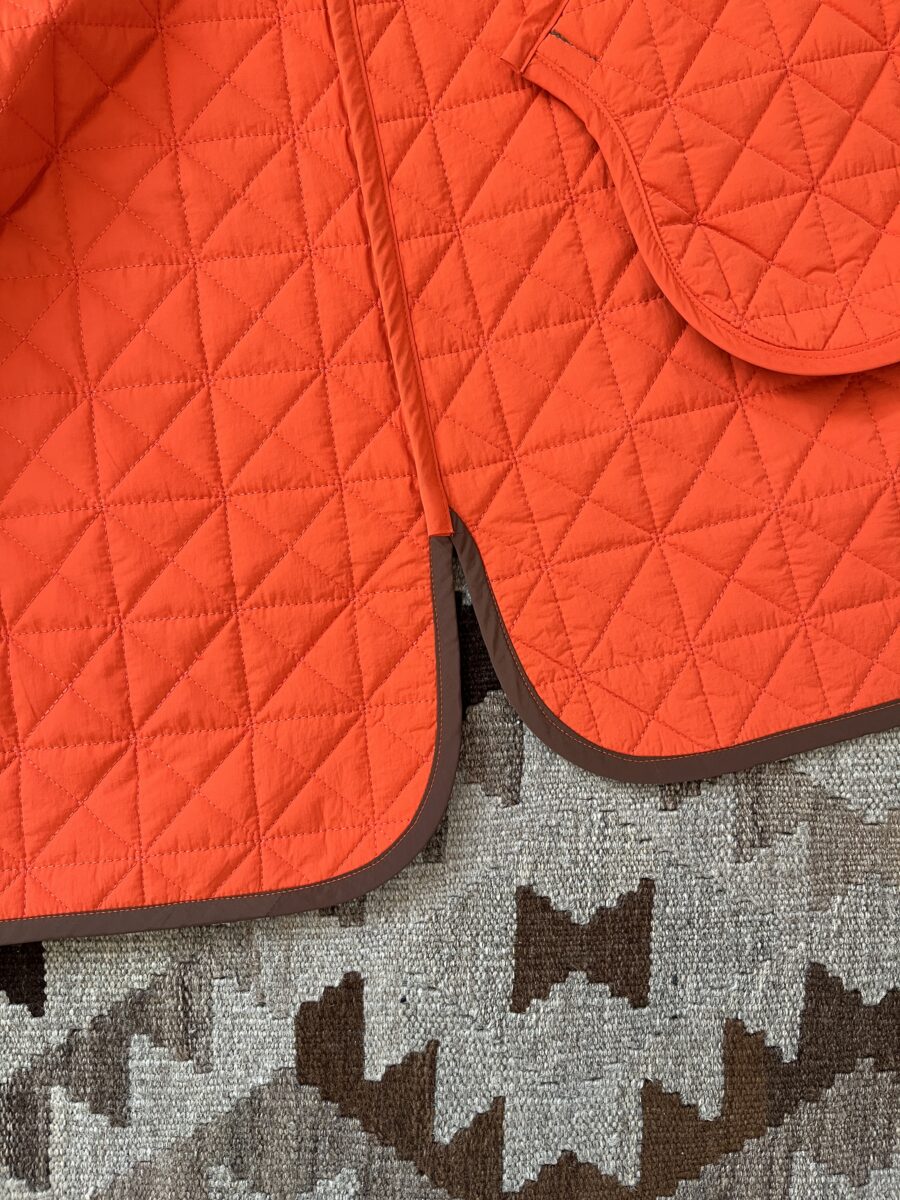
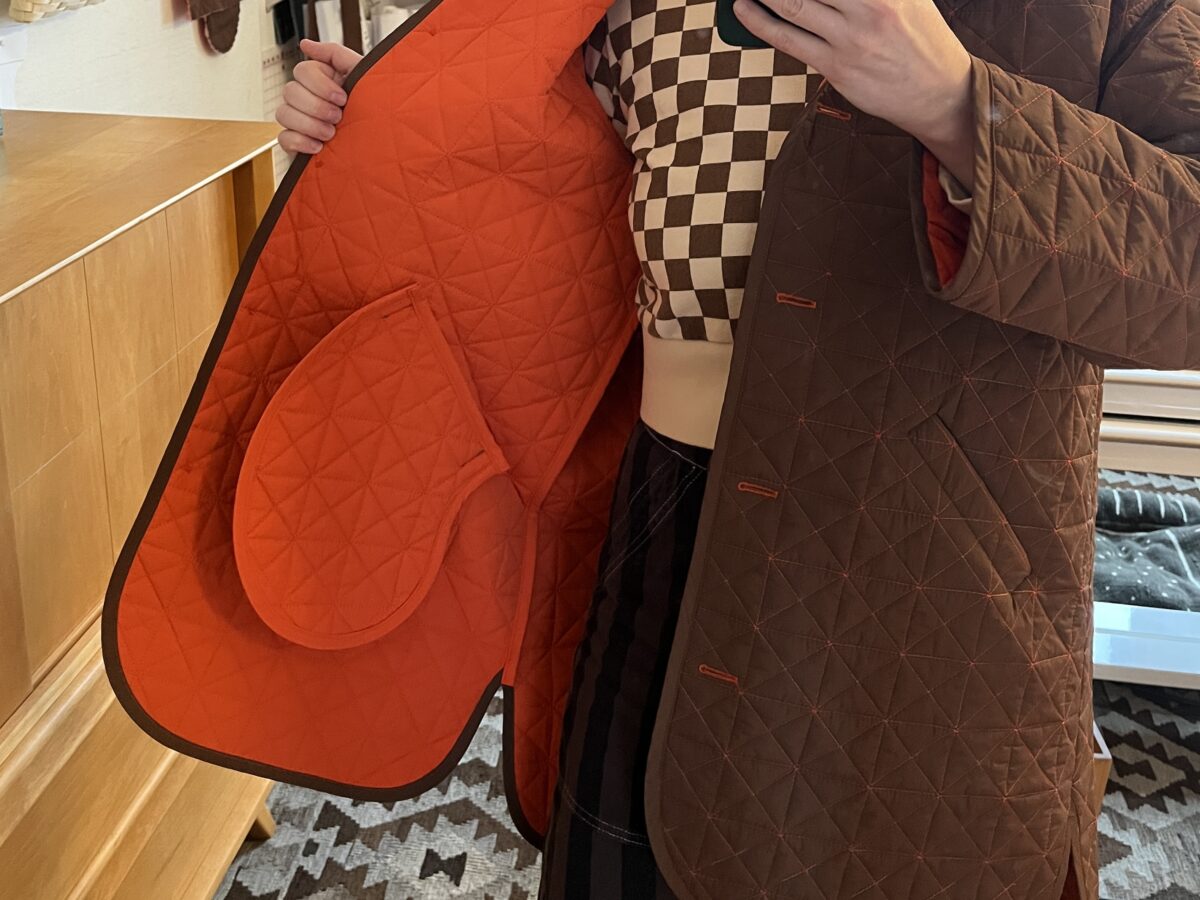
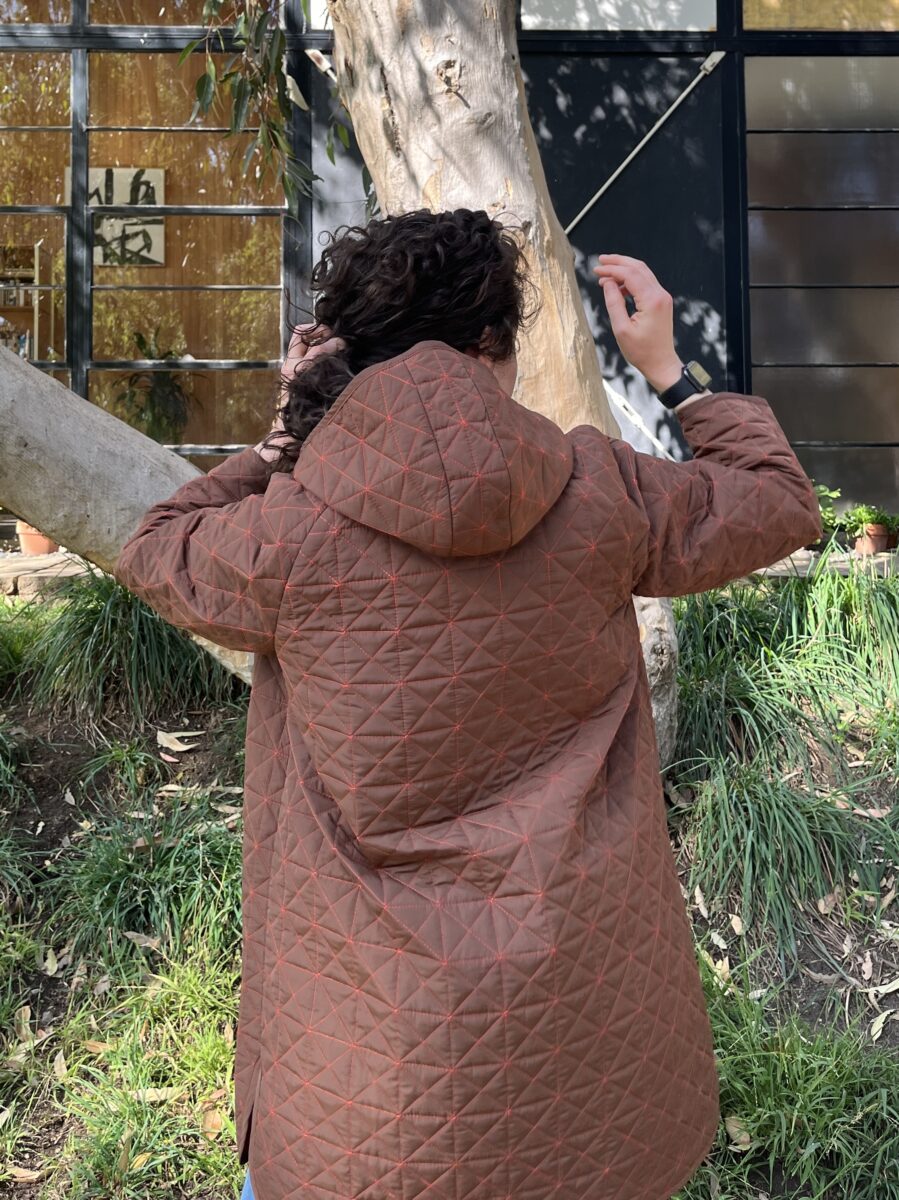
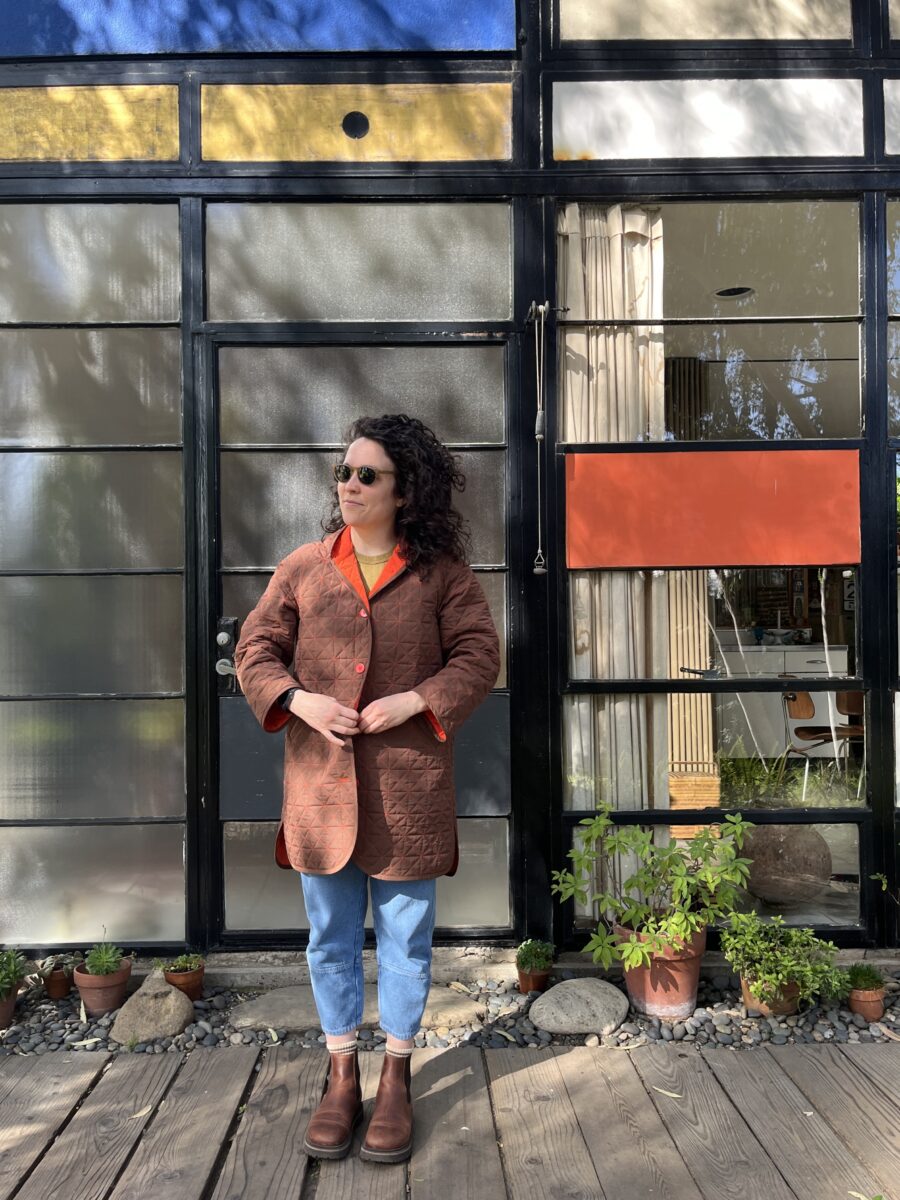
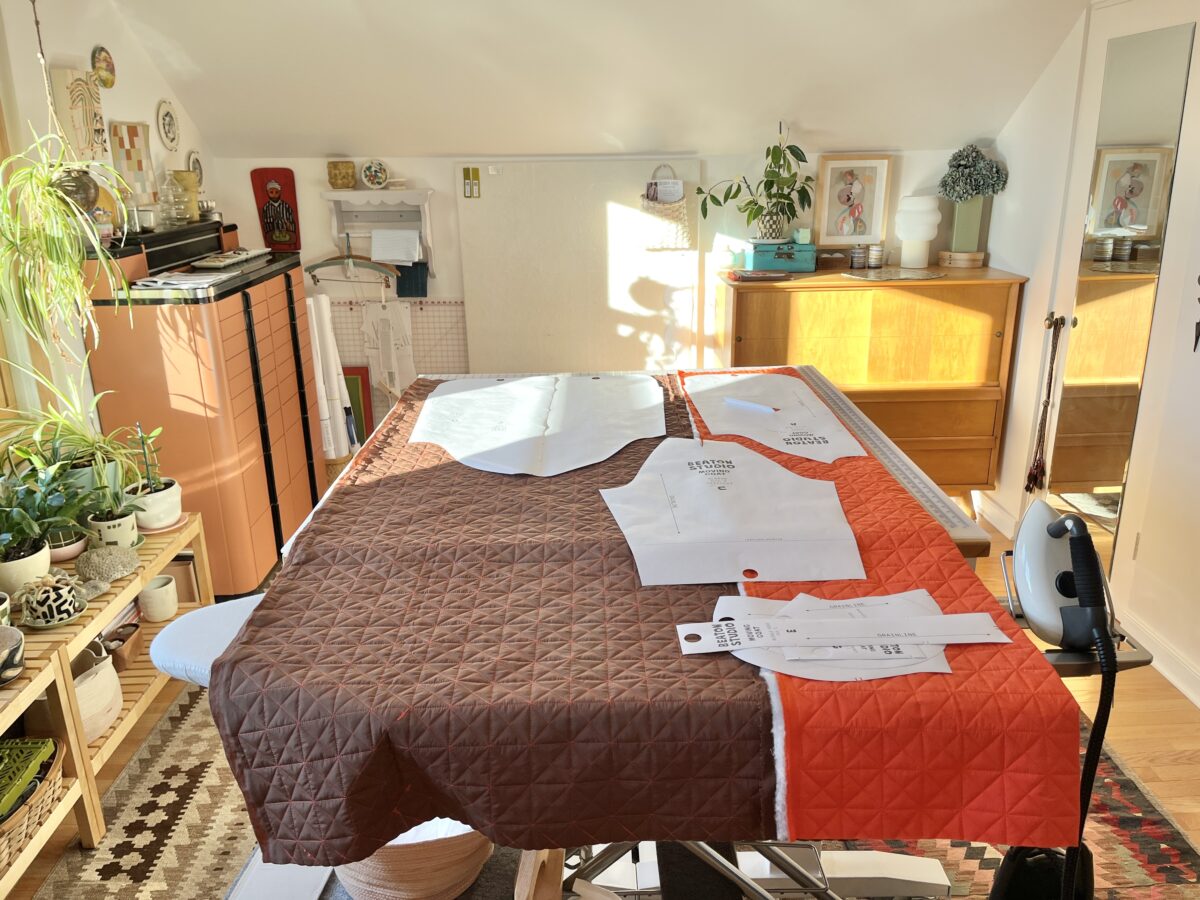
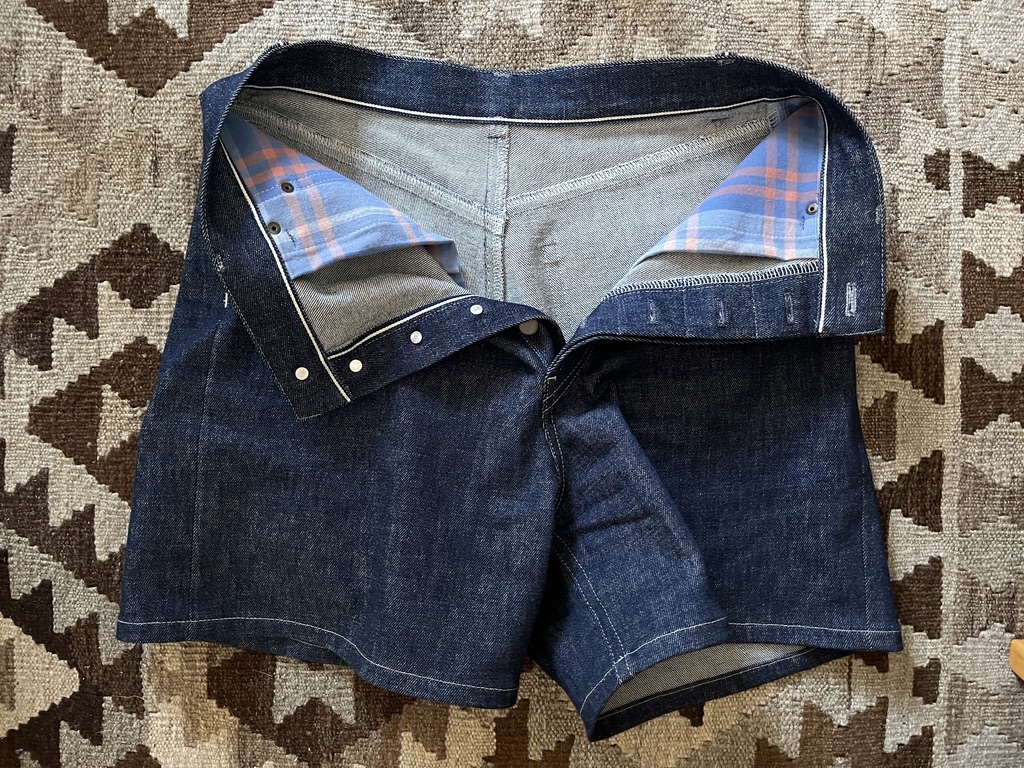
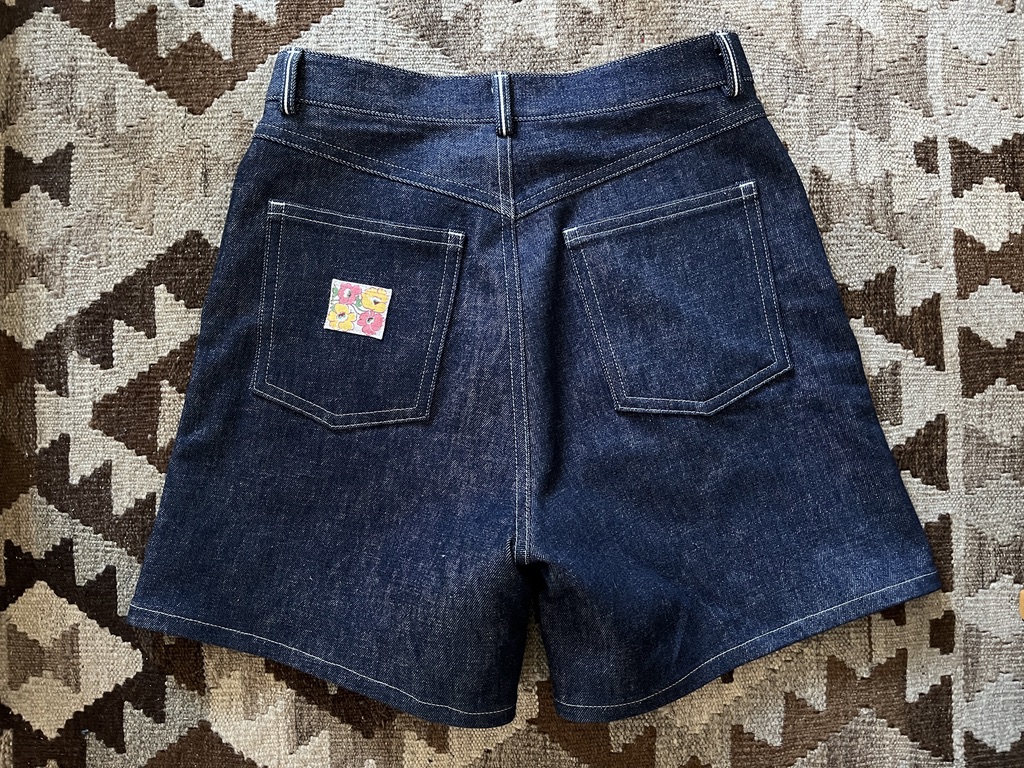
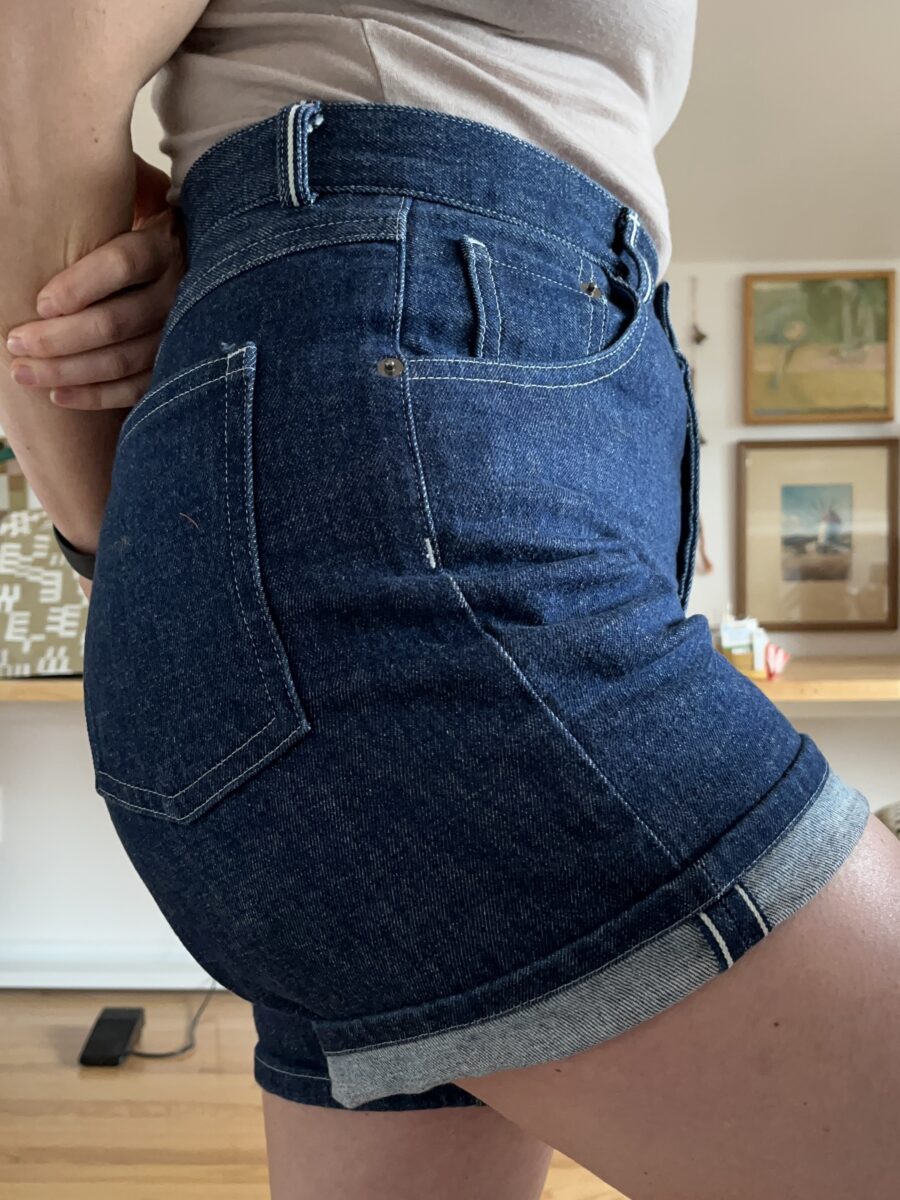
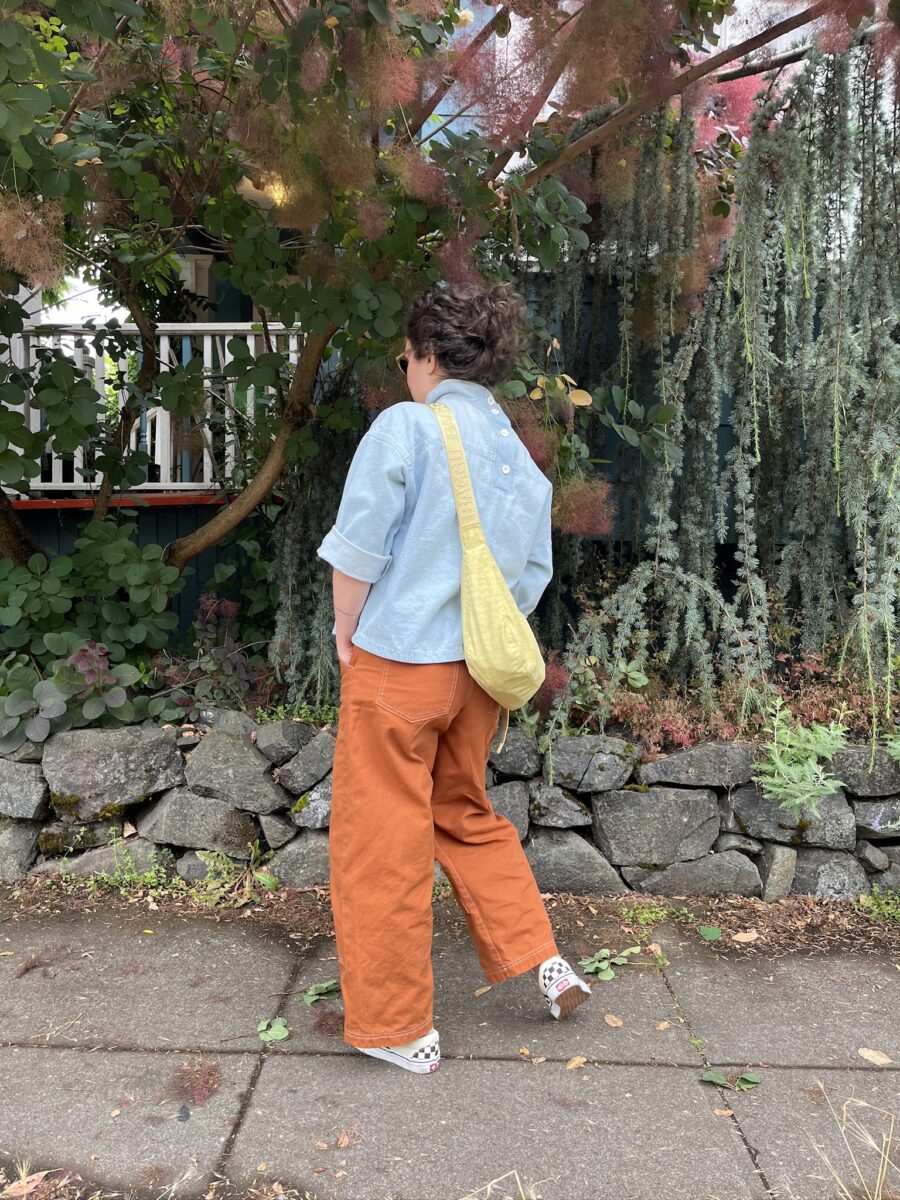
Helene Shorts
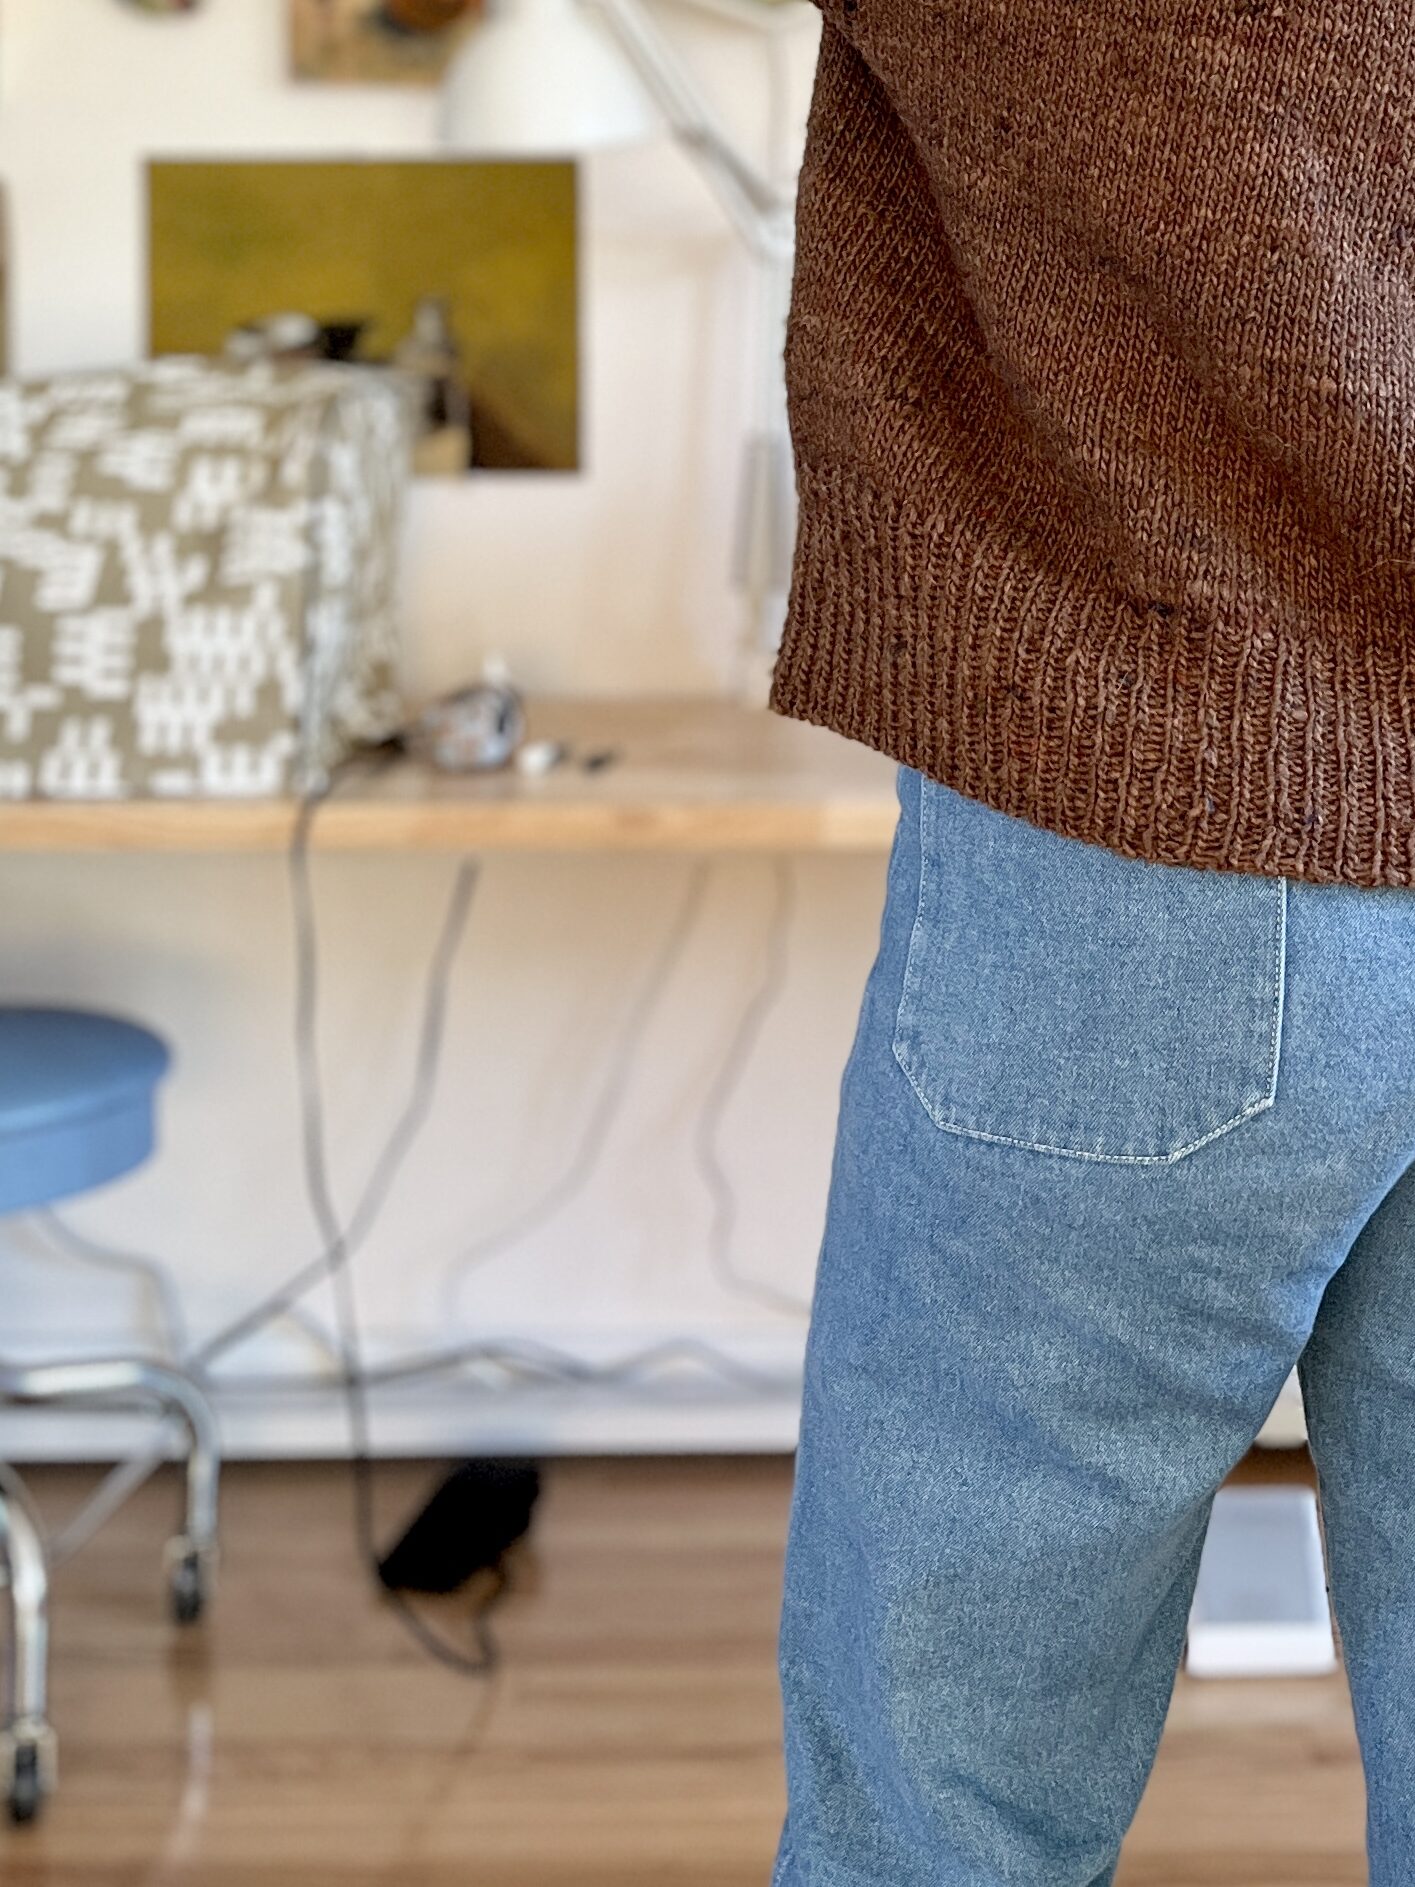
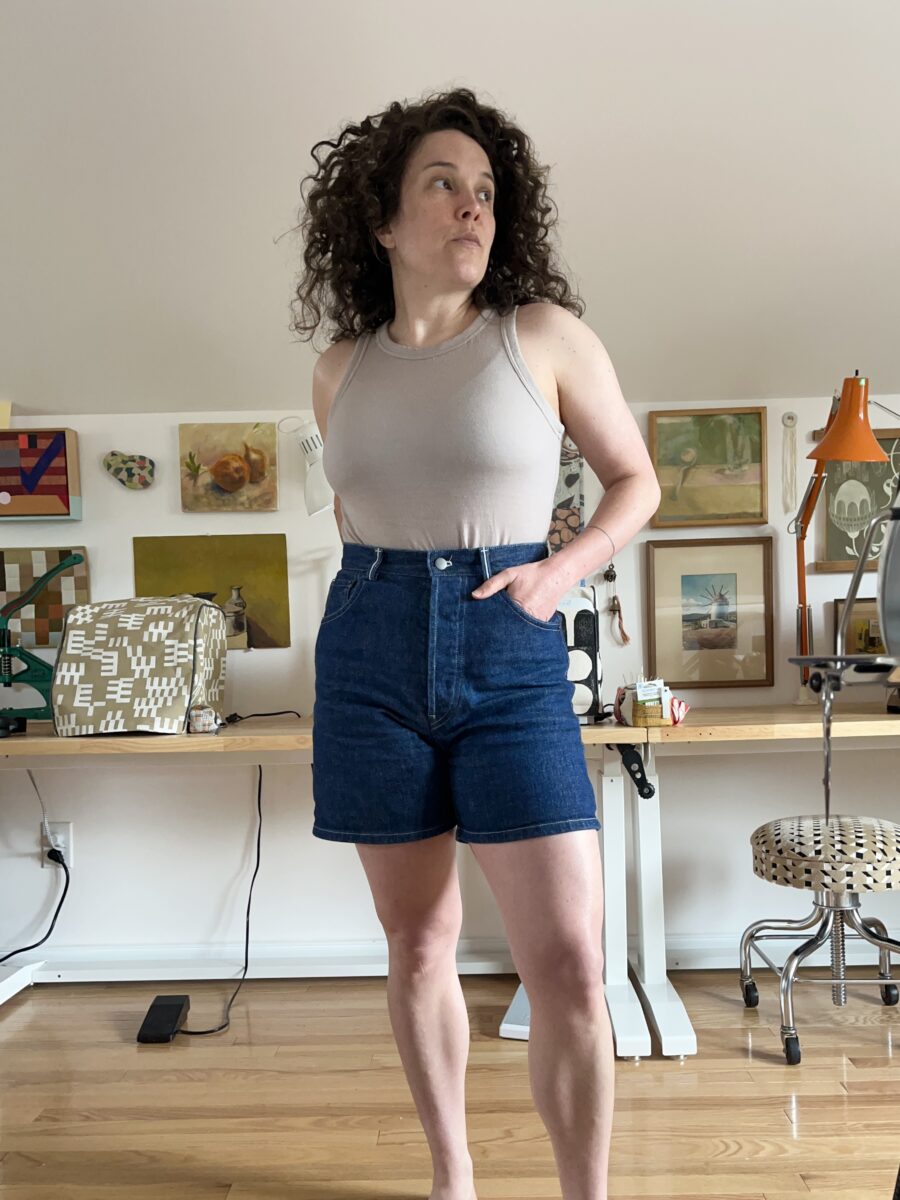
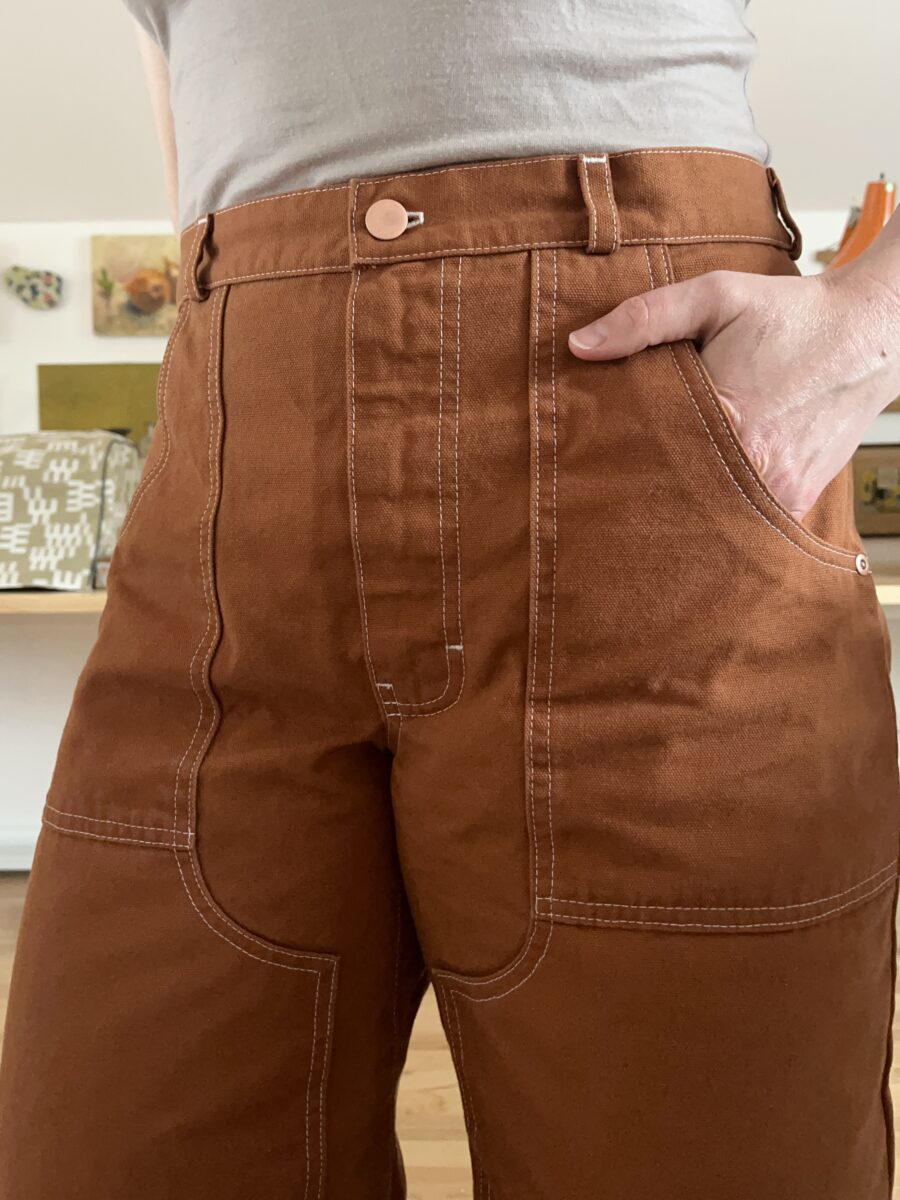
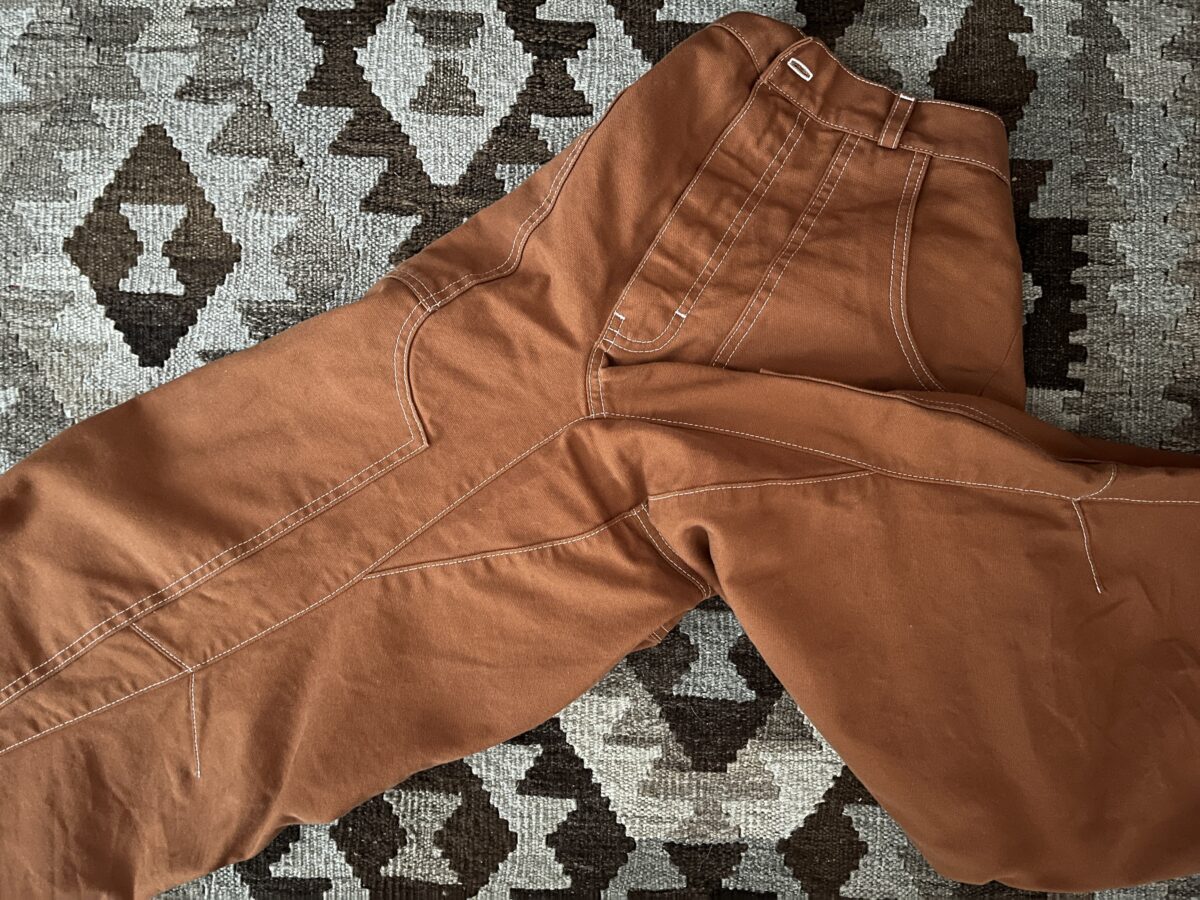
I’ve been in my head about sewing bottoms since my hysterectomy (and beginning weight training), but I finally said fuck it. I bought some 12 oz selvage denim from Salt Lake Sewciety and only after ordering realized it contained 1% spandex. Initially I was annoyed, but this might be my new favorite fiber combo for hard pants! It doesn’t sew quite as nicely as rigid denim, but the added comfort is worth it.

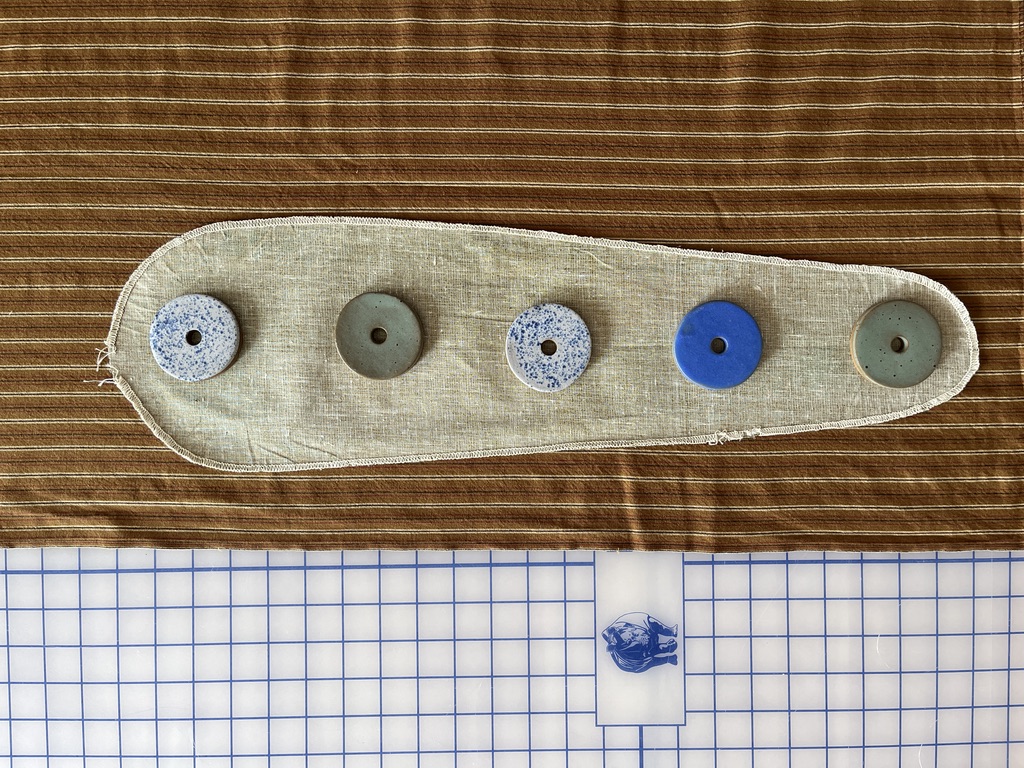
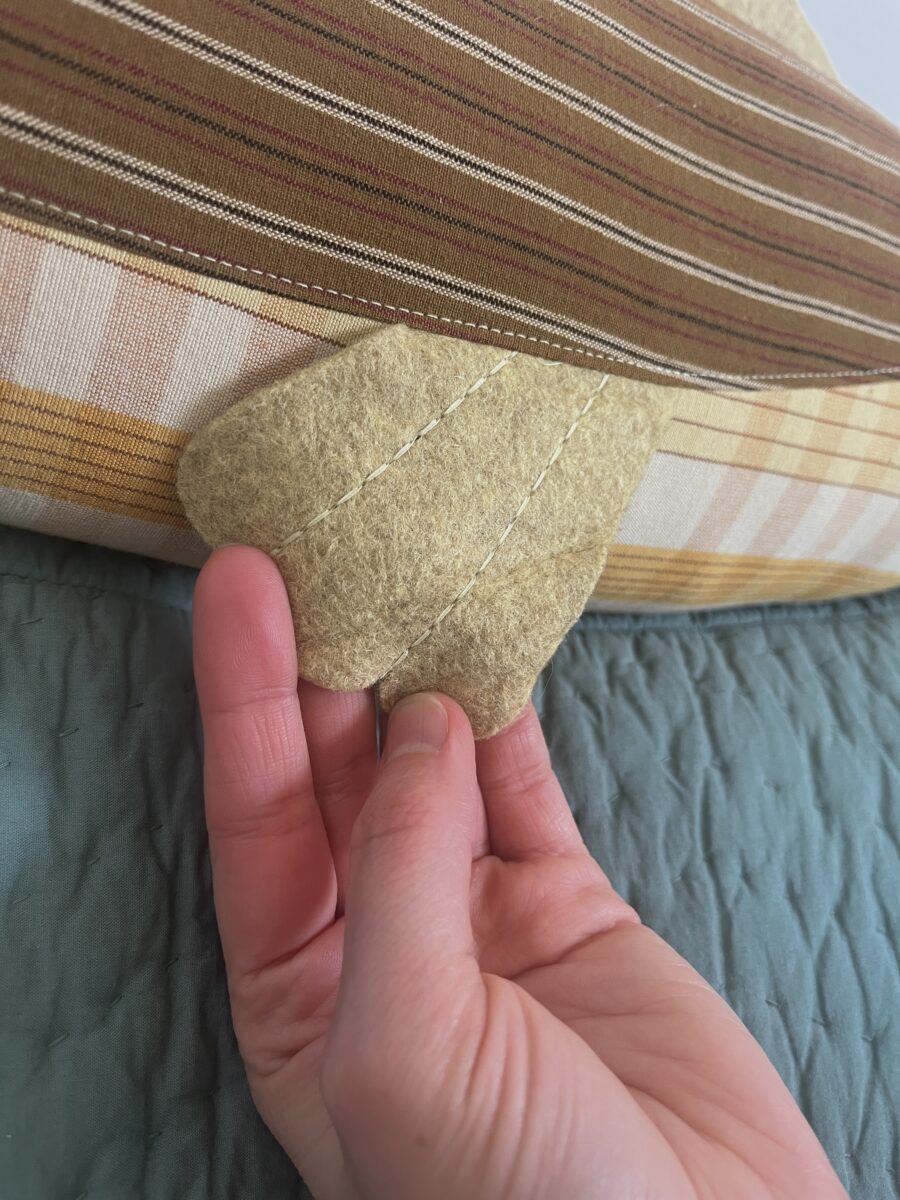
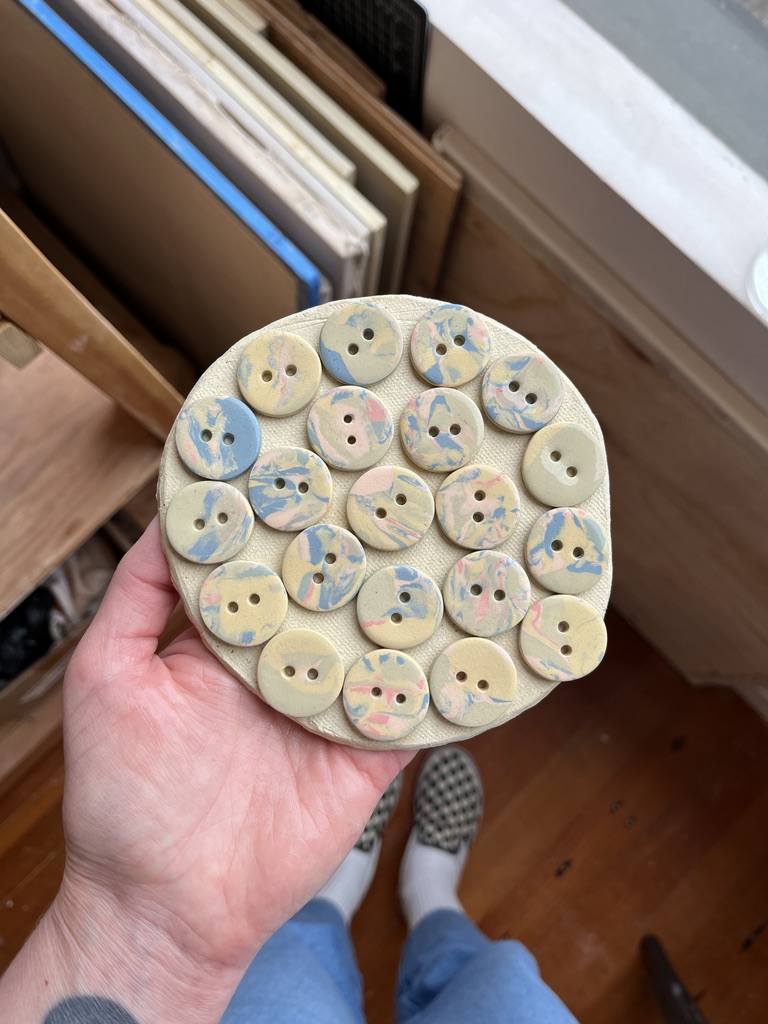
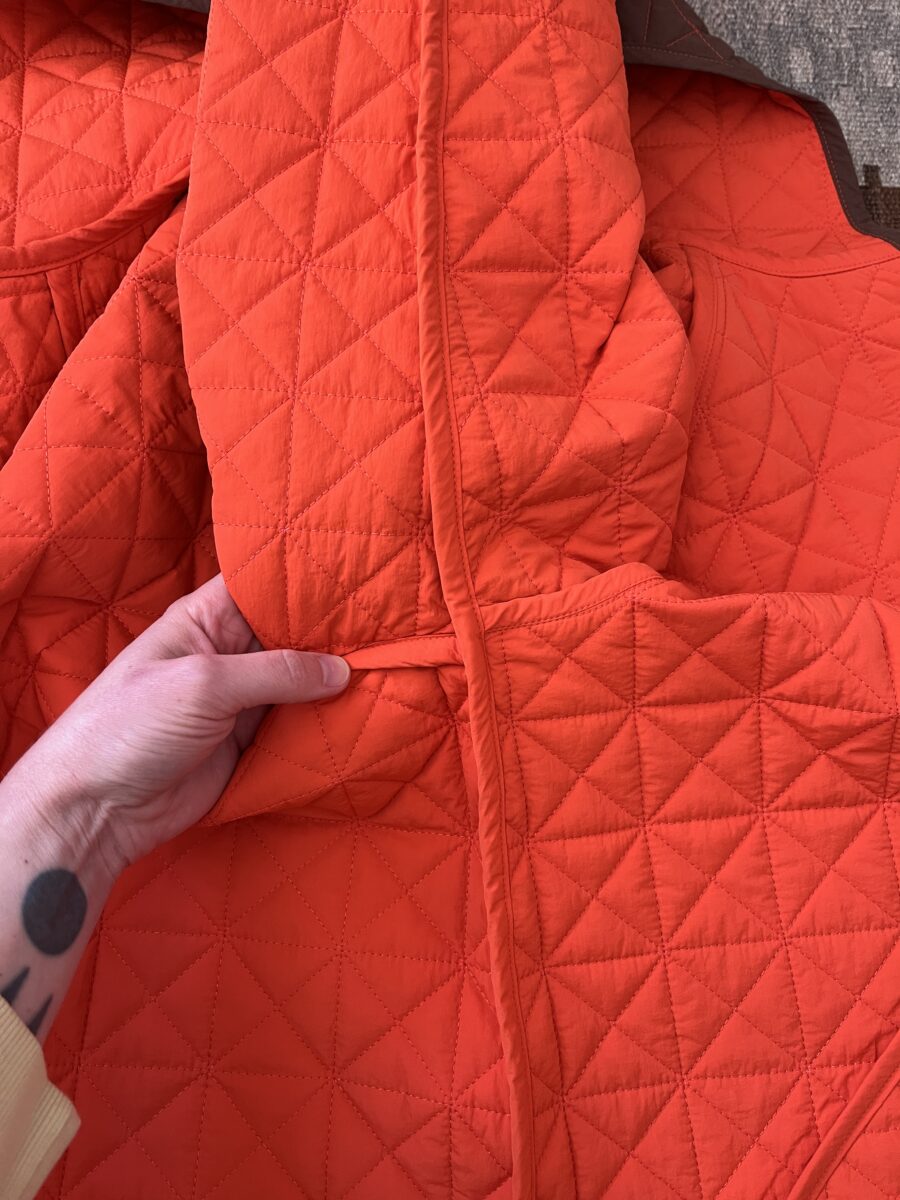
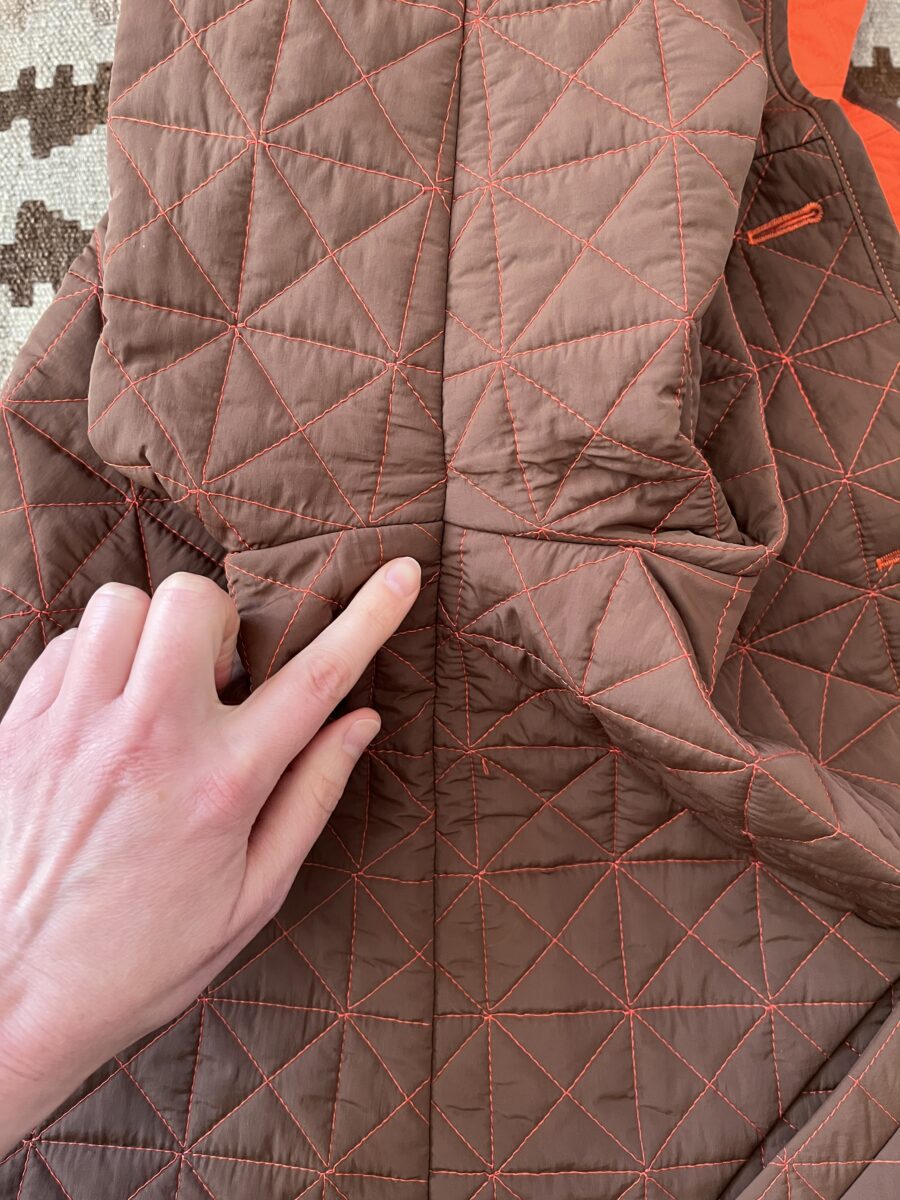
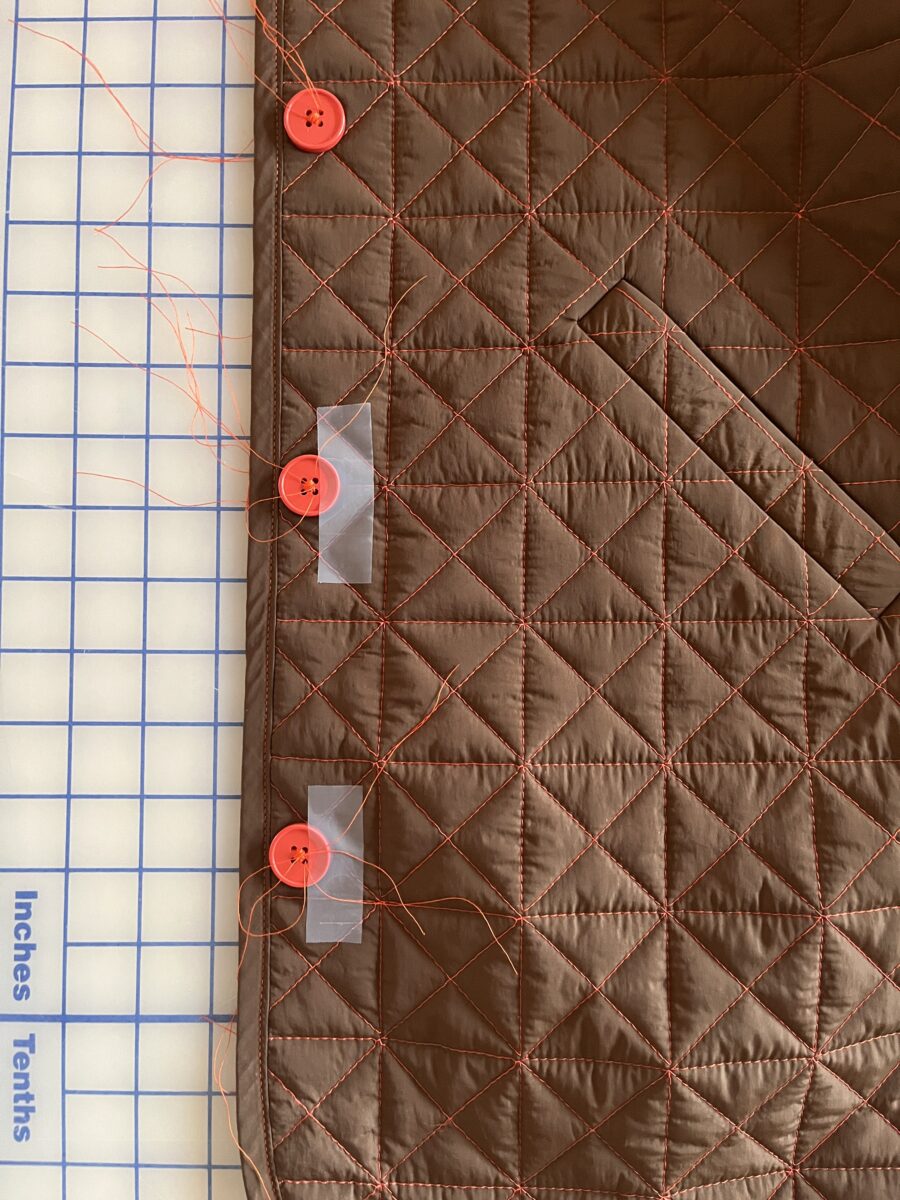
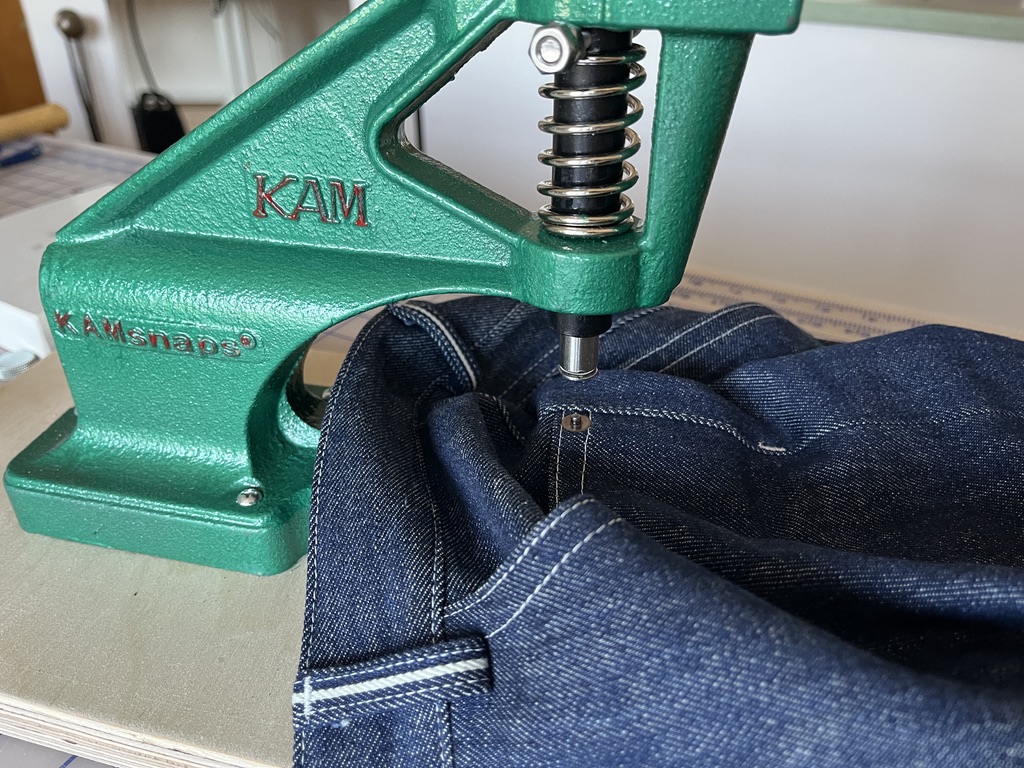
Partially inspired by my new table press, I decided to sew the button fly version. Setting hardware is so easy and consistent with this press. I did a hardware faux pas and mixed my metals since Grommet Mart shipped the wrong style of rivet (I don’t currently have a die for ring rivets). For the waistband I used one 17 mm tack button and four 14 mm tack buttons for the fly in antique bronze. Determined to fully finish them, I impatiently installed several nipple rivets in gunmetal. The color difference is barely noticeable and I hope they patina similarly. I also accidentally installed a pocket rivet in the side seam where it will do little to reinforce that pocket (pictured below).
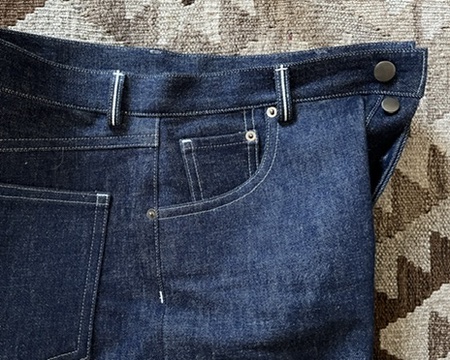
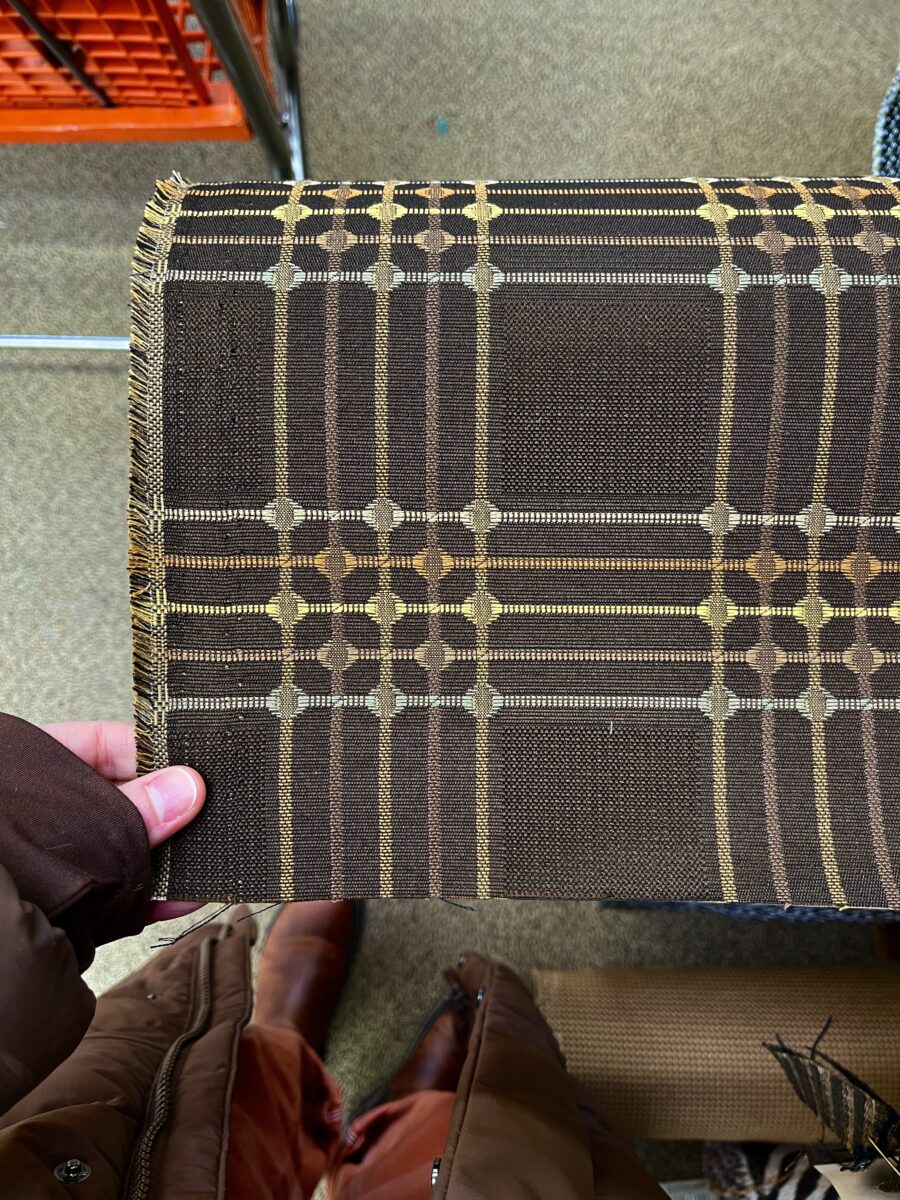
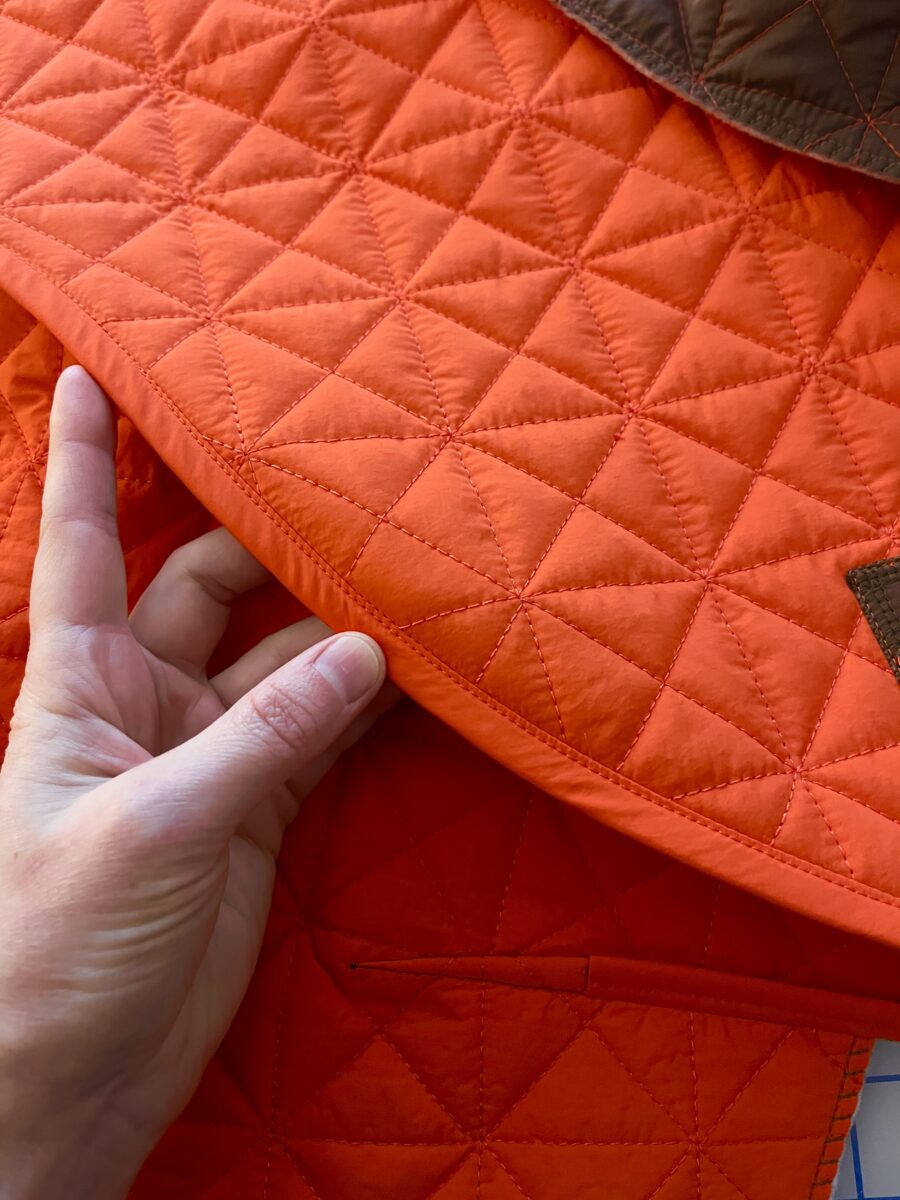
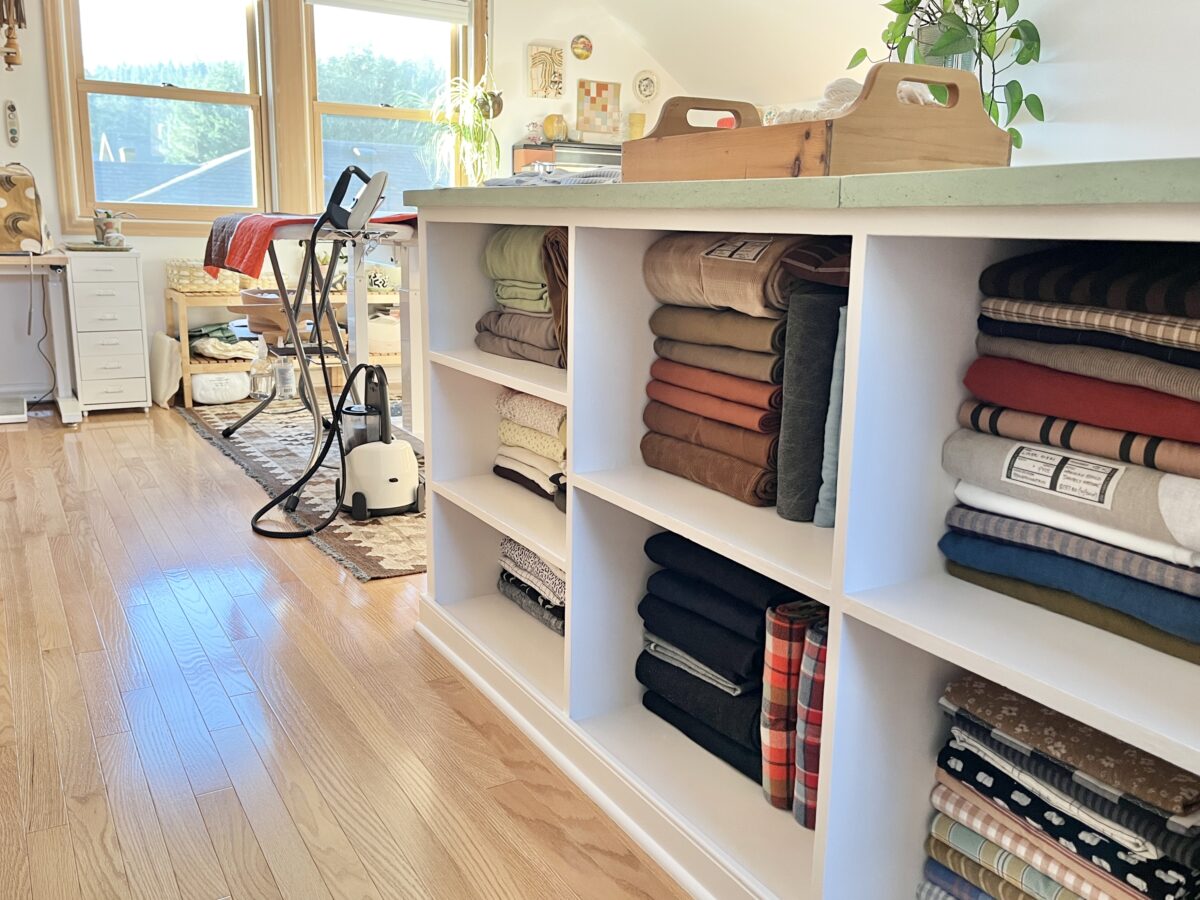
The straight waistband was such a good place to use the selvage edge and there was just enough to also use it on the button loops and fly shield. Fableism’s plaid cottons are great as pocketing. Since they’re yarn dyed, there’s no obvious right and wrong side, so I don’t have to think about what will show on the inside of the pants. Plus the colors are so good.
The look of regular topstitching thread is my favorite, but I’ve been trying to be happy with Mara 70. It’s not as beefy, but it is way easier to sew with. This particular denim has kinda caused the topstitching to sink down into the weave after washing.
My Bernina has a bar tack program, but I think I’ve finally found my preferred zigzag settings (width 2.1, length 0.60). With a 80 or 90 jeans needle and regular poly thread, these bar tacks can even be sewn on thick belt loops.
When I first put these on, I was overwhelmed by the crotch depth. It’s SO HIGH but after biking in them and wearing them all day, I’ve decided they’re perfect. There’s some lower crotch folds that happen as the denim bags out with wear, but not having to readjust constantly while biking means I probably won’t reduce the height on my next pair.

I’d like to use the straight leg version of this pattern to dupe the Rudy Jude jeans I have that no longer fit. Might even use the same fabric for it!
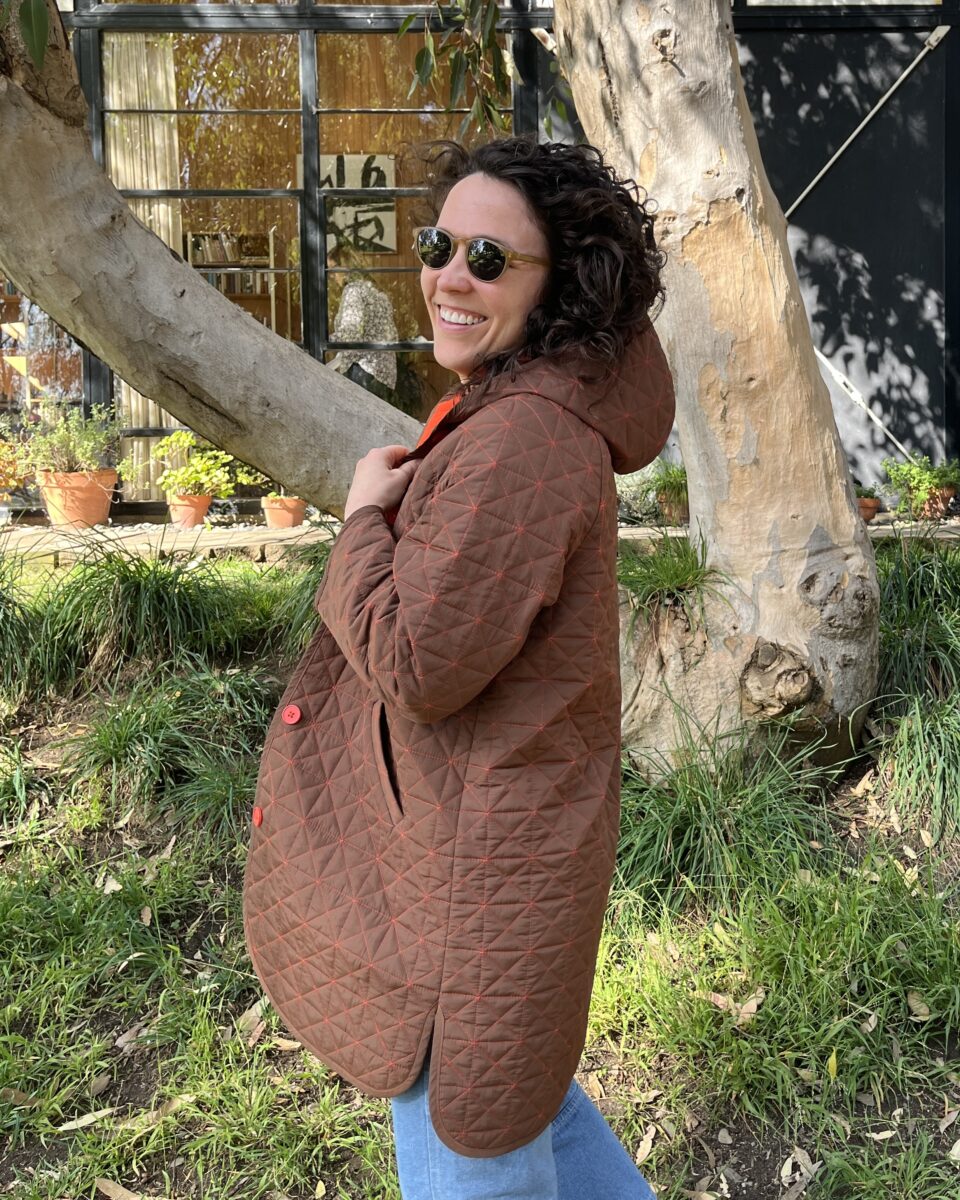
Cedar Pants
Encouraged by my Helene success, I immediately jumped into another bottoms project. I added an additional ½” to the side seams after reading some review stating that the hips were tight. I’m glad I did. I printed a size 10 when I probably should have instead done some grading to at least a 12. Anyway that extra ½” saved me!
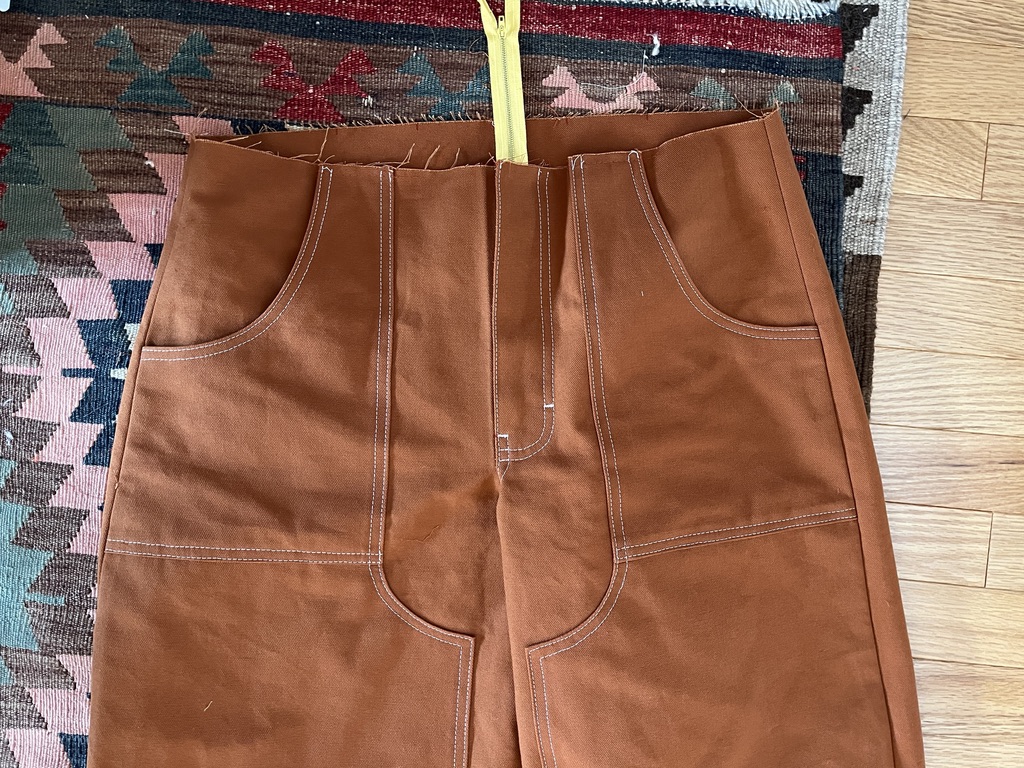
The fly construction is really easy, however, next time I plan to clip first and then finish the seam allowances. The instructions say to use a 7″ zipper for the size I chose, but that was a lot shorter than the opening. Instead I cut down a vintage 12″ metal zip. The zipper stop was a real challenge to remove and reattach so I dropped / lost it multiple times before successfully reinstalling it.
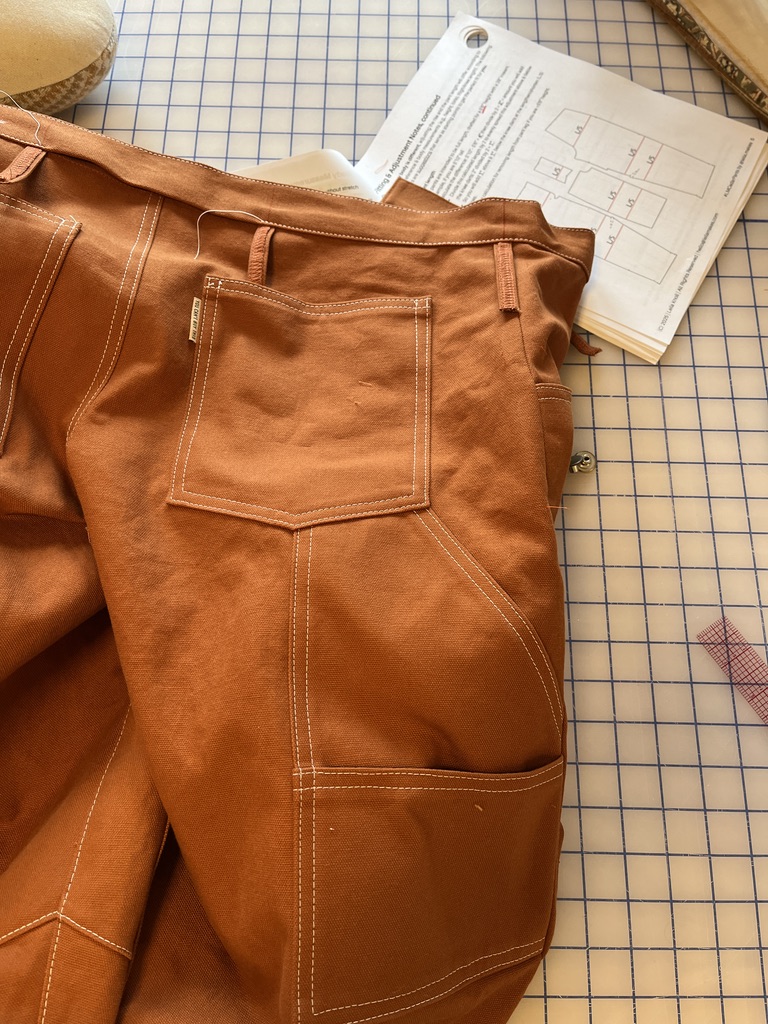
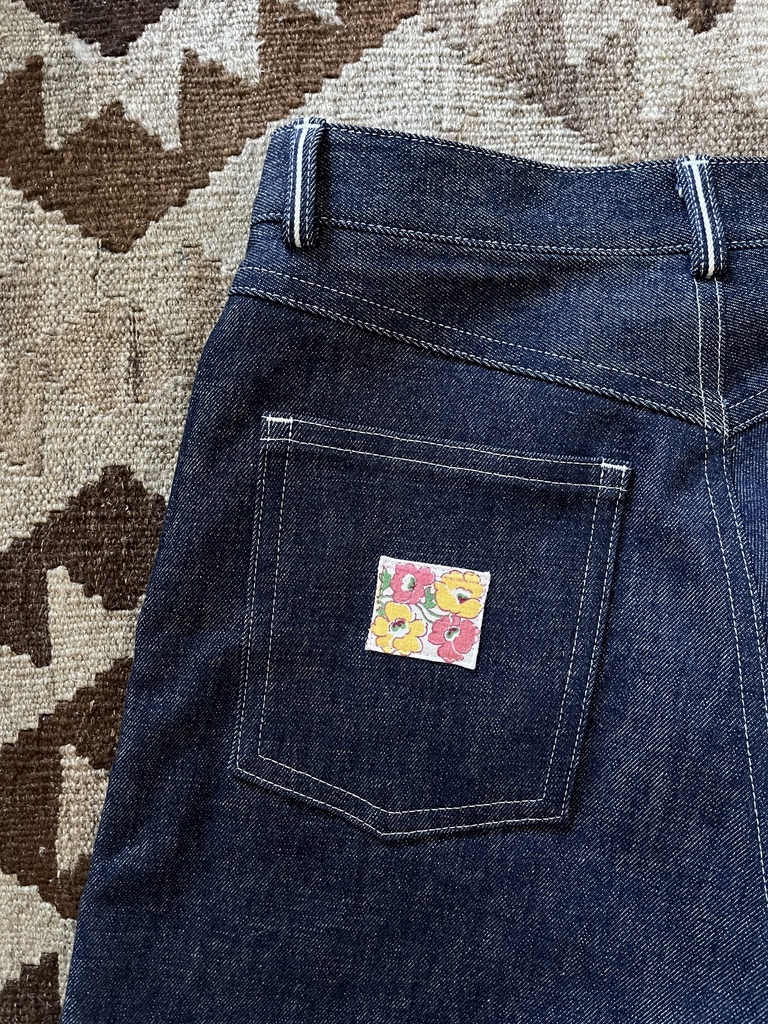
I know the pattern is all about the matching front and back patch pockets, but I wanted a different look. Plus Big Sur canvas is 9.6 oz meaning that side seam intersection would be super bulky. Instead I opted for a traditional back pocket and aligned the top of the cargo-esque pockets with bottom angled edge. I fully lucked out on back pocket placement. I took no measurements and just thought the placement looked good on the flat back piece. A wild choice when multiple rows of topstitching is involved.

The pattern doesn’t include pattern pieces for the bits that need interfacing, which I don’t appreciate. Cutting and fusing interfacing is already a hard step for me to complete and having to guess at the shape made it extra annoying. Ultimately the waistband interfacing was super wrong since I’d adjusted the width of the pants.
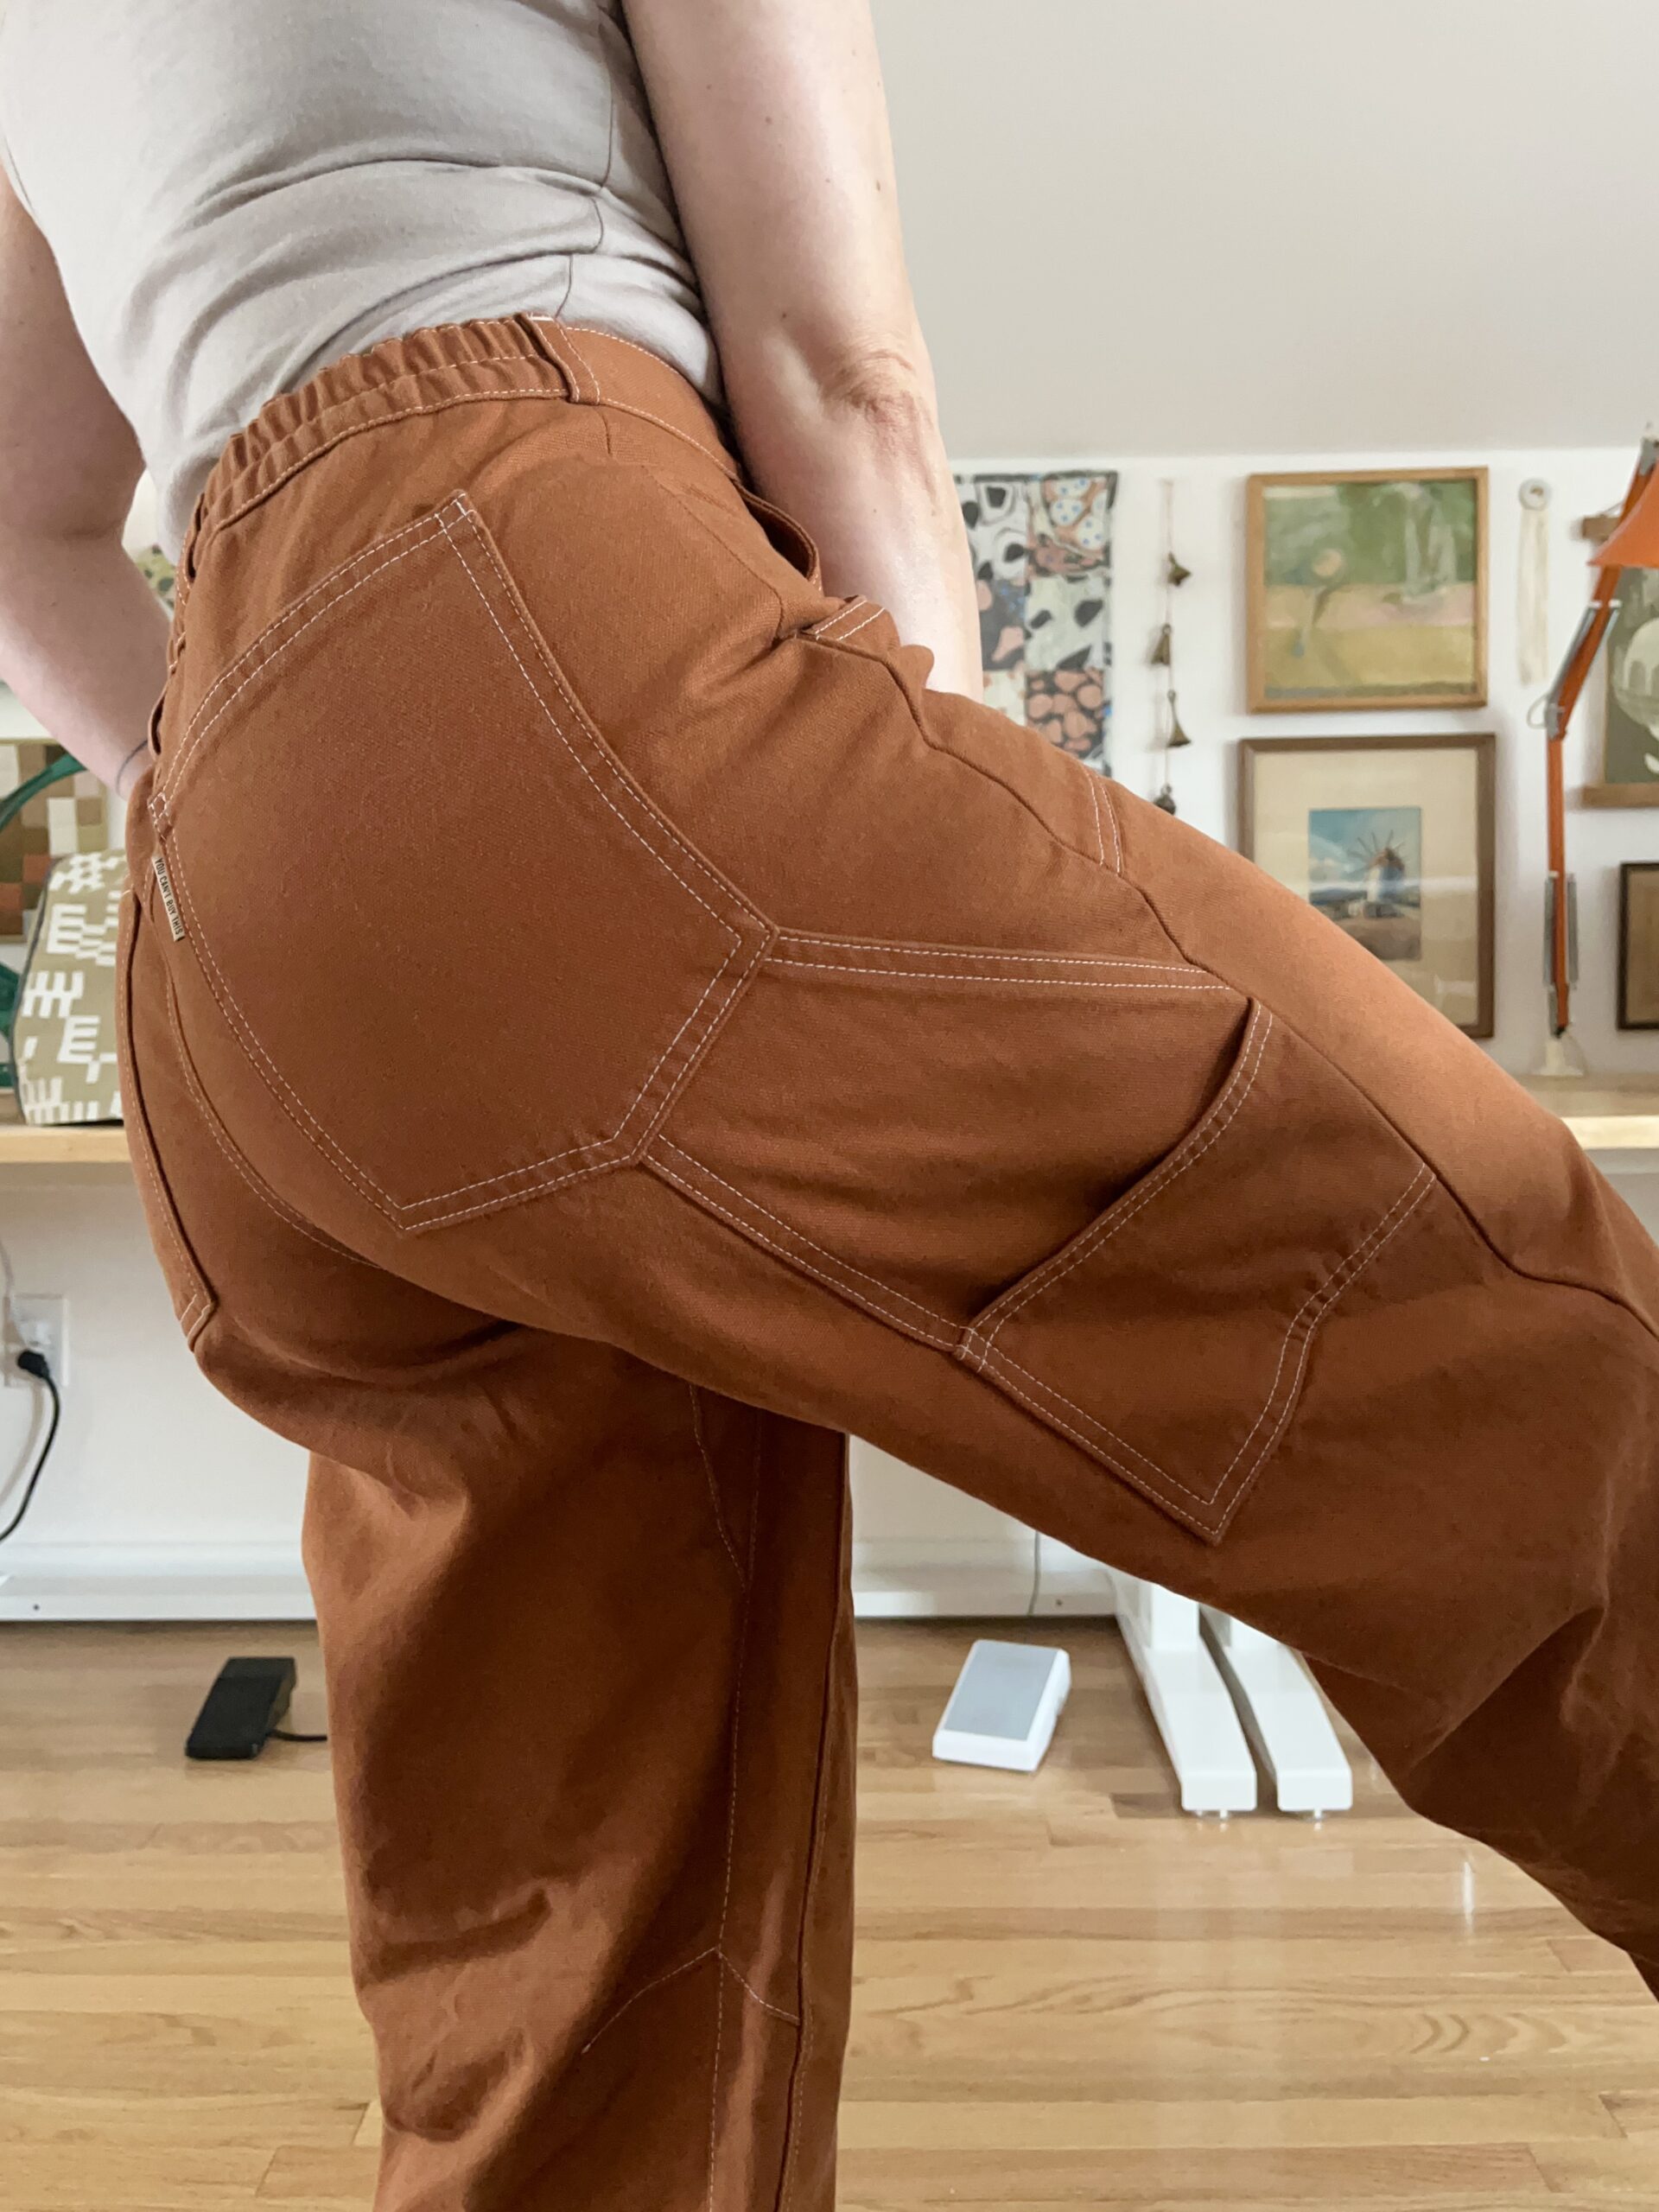
The crotch shape only just works for me. I find the booty gobble to be uncomfortable, so I think I could benefit from some crotch scooping. I think the only reason I’m not ripping these pants off is because of the gusset, which moves the bulk away from sensitive areas. The real test will be a bike ride.
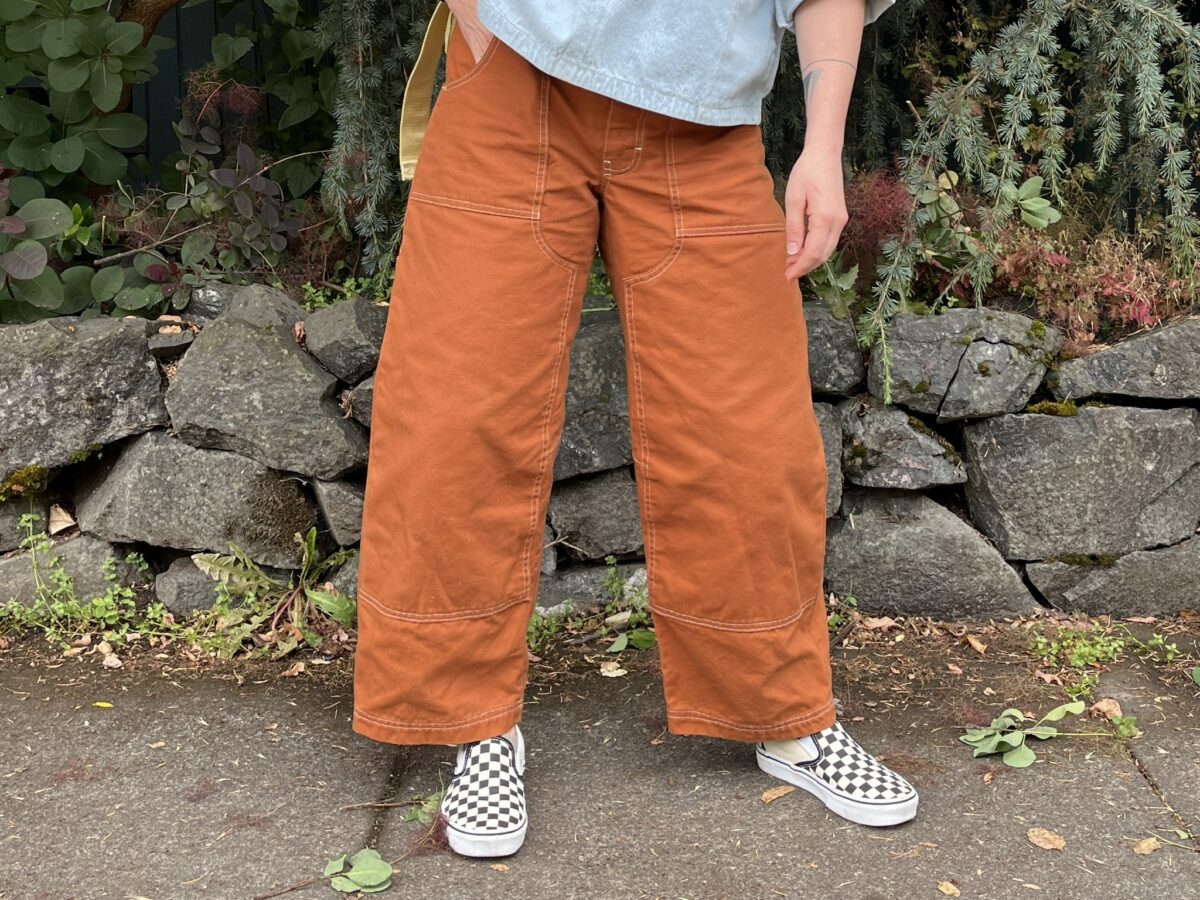
I shortened the length by 2″, but think I’d benefit from removing another 1-2″. A little cropped is my preferred length, even if it means my ankles may get chilly.
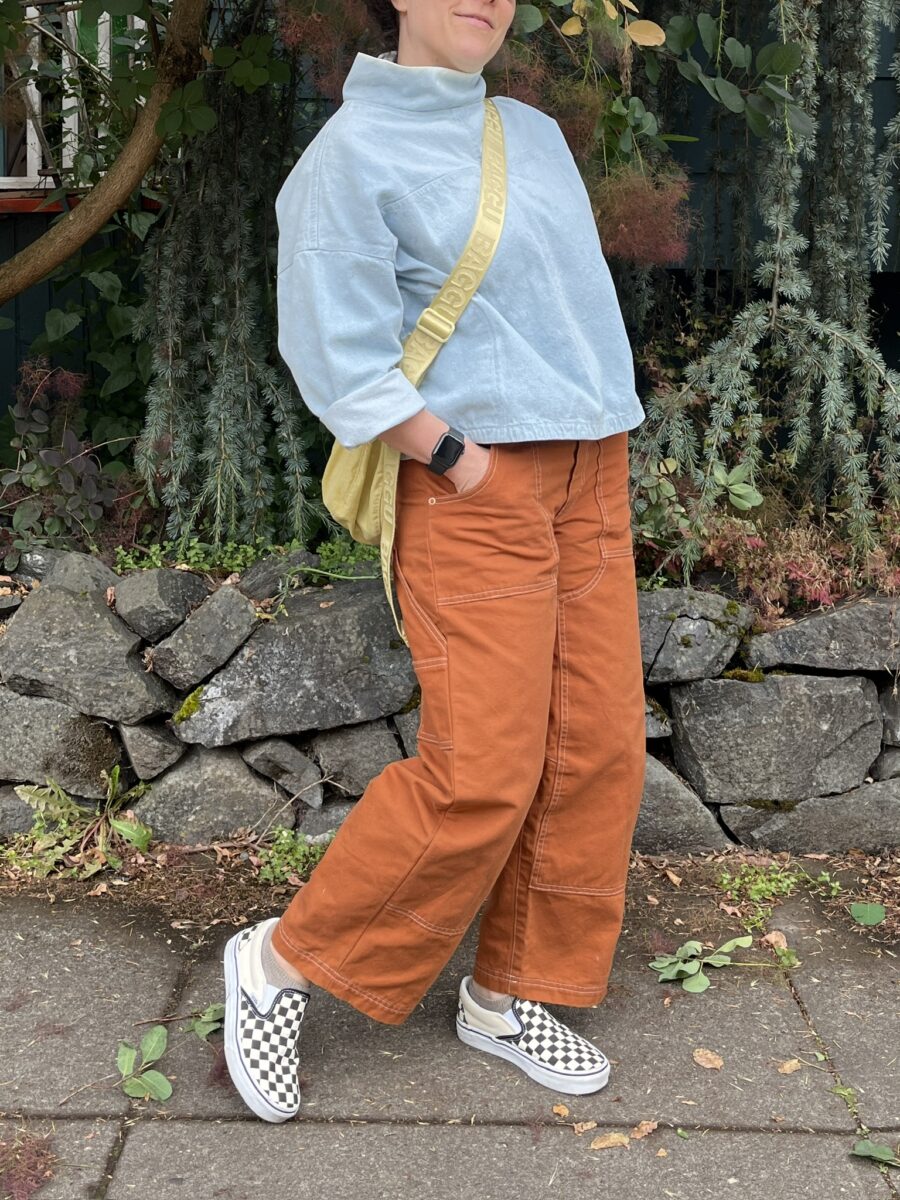
I stopped reading the instructions towards the end of construction. I like to attach waistbands to the inside first and then the fold needing to be topstitched down is visible, ultimately eliminating the possibility of missing sections. Two belt loops were added to the back waistband in order to hide my backstitching. The elastic could have been cut a little shorter, but it’s a great fit for waist fluctuations.
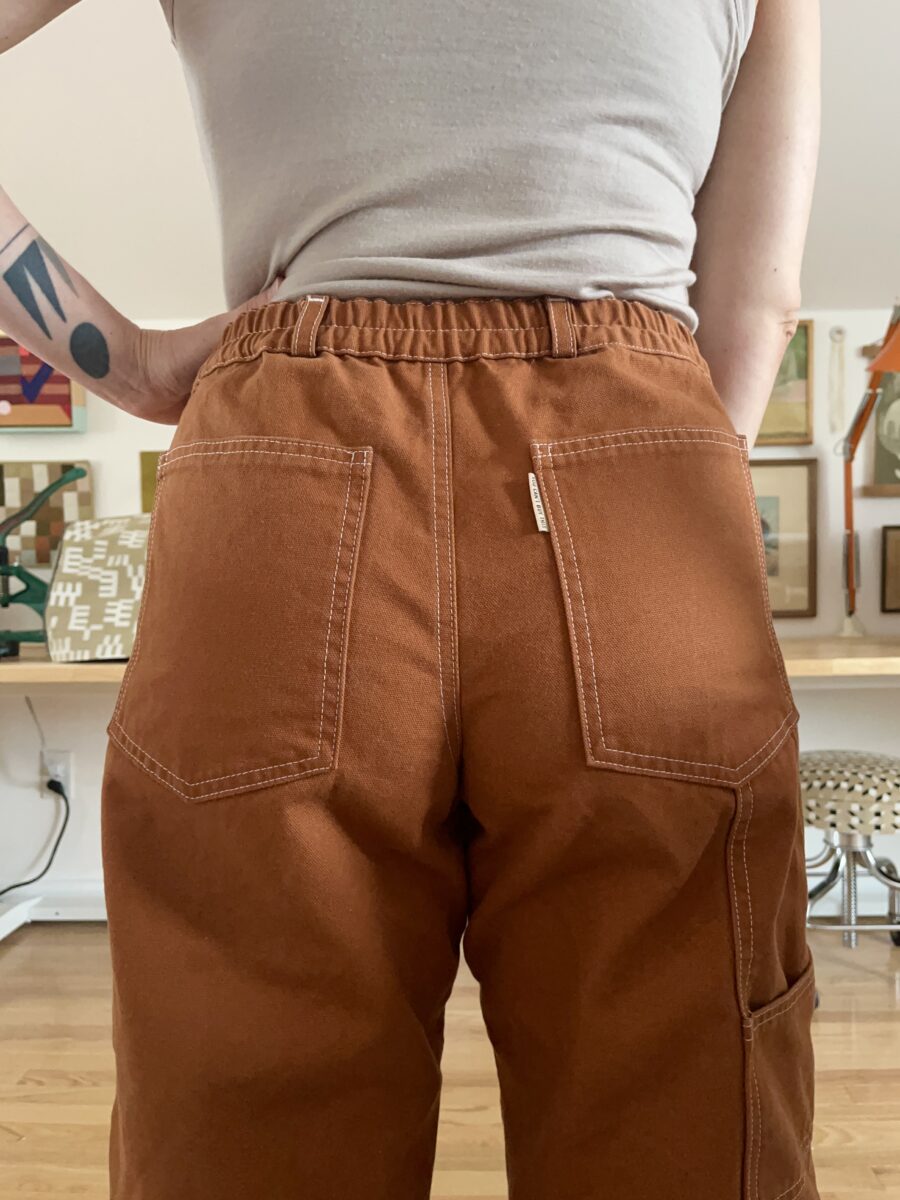
Ideas for the next pair are to 1) shorten the legs more, 2) combine the front patch pocket with knee patch since I don’t think that seam is necessary, 3) scoop out that back rise, 4) use some lighter weight indigo cotton ripstop.