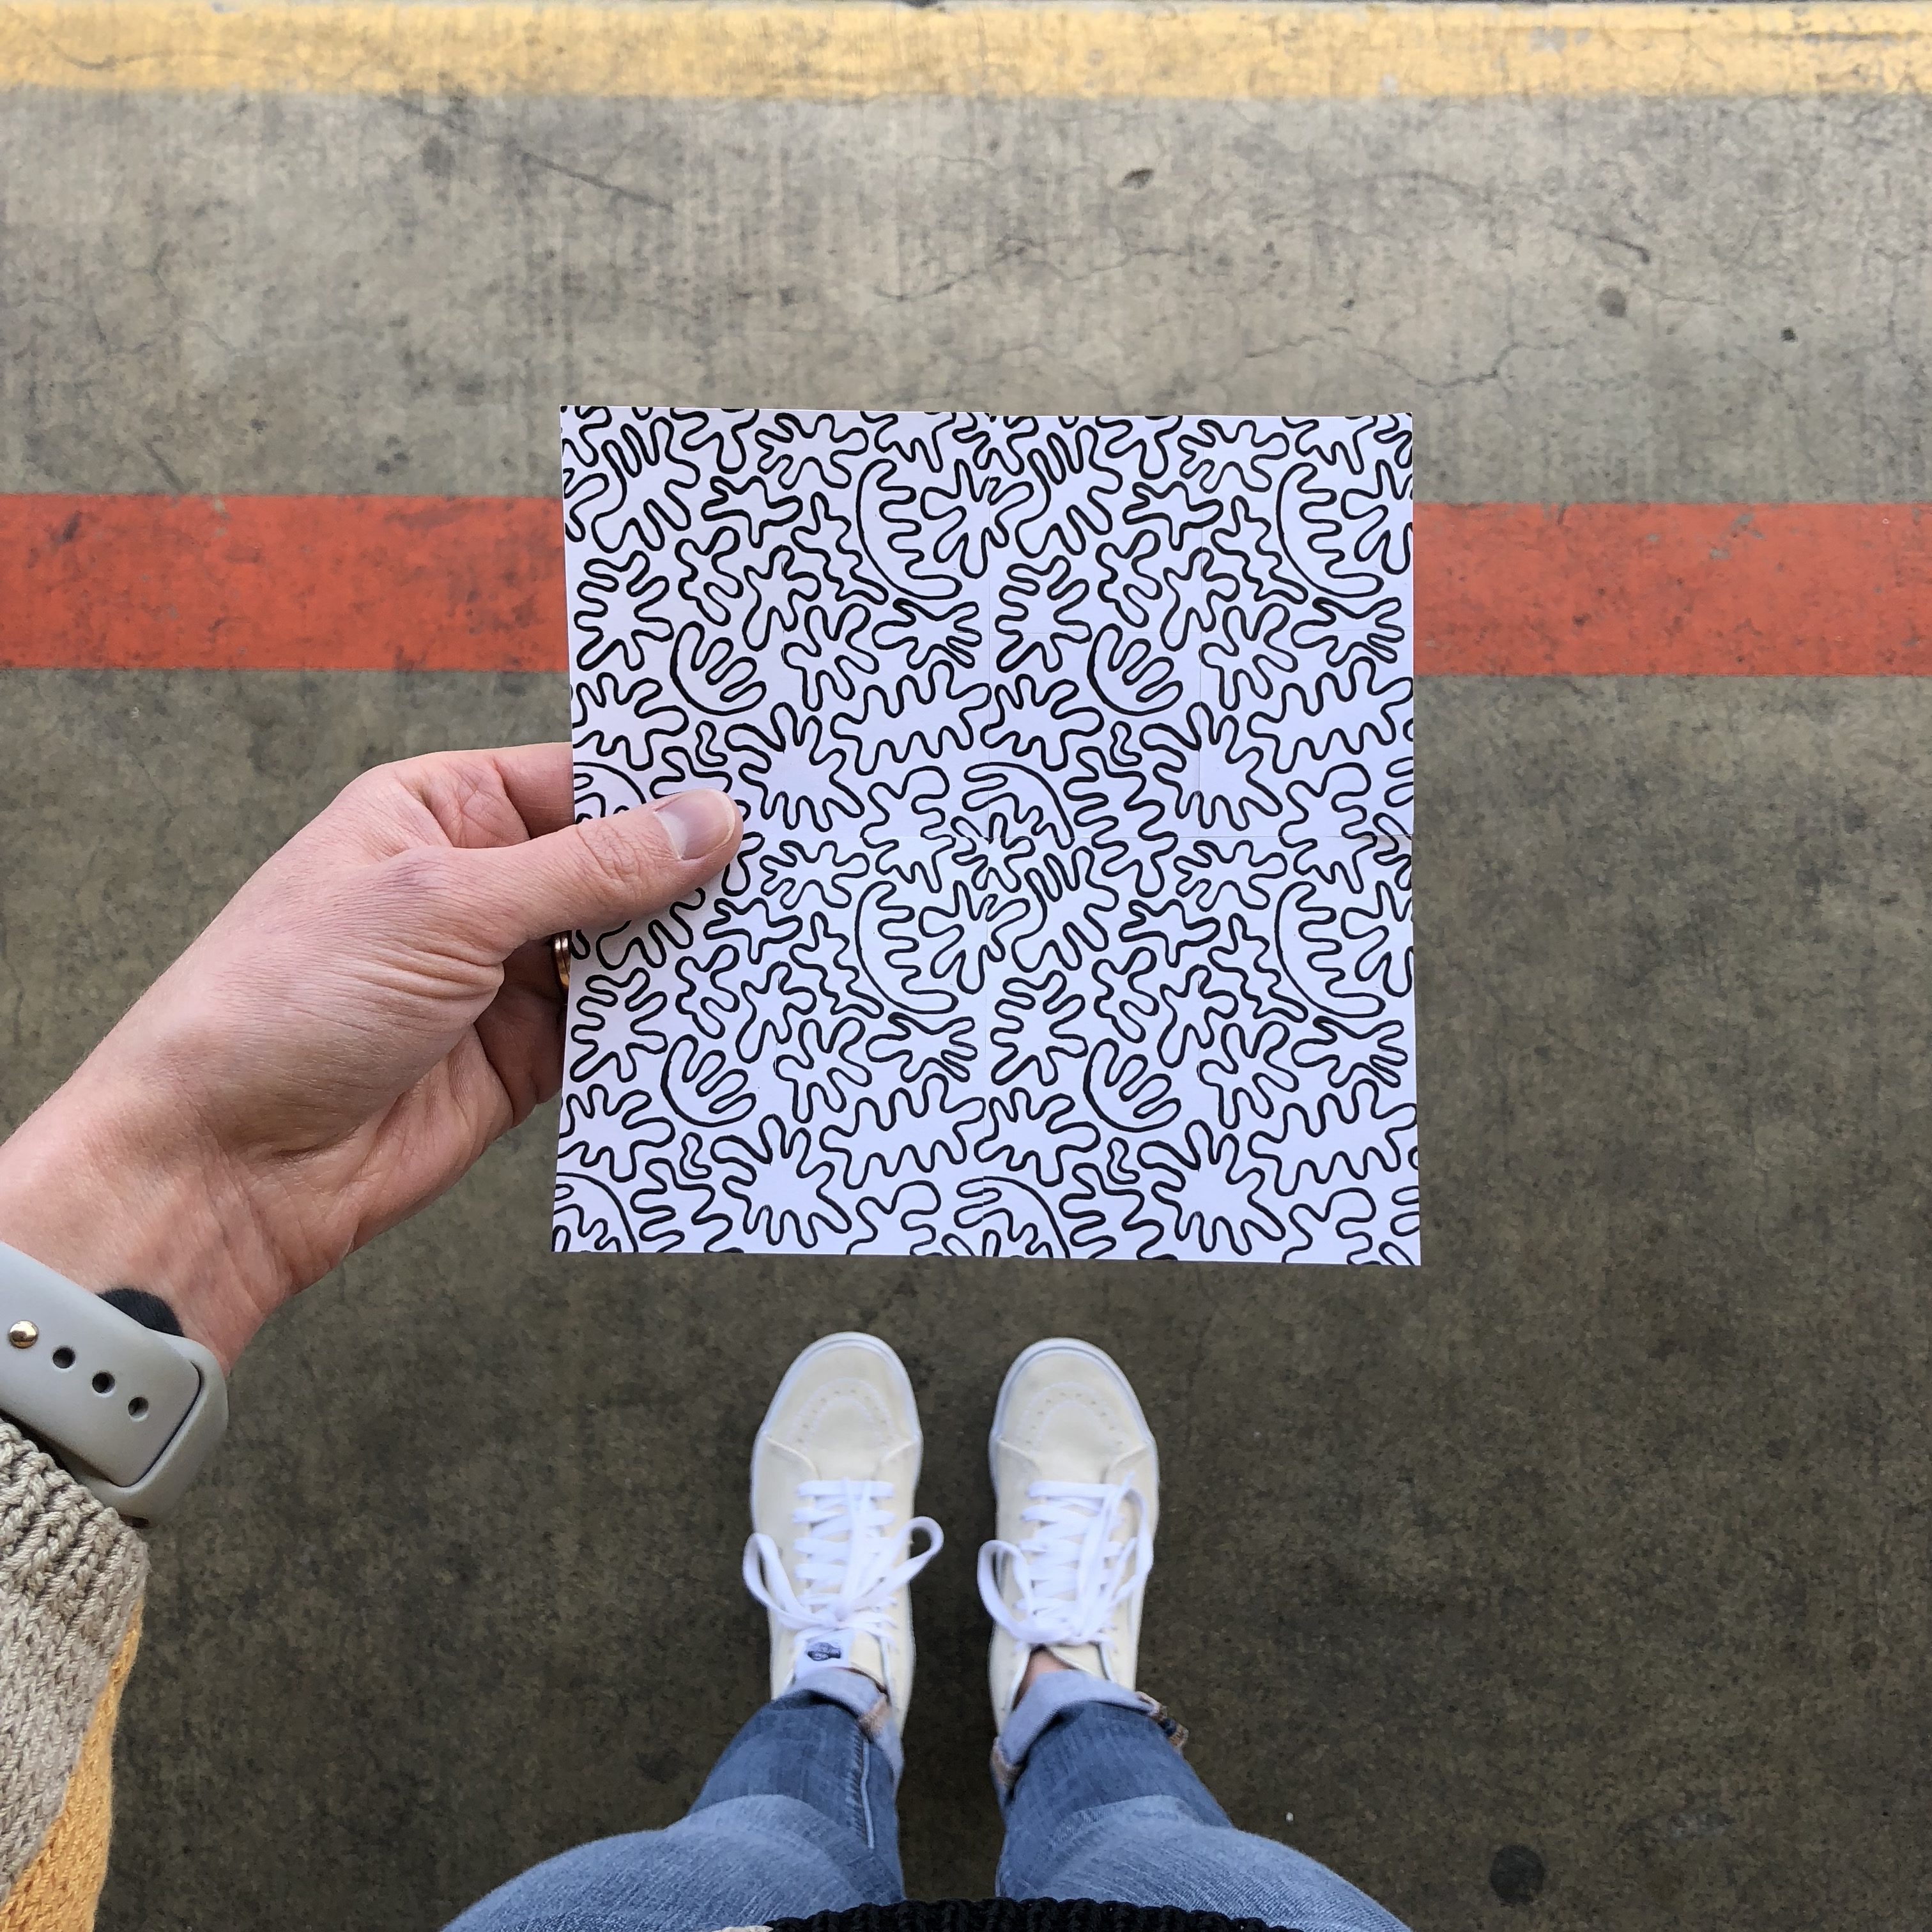
I’ve wanted to try my hand at making repeat patterns for quite some time now. Since I’m lacking in the requisite computer skills and the analog way requires slicing up a drawing, I just kept putting it off. This week I had the idea of making a low-risk tiny drawing just to test the whole process out. I made a little wiggle drawing on a post-it and BAM – a repeat pattern was born. It’s safe to say I’m now obsessed.
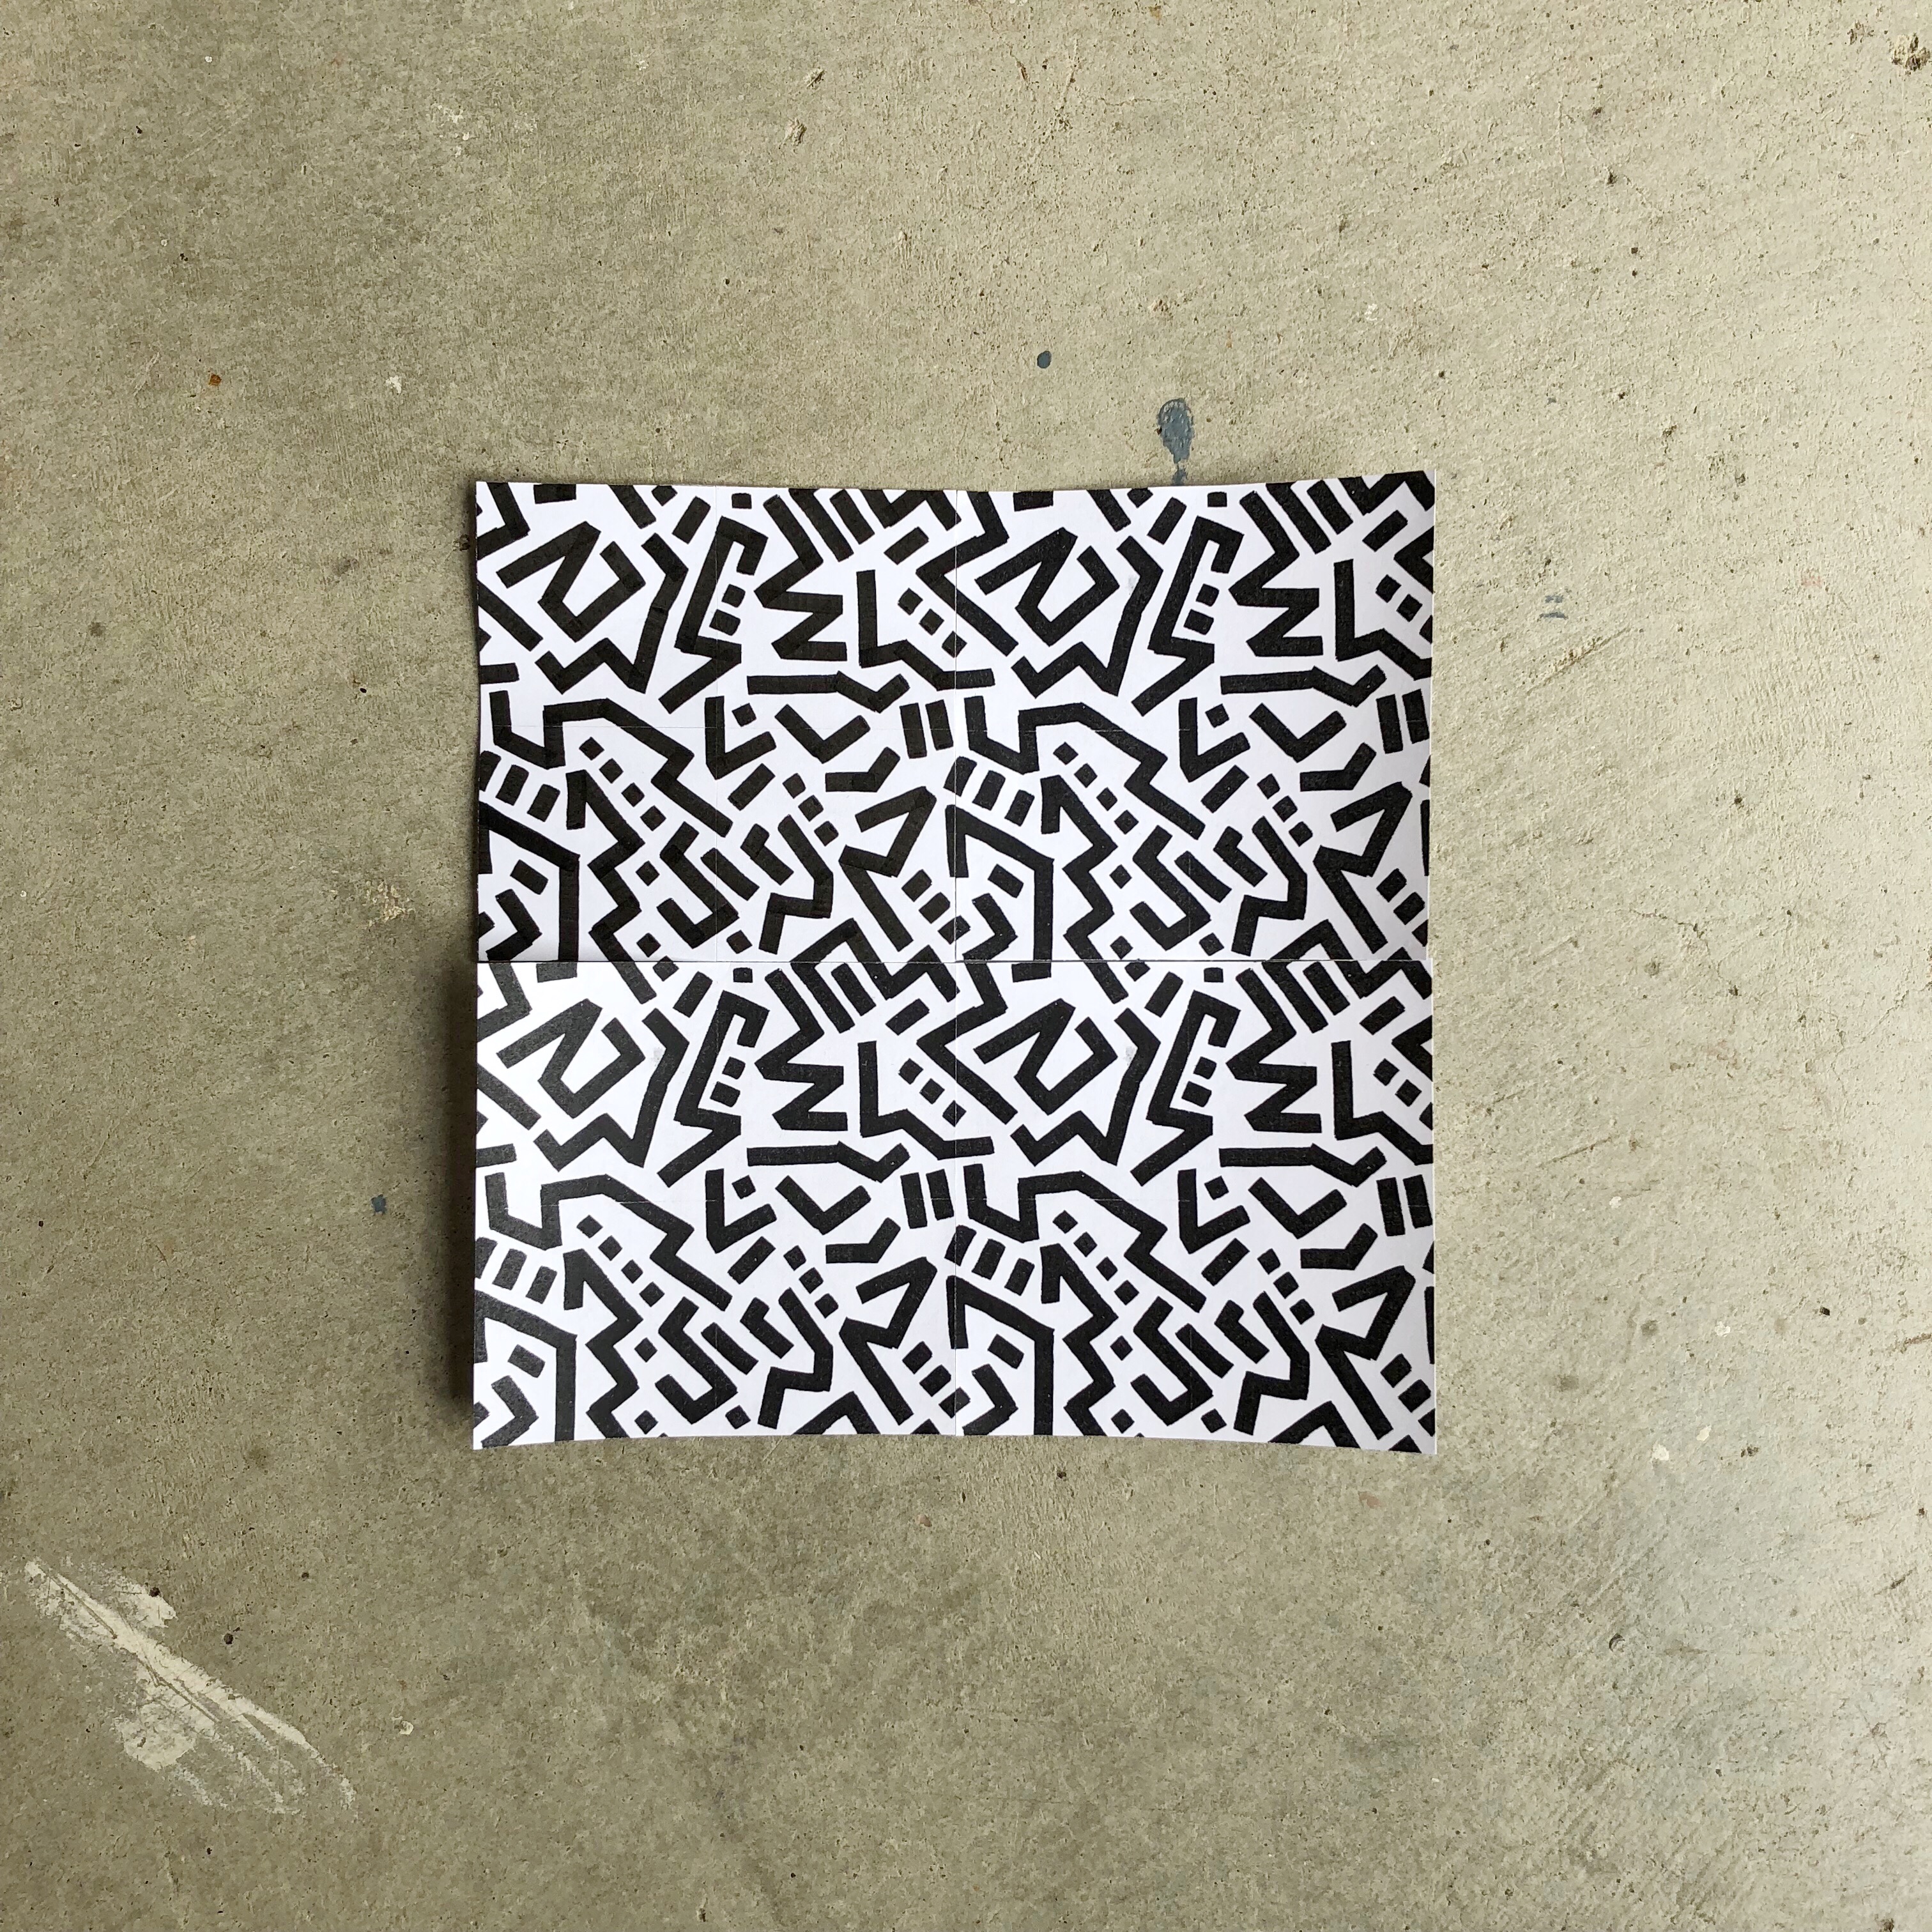
Drawing challenges have also been something I’d like to take a stab at, but things like the 100 Day Challenge and even the 30 Day Drawing Challenge have felt too, well, challenging. However, I think I’ve found my introductory challenge project. Tiny repeat patterns take away the hurdle of coming up with a drawing idea each day and the process is really enjoyable.
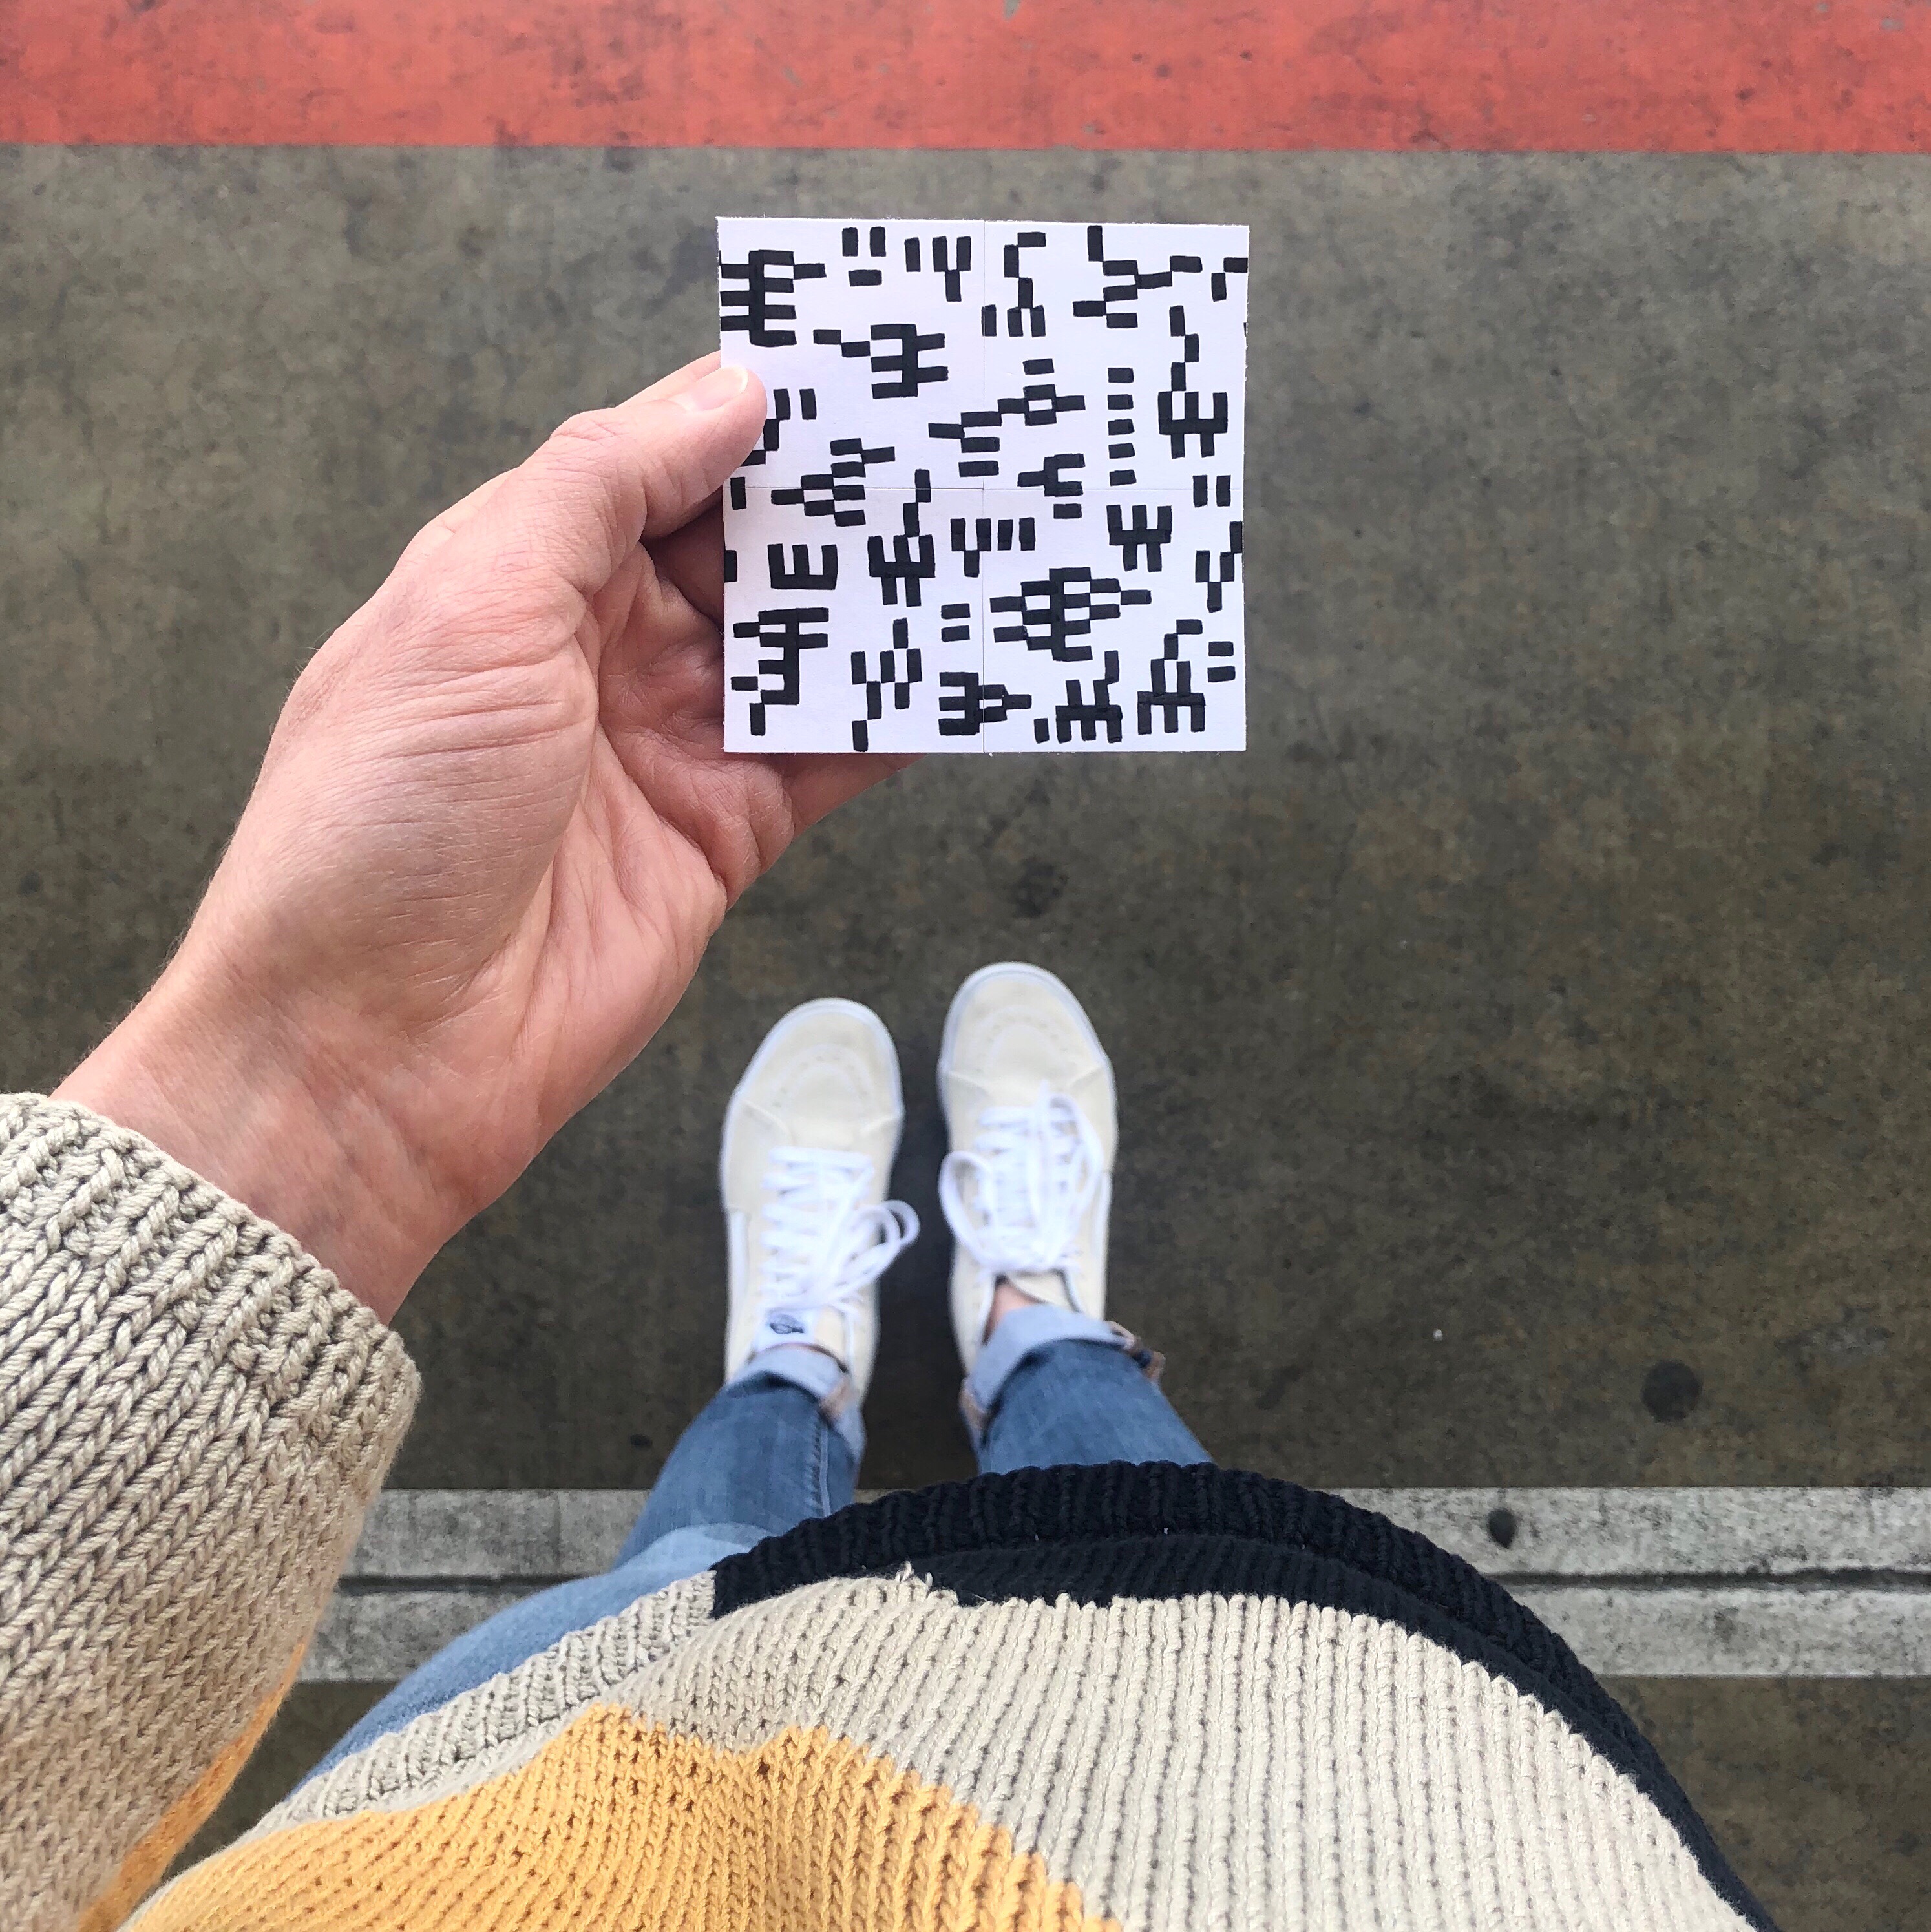
I’m going to challenge myself to make one tiny (3″ x 3″) repeat pattern a day for 30 days. I’m going to share the patterns on Instagram with the hashtag #repeatpatternparty.
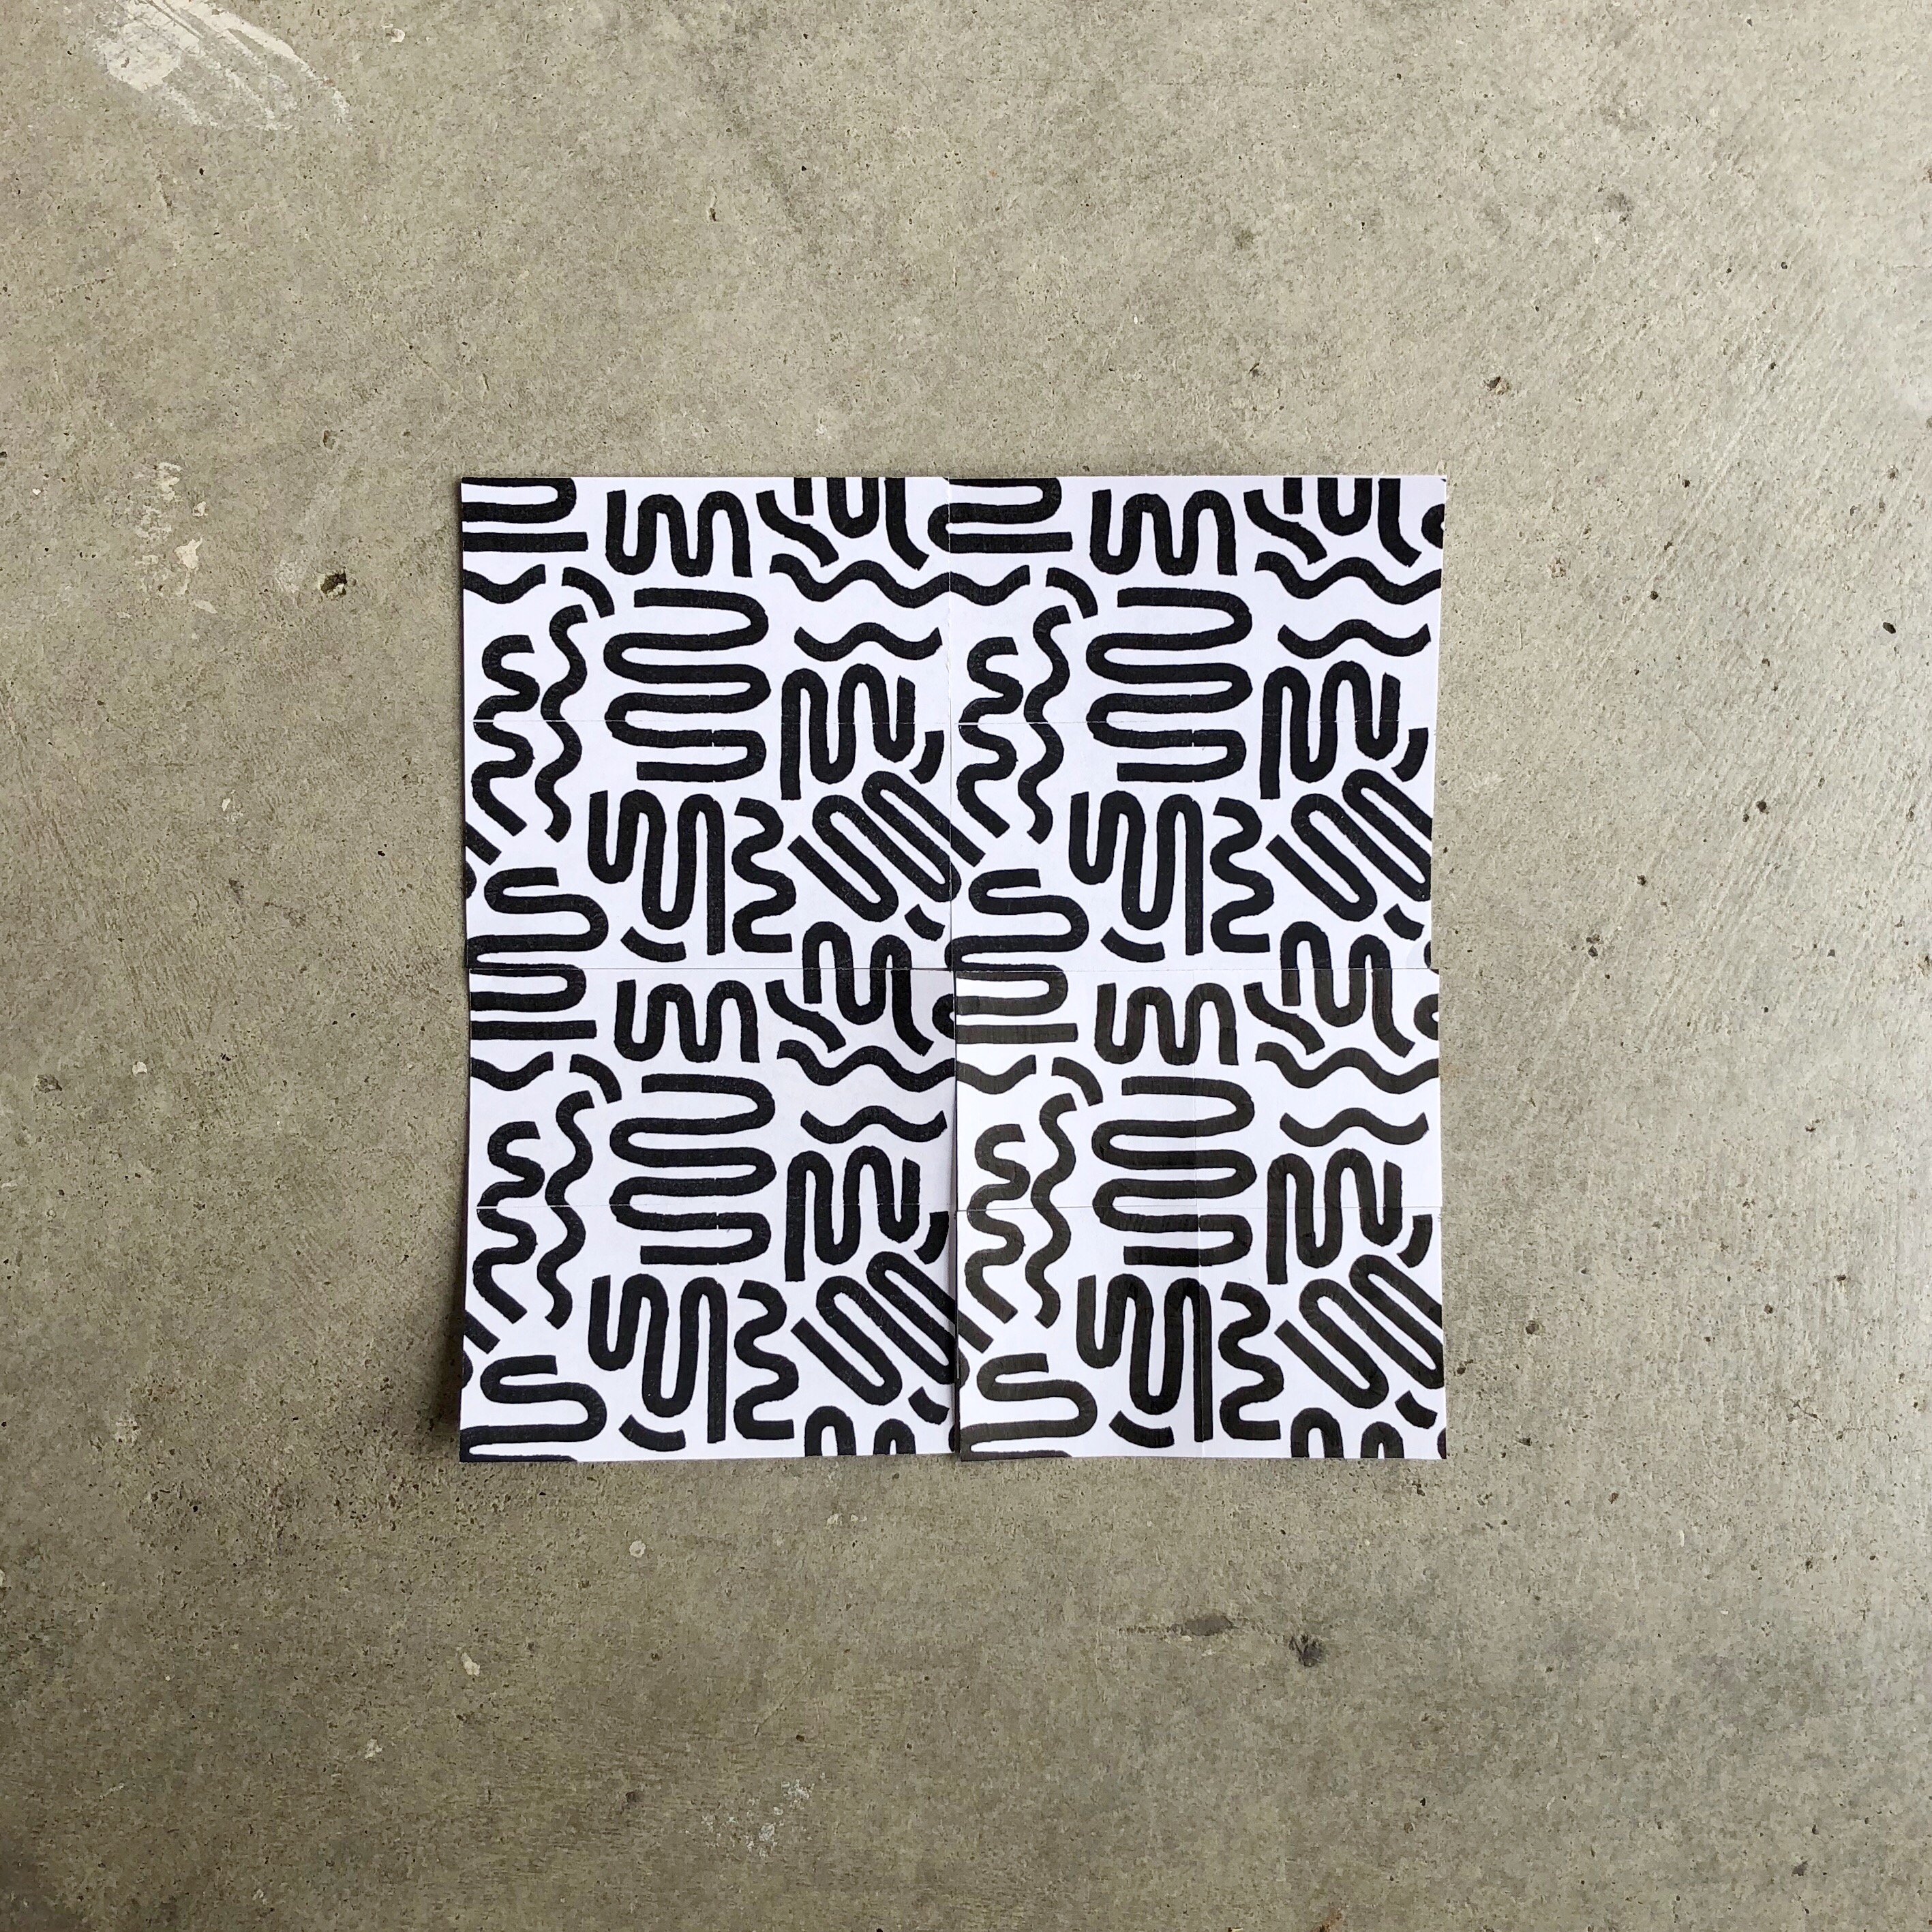
In addition to creating a daily drawing habit, I’m hoping this challenge will also motivate me to learn how to use Adobe Illustrator. I’d like to turn some of these repeat patterns into fabric on Spoonflower.
Repeat Pattern Tutorial
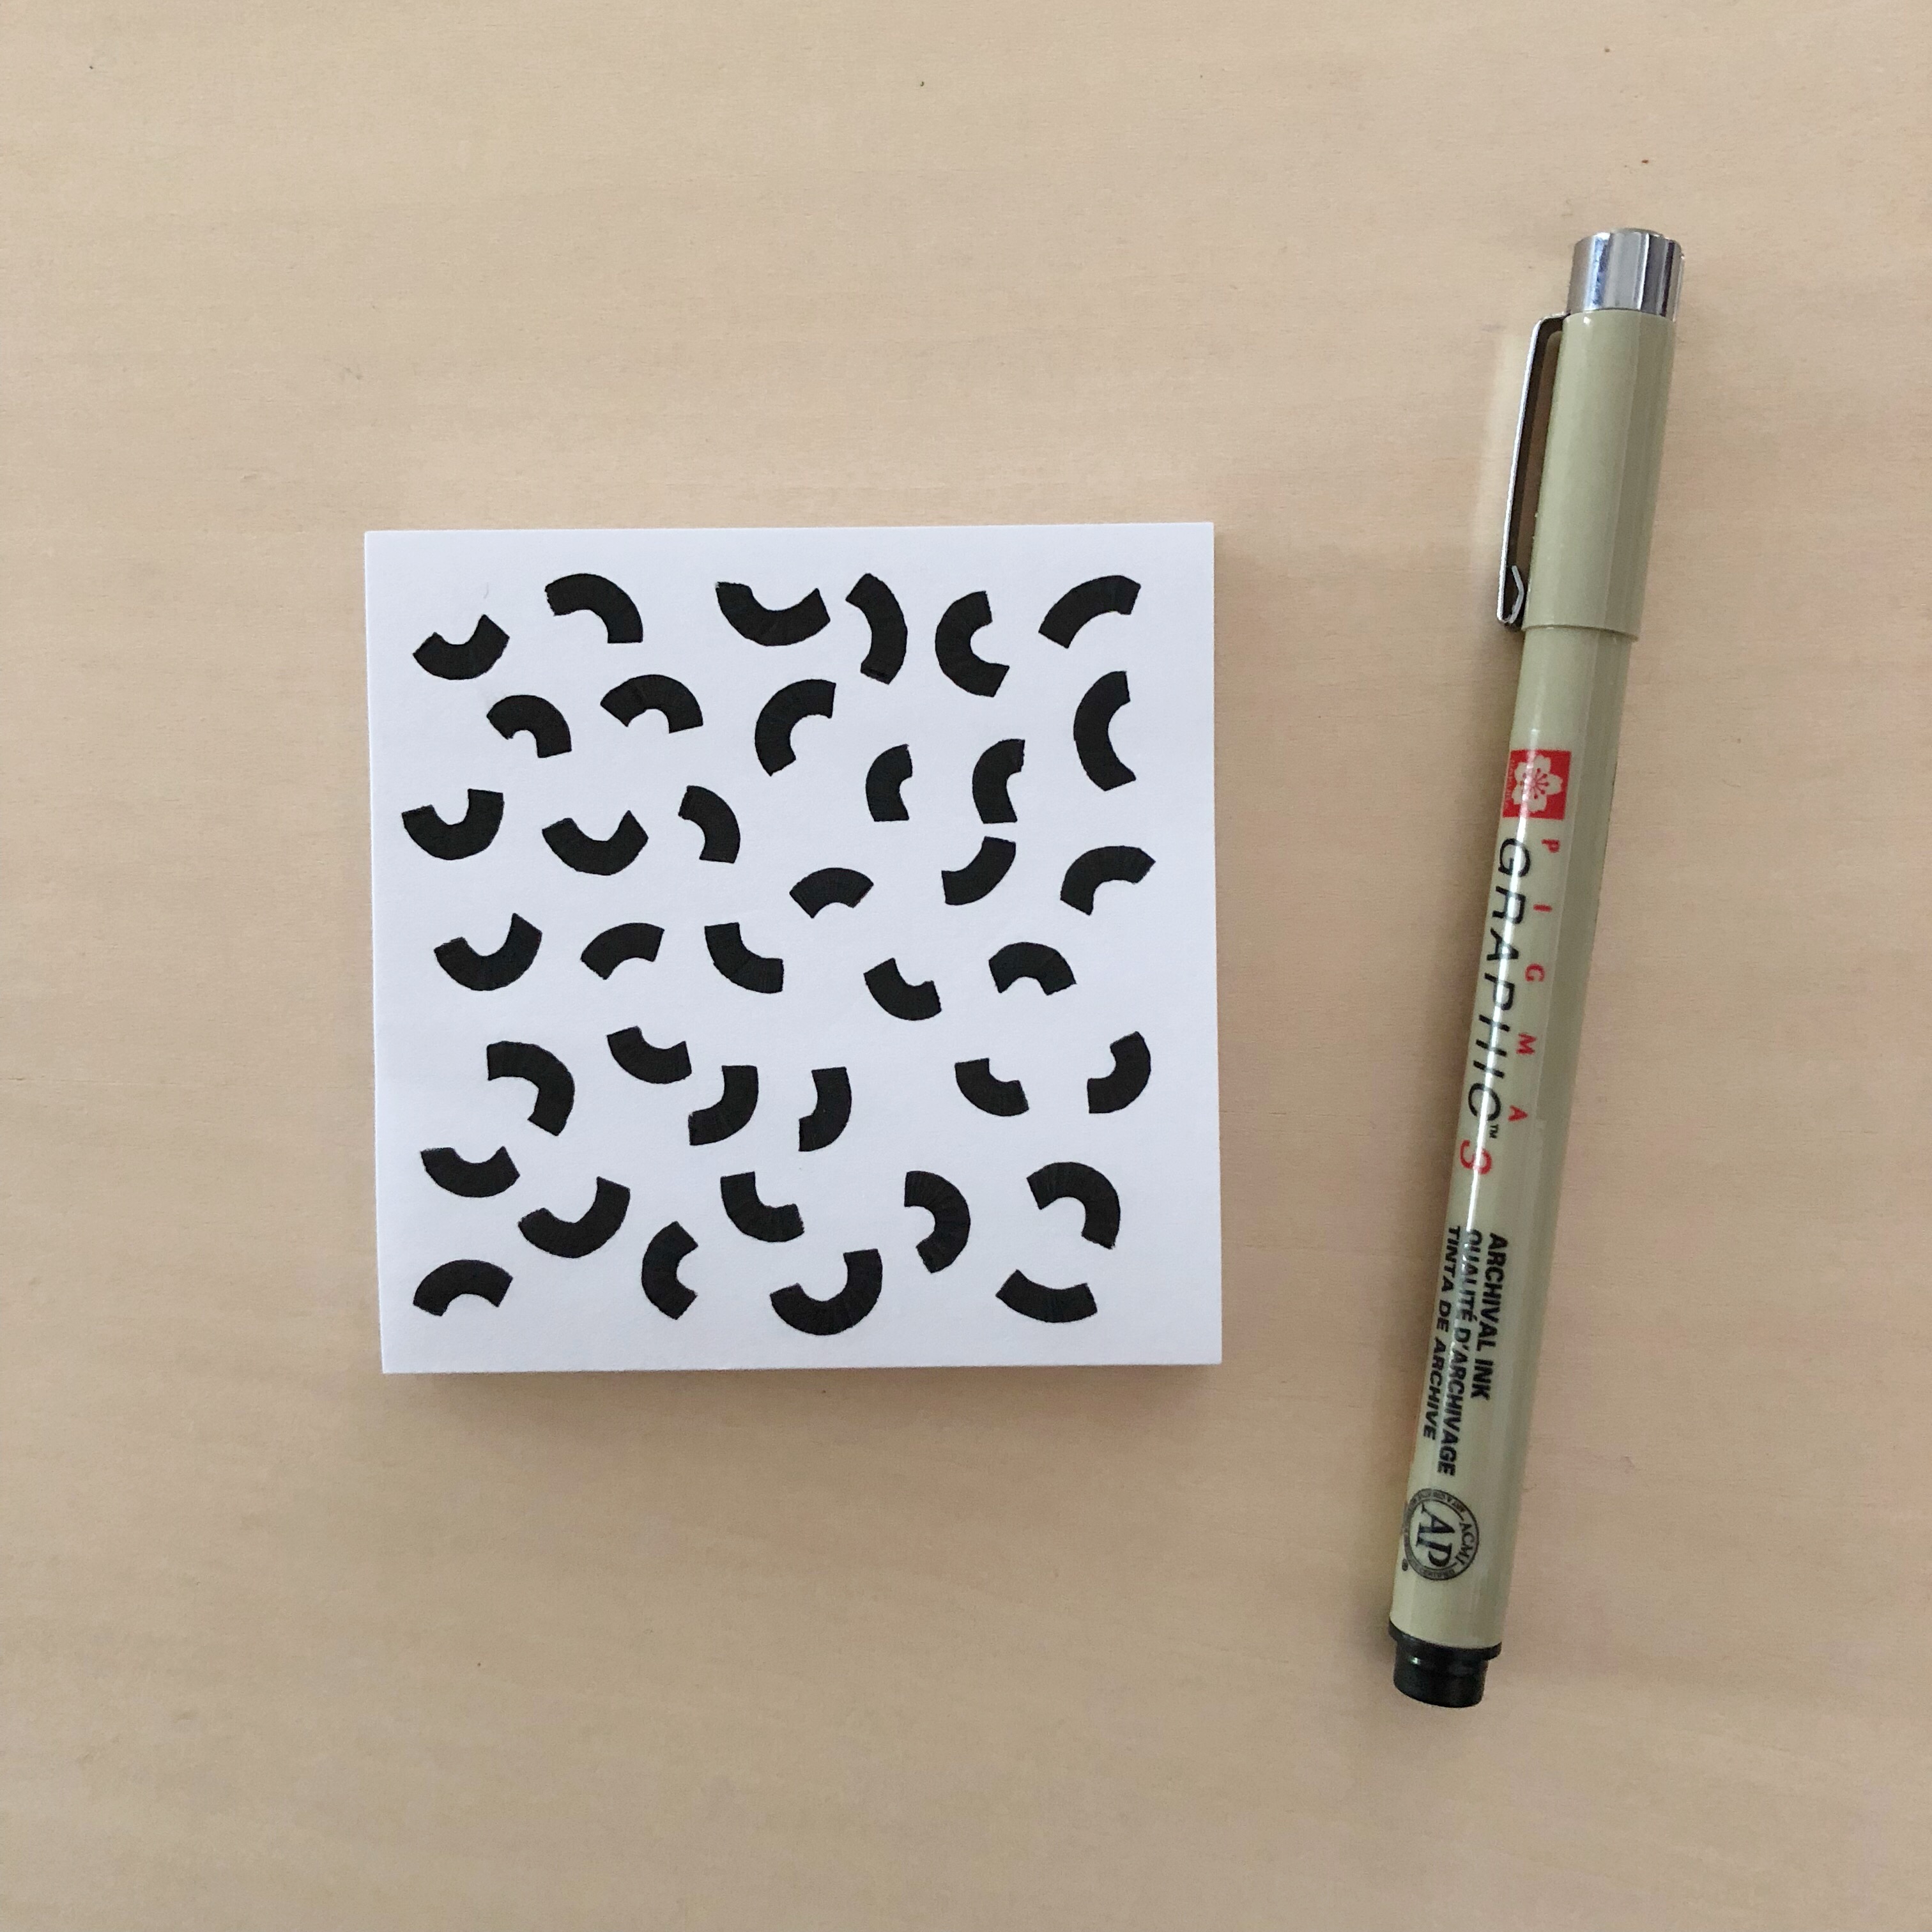
STEP 1 – Draw pattern in the middle of post-it (or paper – it doesn’t need to be square either). Pattern or drawing cannot touch the edges of the paper for this to work.
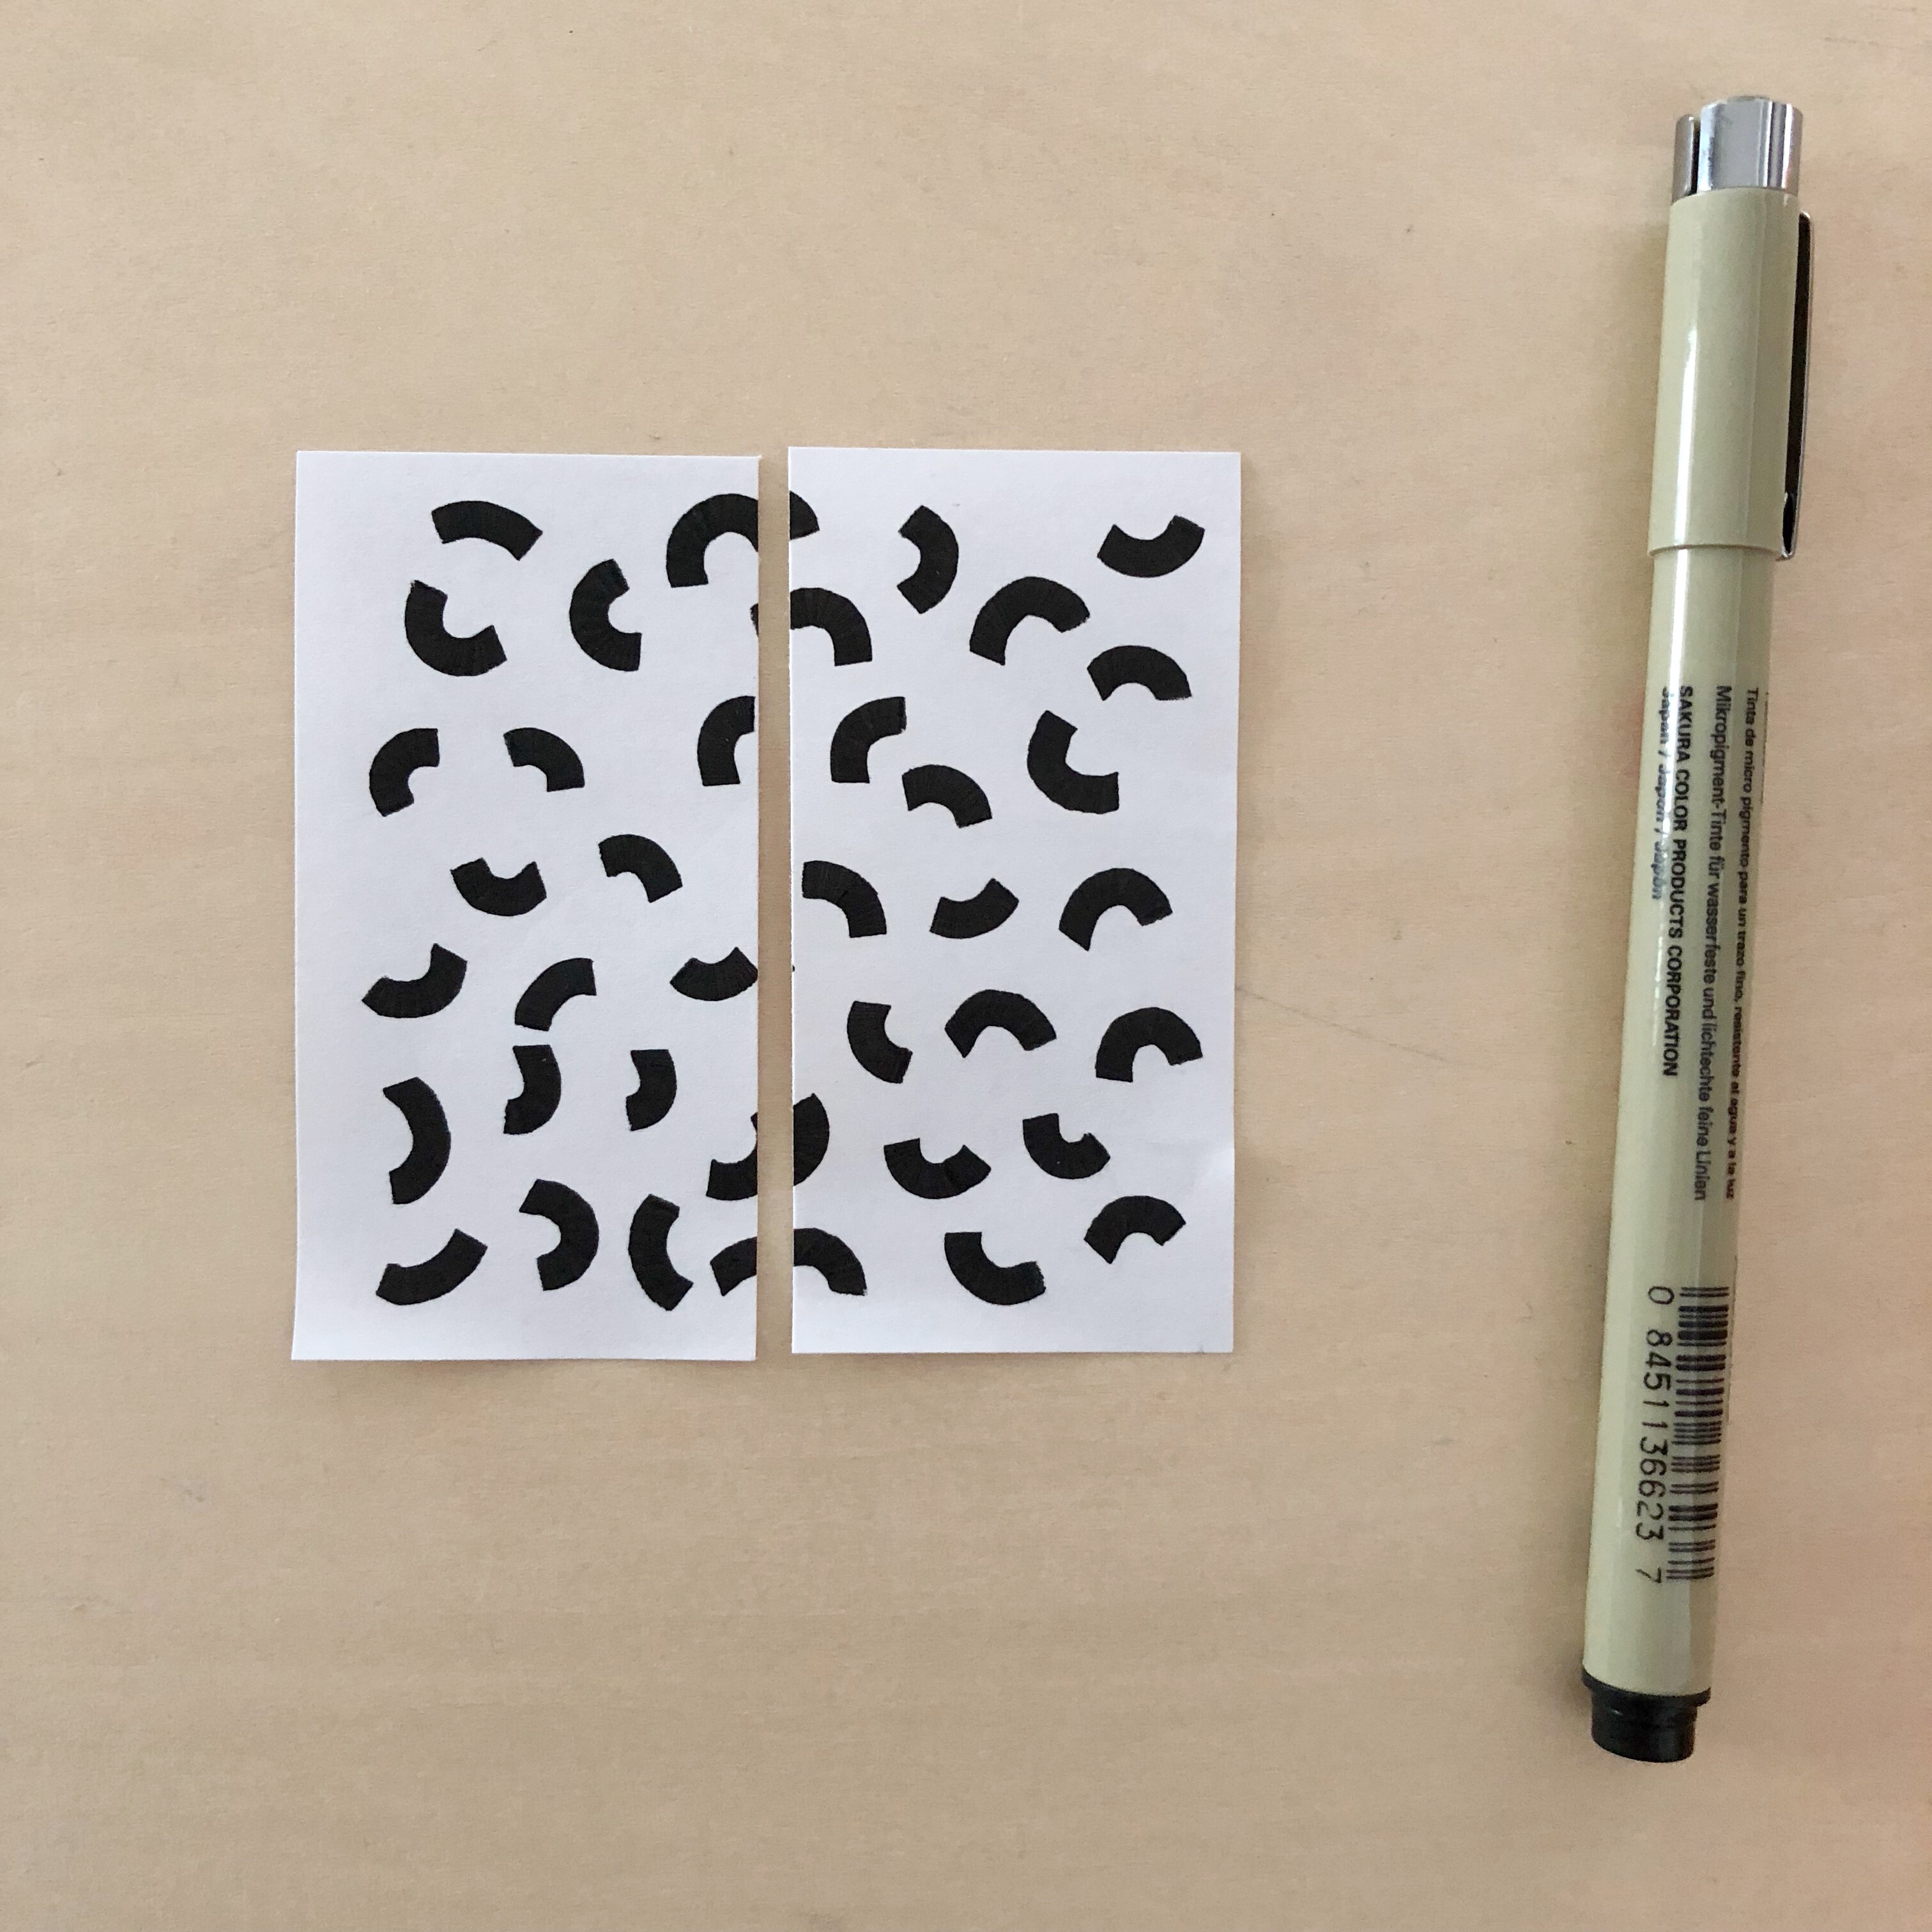
STEP 2 – Cut paper down the center. Accuracy is important here!
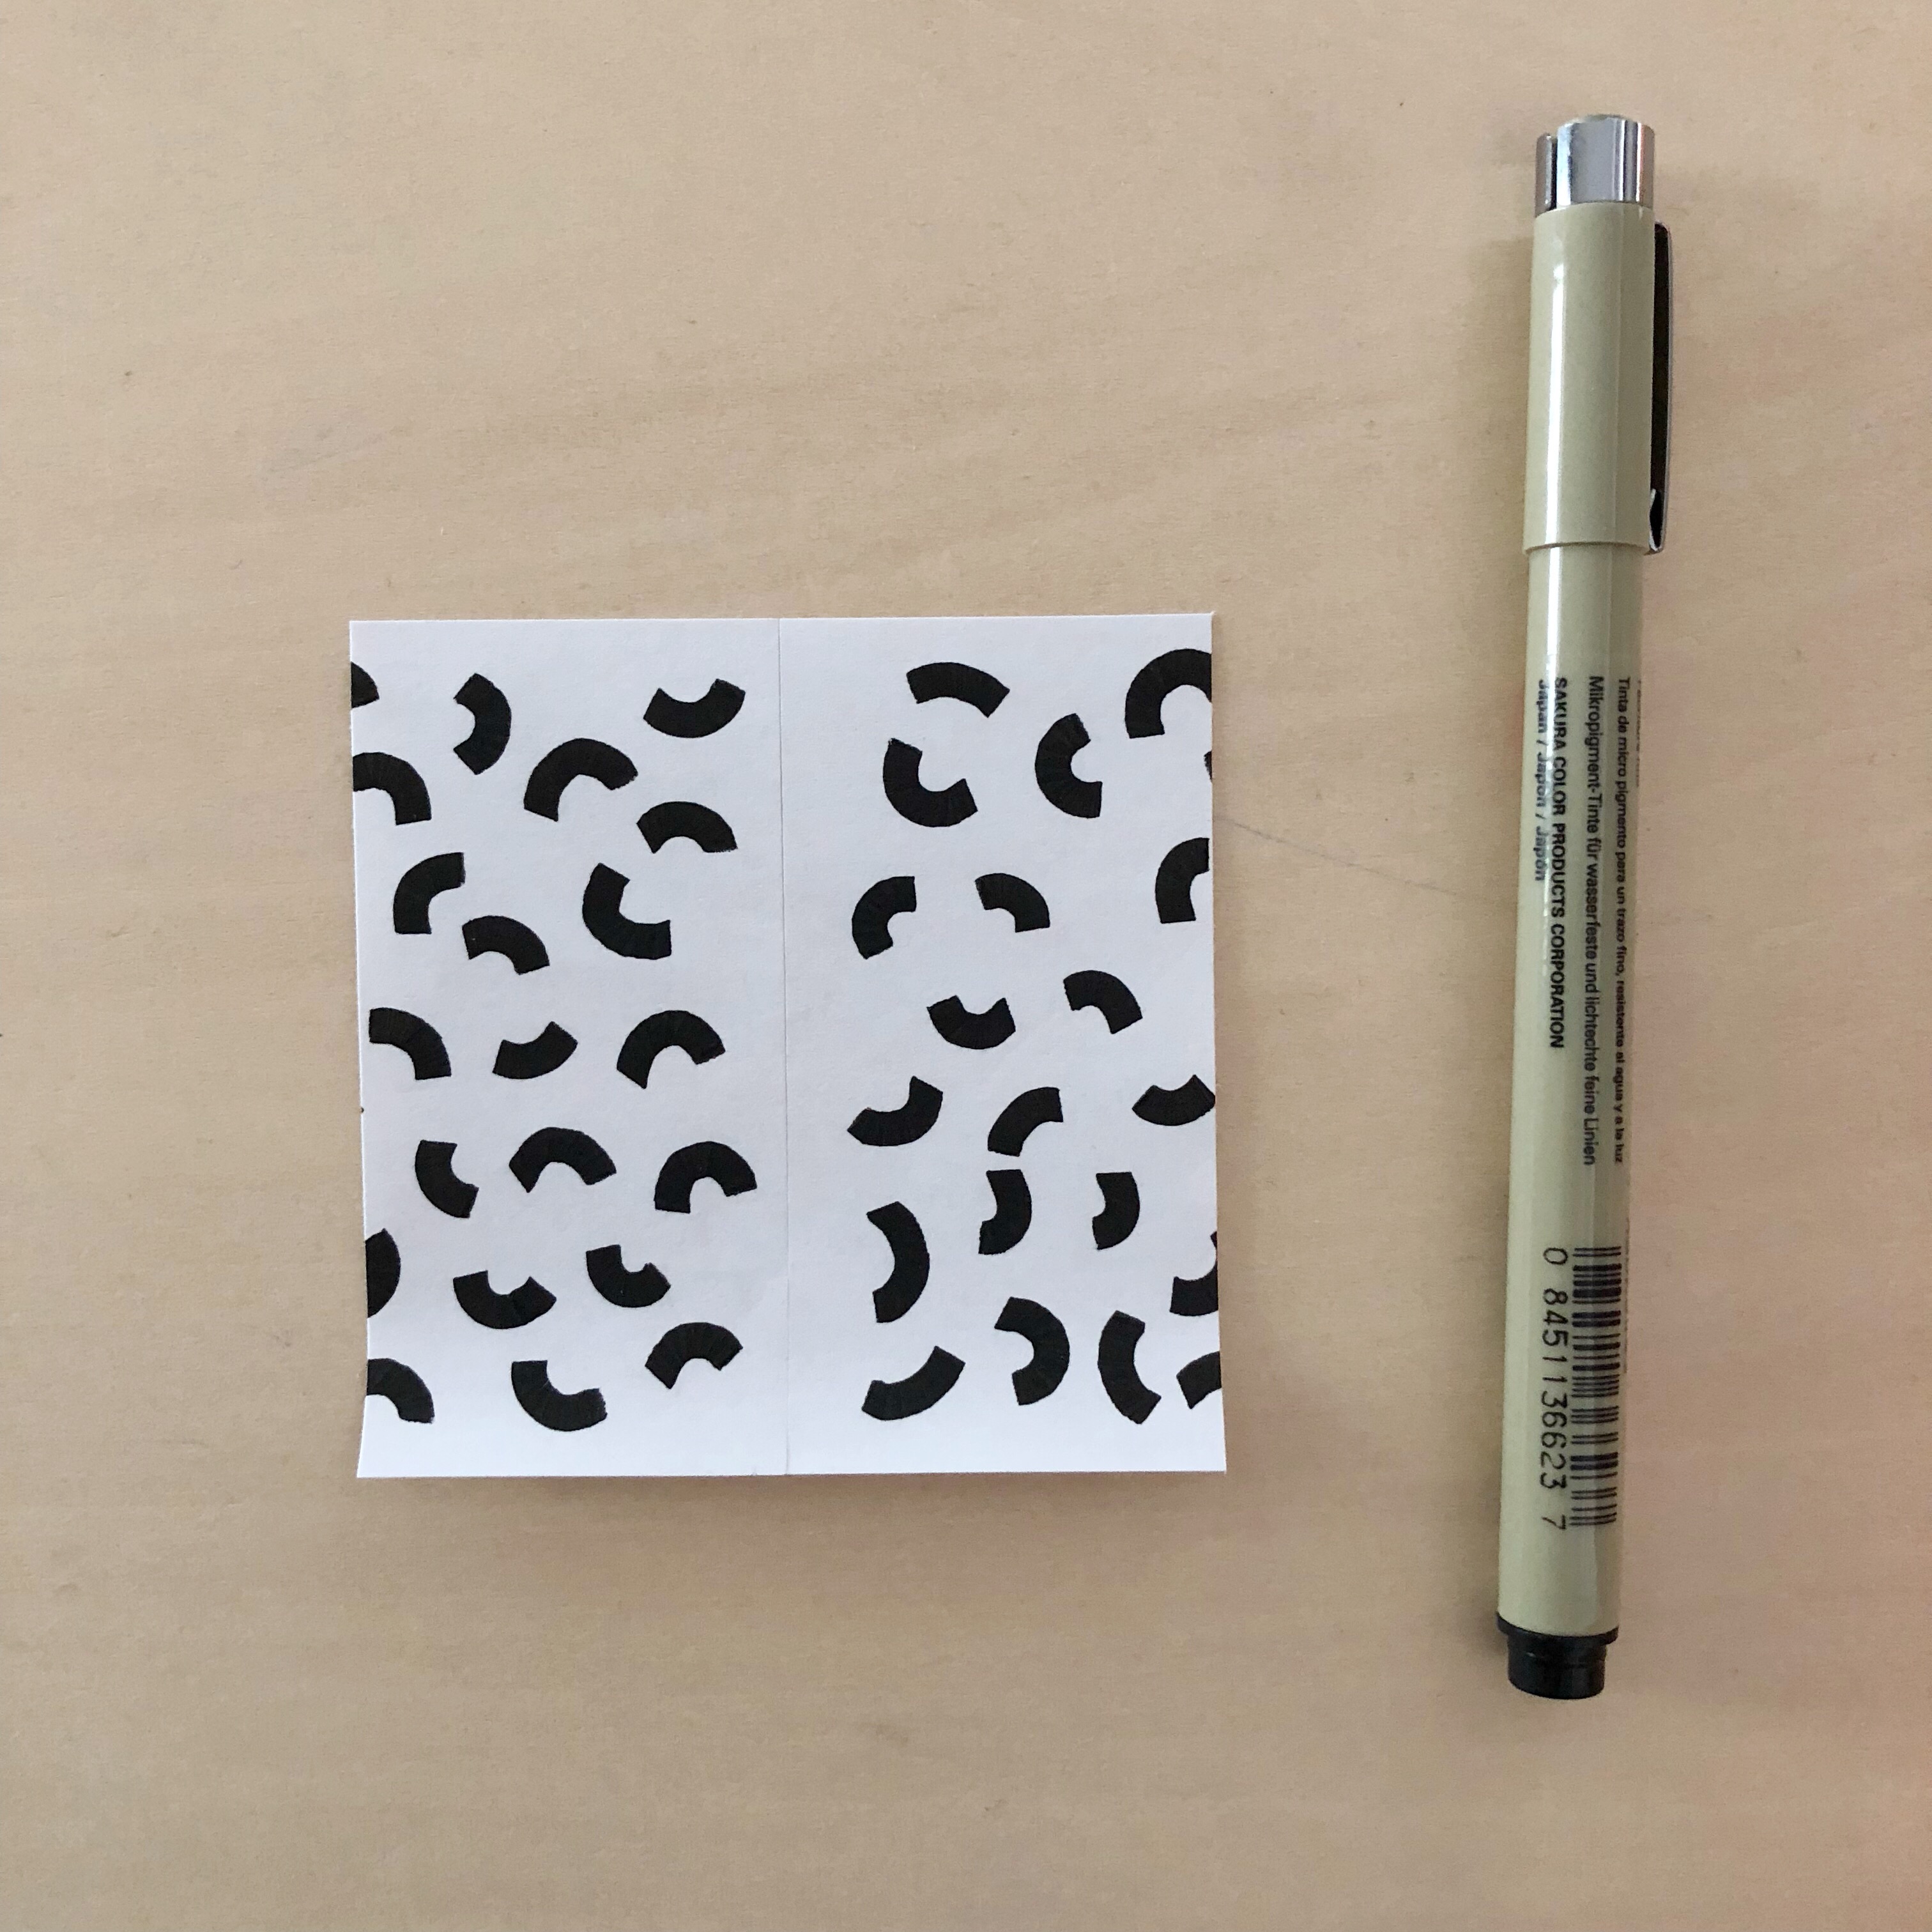
STEP 3 – Bring the left side over to the right side and carefully tape together. Make sure your don’t rotate the pattern.
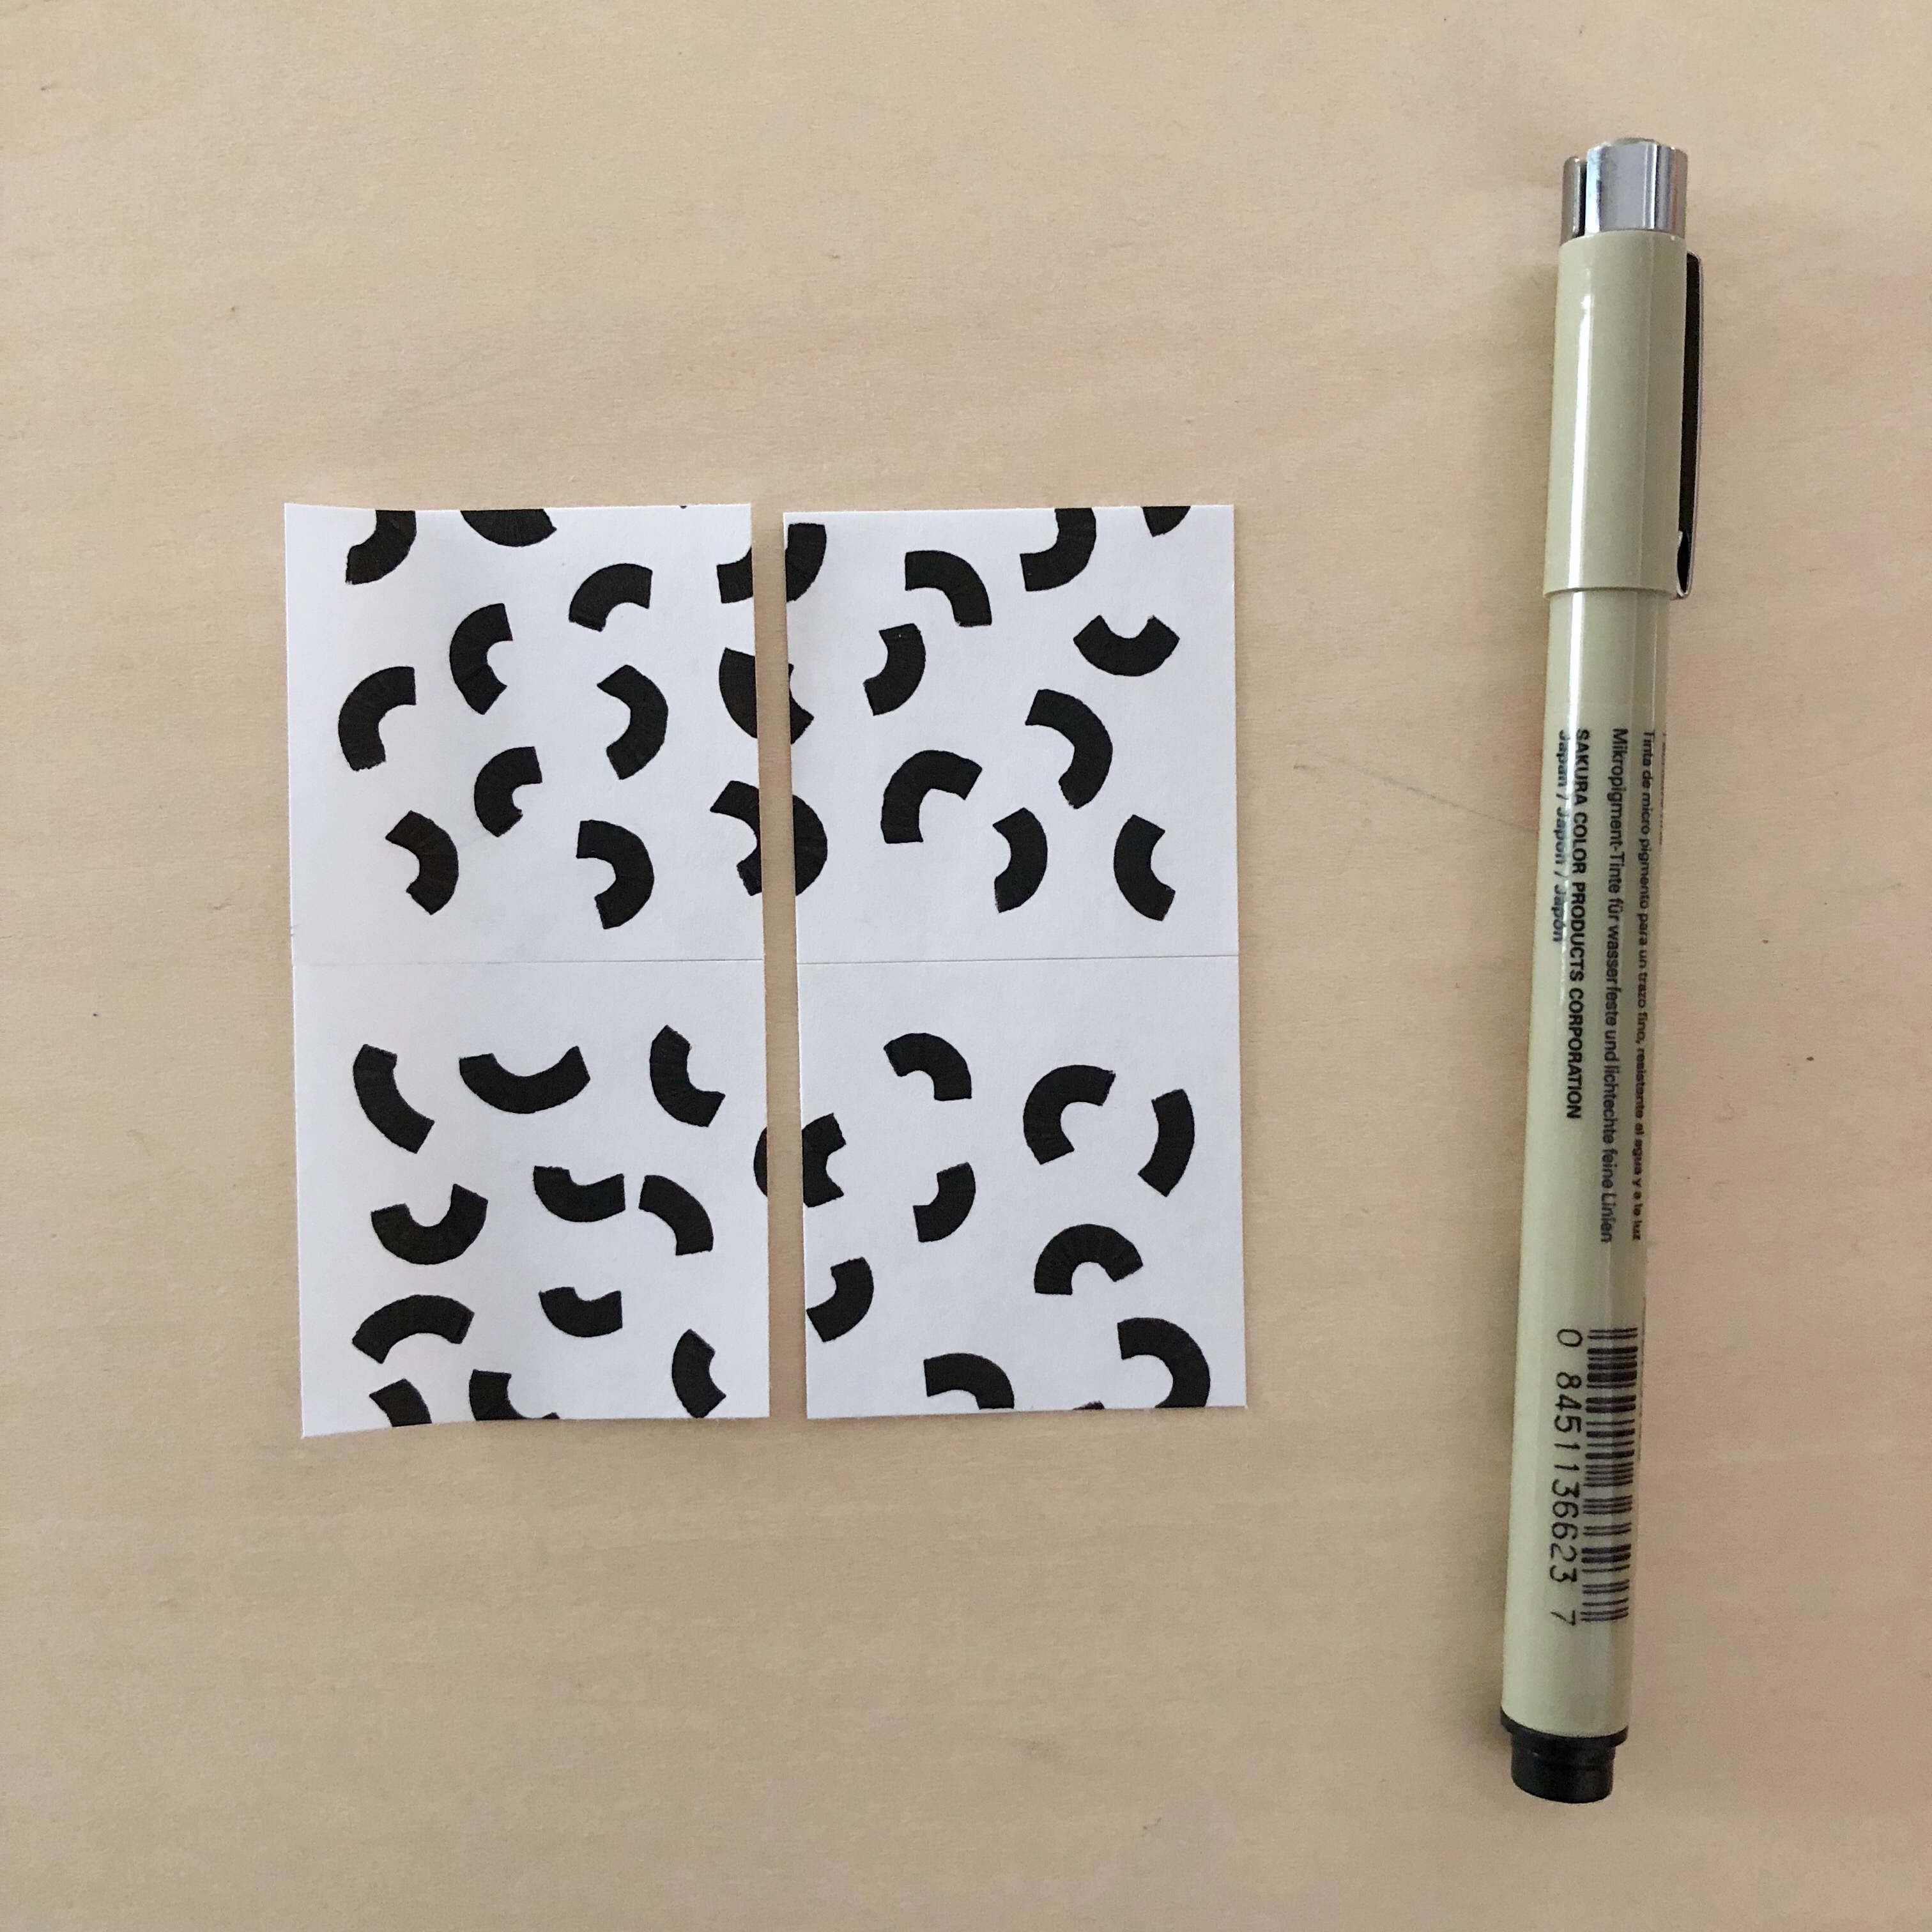
STEP 4 – Rotate the design and cut down the center (second cut should be perpendicular to first cut). Again, accuracy is important here.
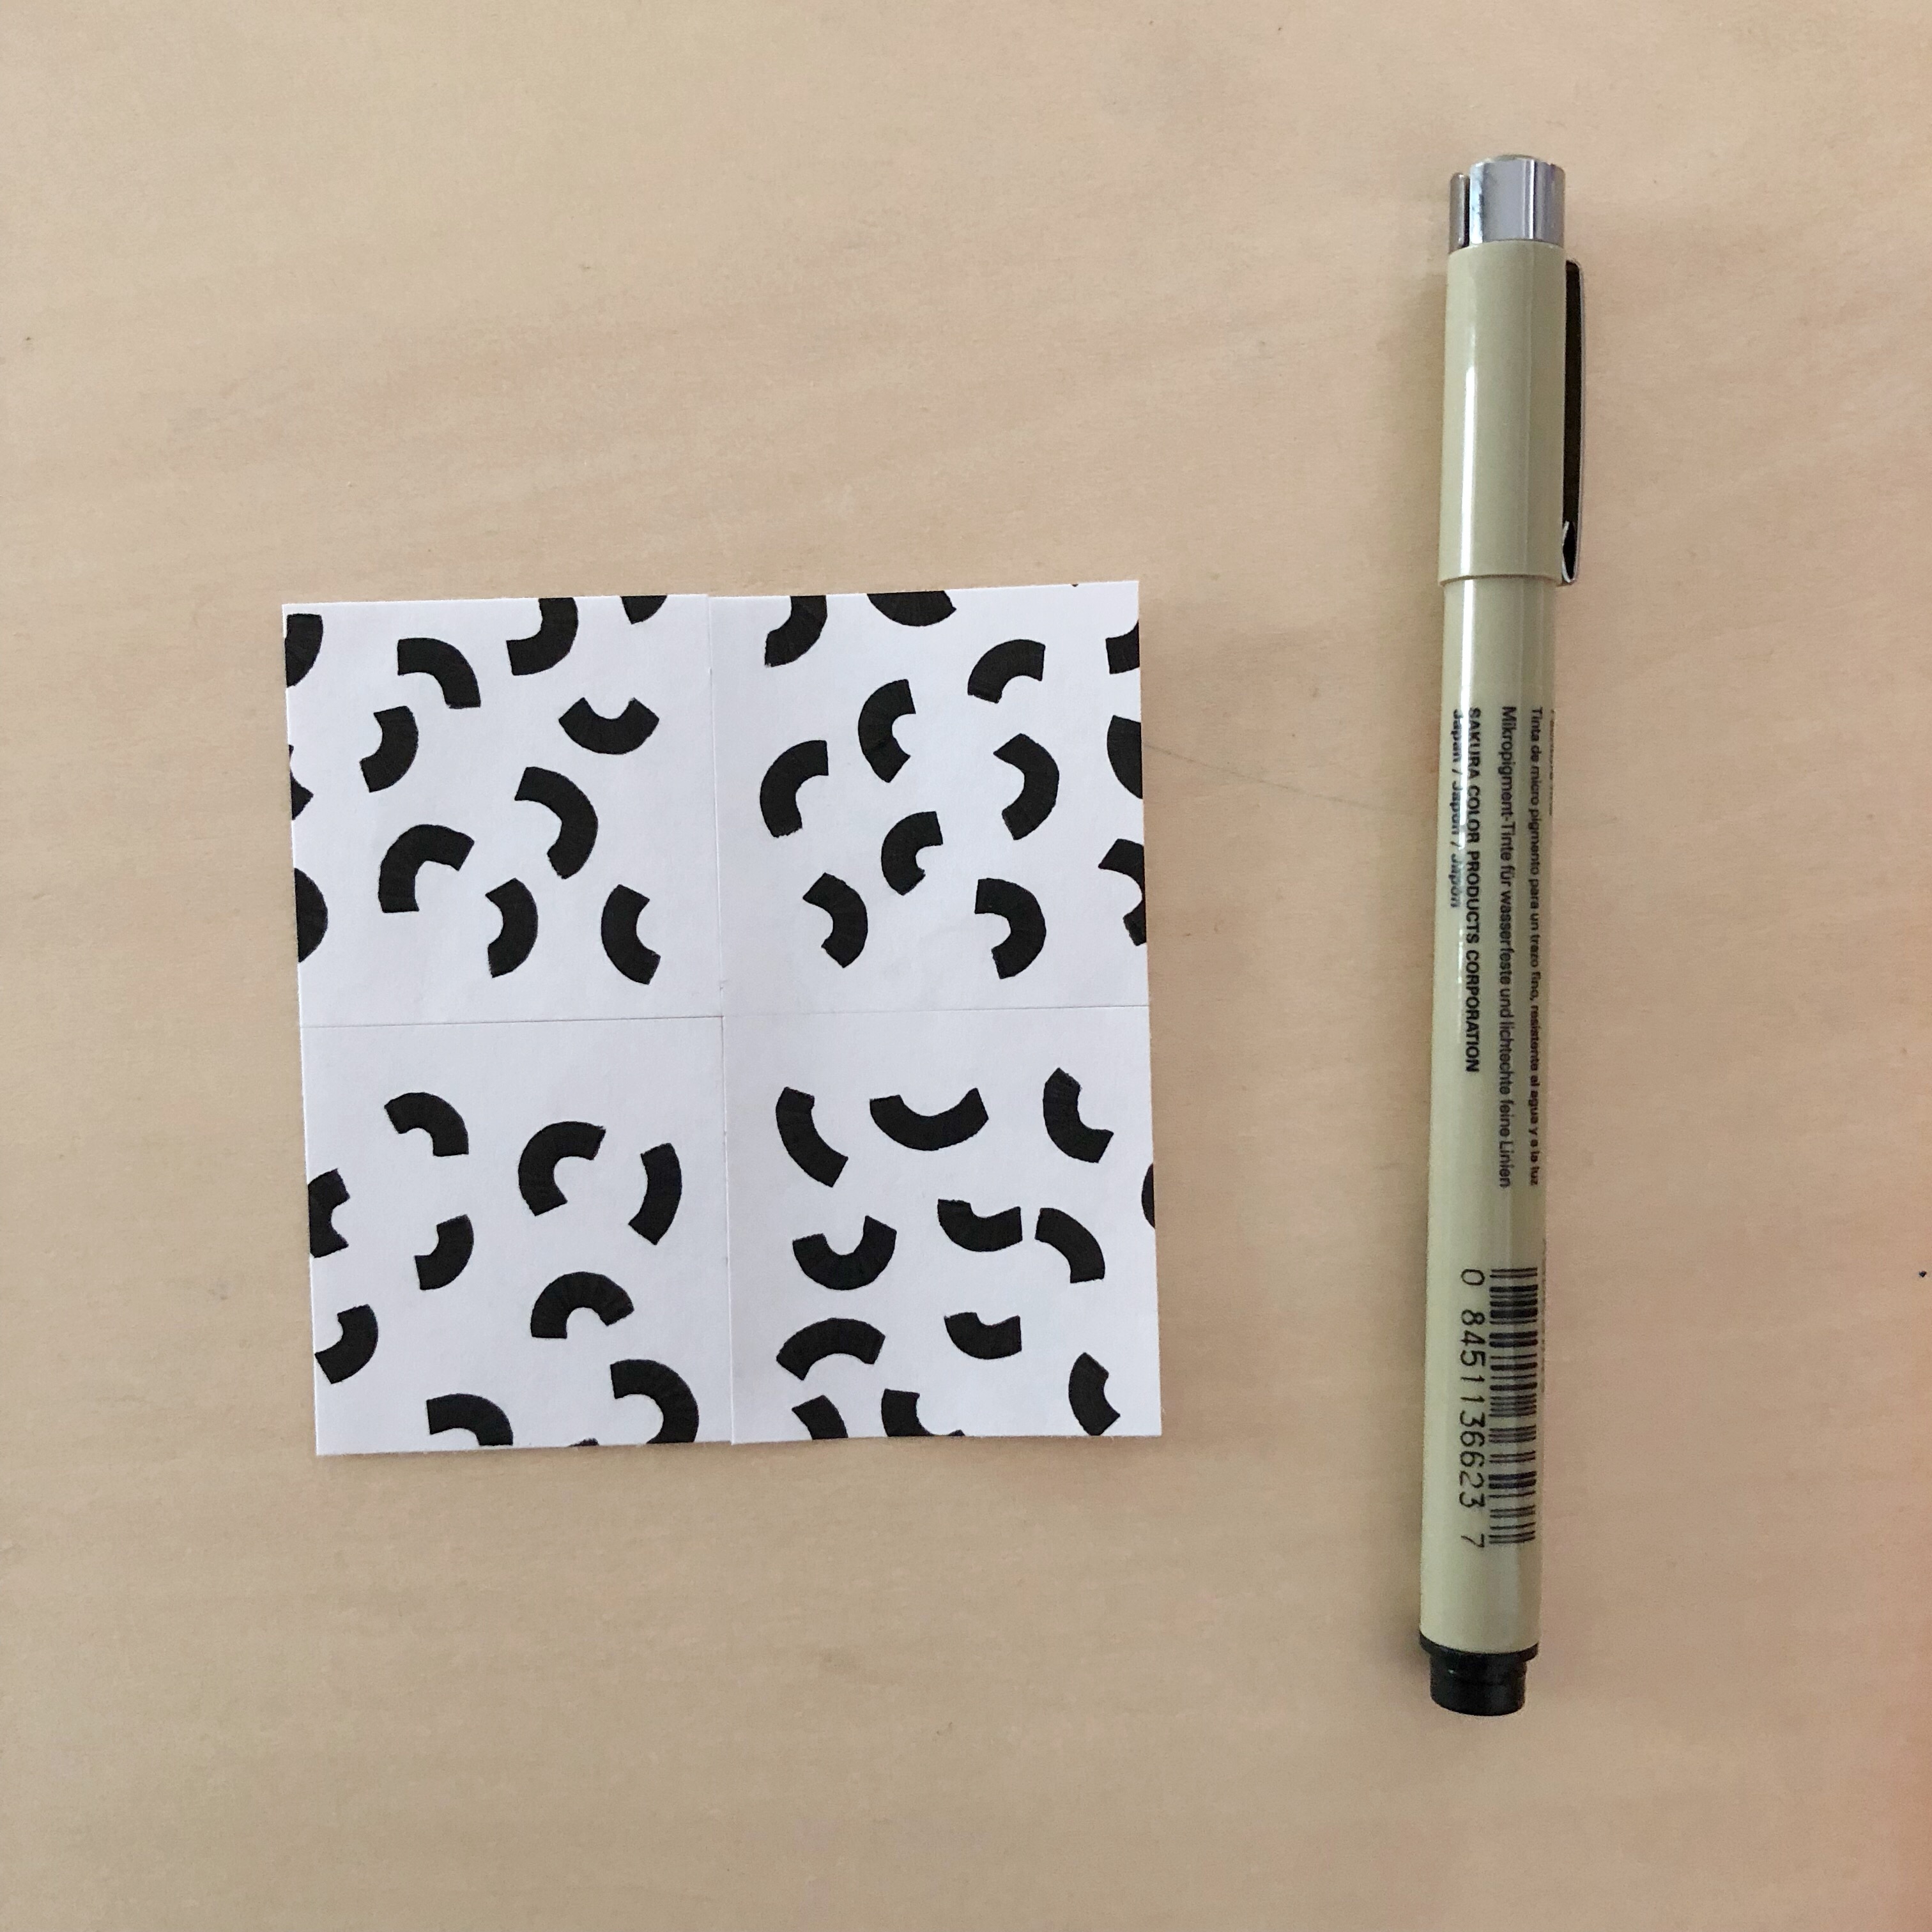
STEP 5 – Bring the left side to the right side without rotating the design. You’ve now taken all of the post-its edges and brought them to the center.
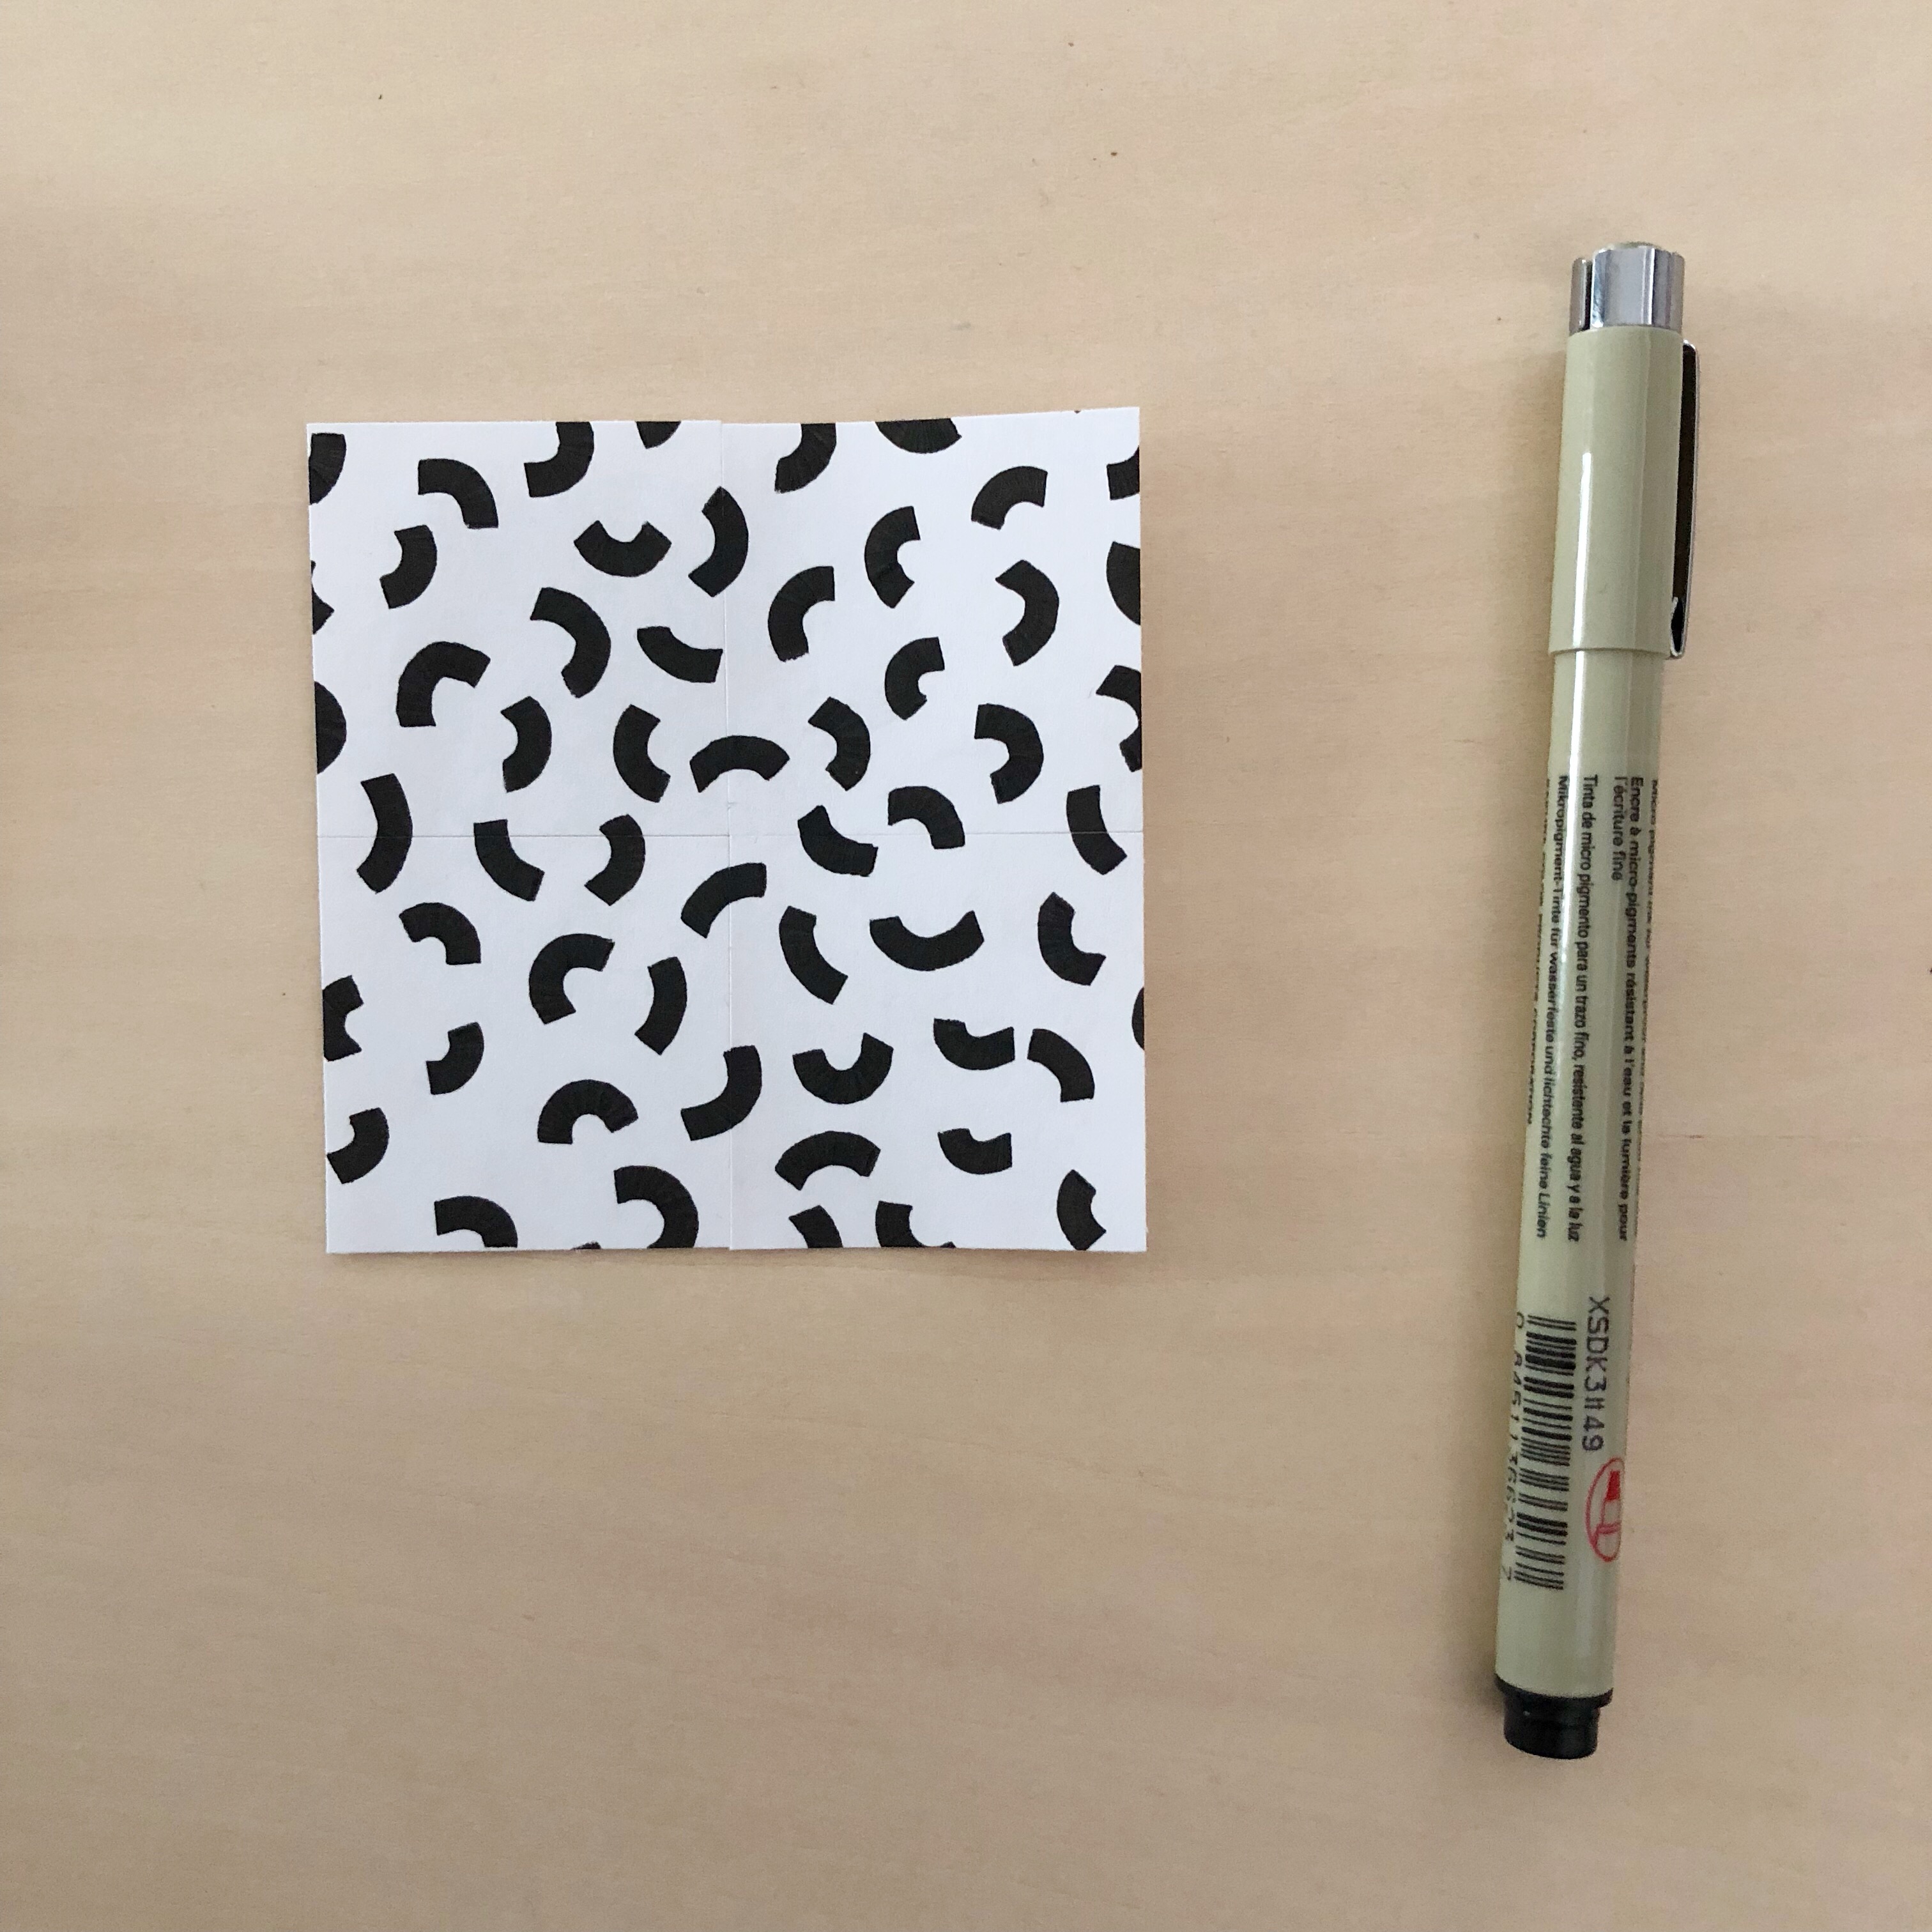
STEP 6 – Fill in blank spaces. Be sure to not take any of the new marks to the edge in this last step. I then like to make three copies of my post-it to check that everything worked out.
