Screen Printing Workshop

3 Comments

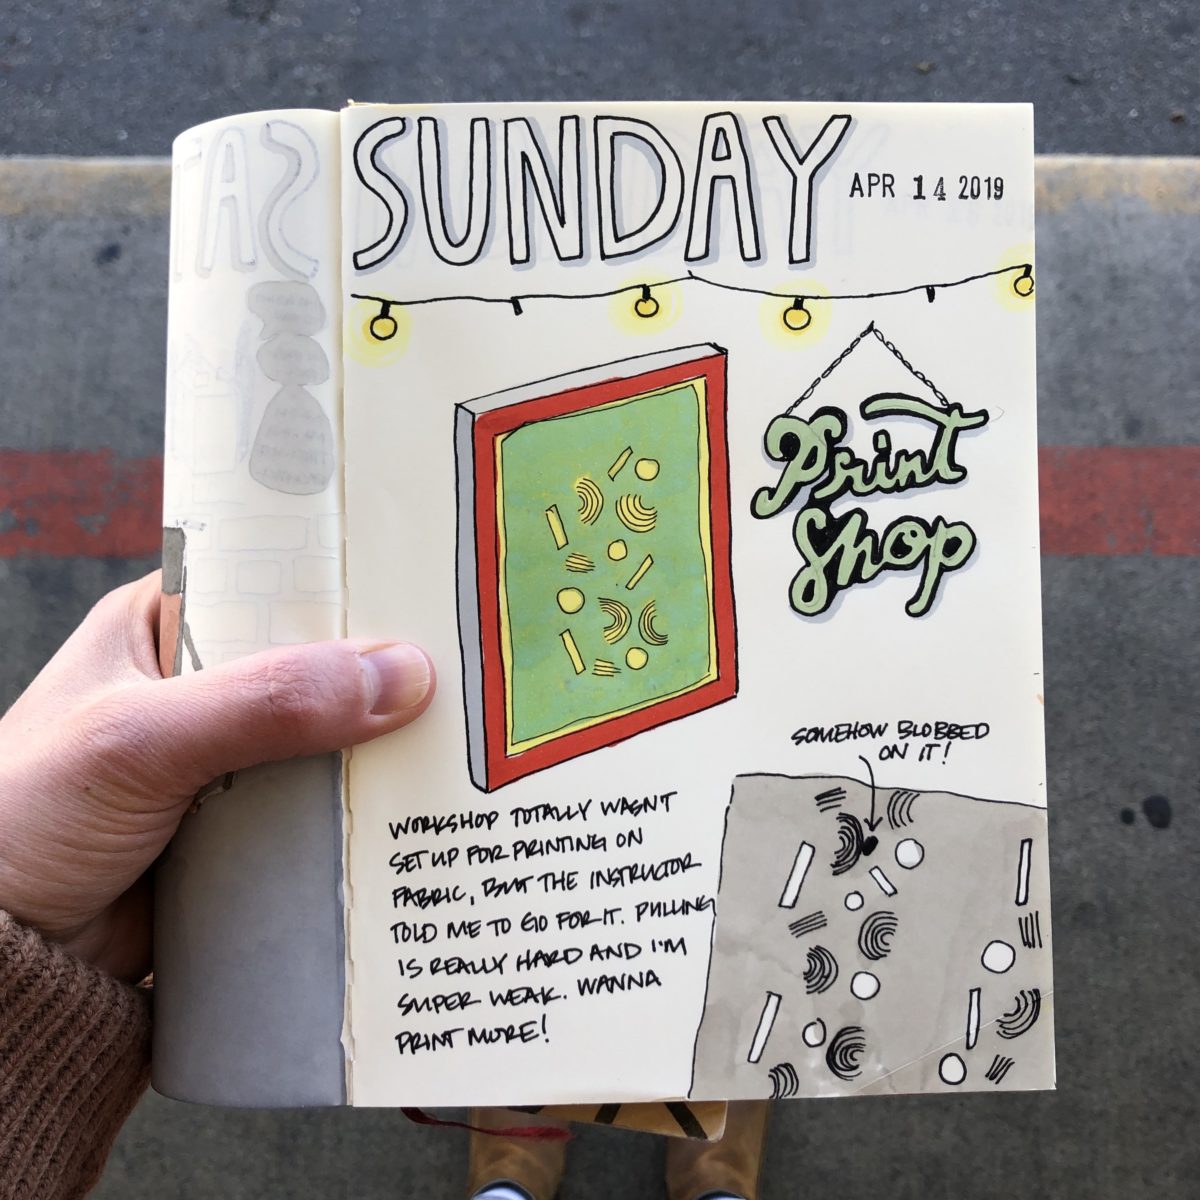
I have wanted to design fabric for a while now and knew one potential step in that direction would be to learn how to screen print fabric. I took a printmaking class during my undergraduate studies, but it was a long time ago and its focus was fine art prints. It did help me understand the basic concepts, but it didn’t include any practice with photo emulsion (we had to hand paint the screens), or using digital images.
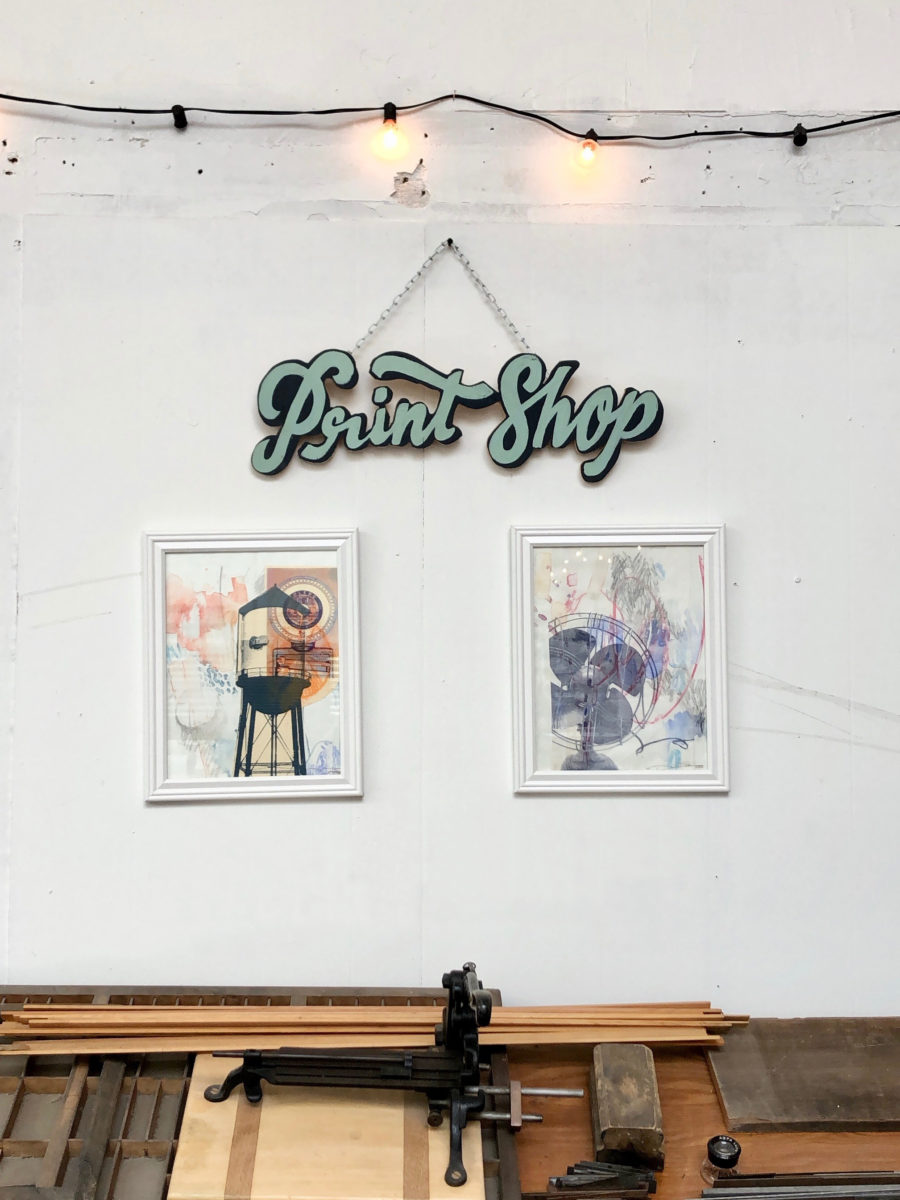
I found a local space that regularly holds screen printing workshops and thought I would just figure out how to use it on fabric later. Thankfully, after all my fabric-based questions, the instructor told me to just go for it.
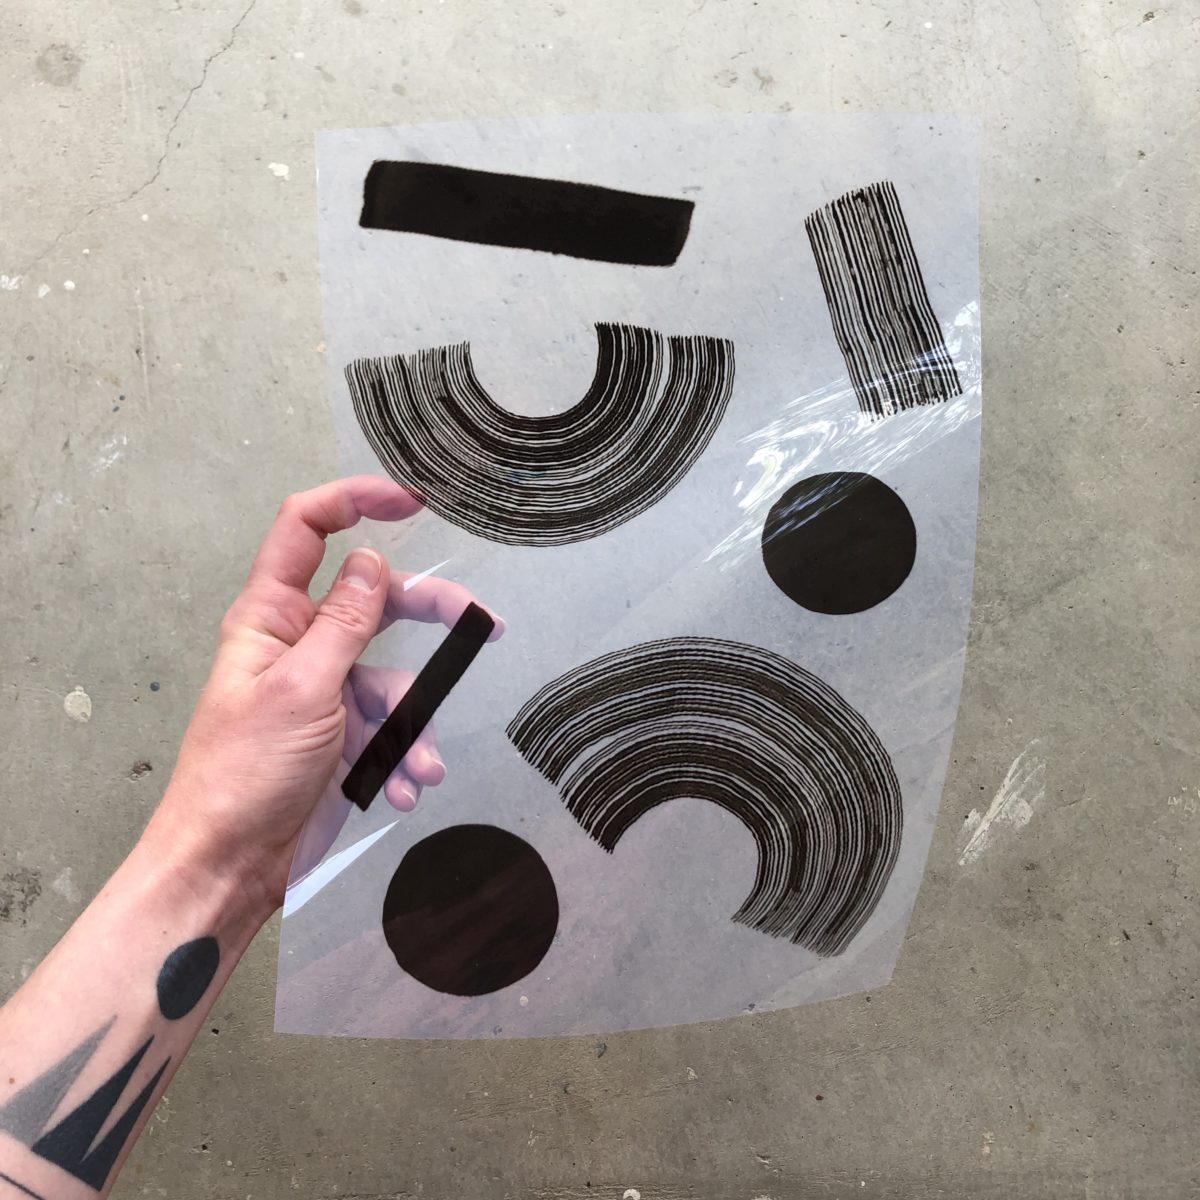
For my design, I went with something I’d drawn with ink in my sketchbook. I snapped a photo of the sketchbook page and imported the image into Photoshop. I cleaned up each element and arranged them until I was happy with the layout. This part was pretty fast paced, so I didn’t have enough time to figure out how to make a repeating pattern. My Illustrator and Photoshop skills are pretty basic. We then printed our designs on a transparent film.
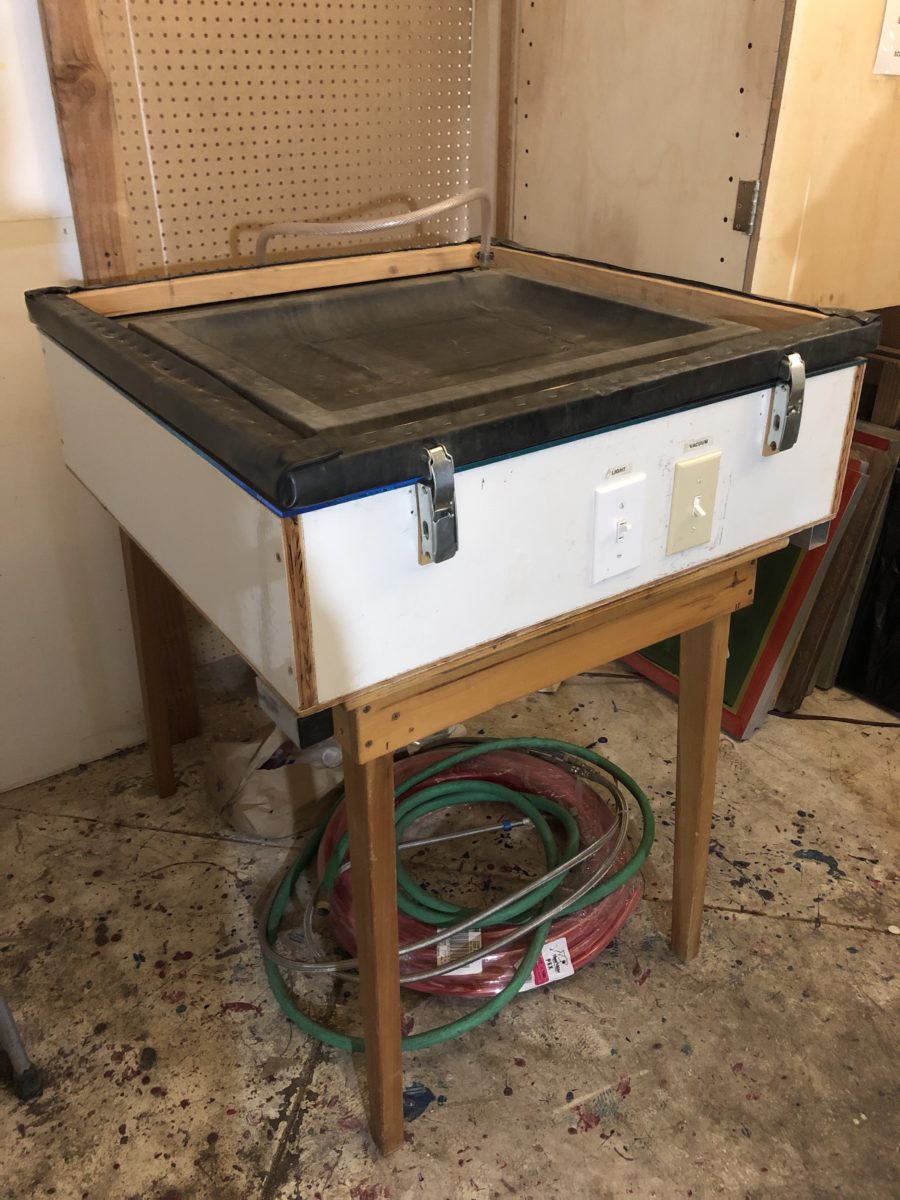
The next step was to create our screens. The studio had a pretty neat vacuum set up – you can see my screen’s frame underneath the rubber membrane which firmly presses the mesh up against the light box. The screen was exposed for 4 minutes and 45 seconds. After that, the screen is power washed to reveal the design.
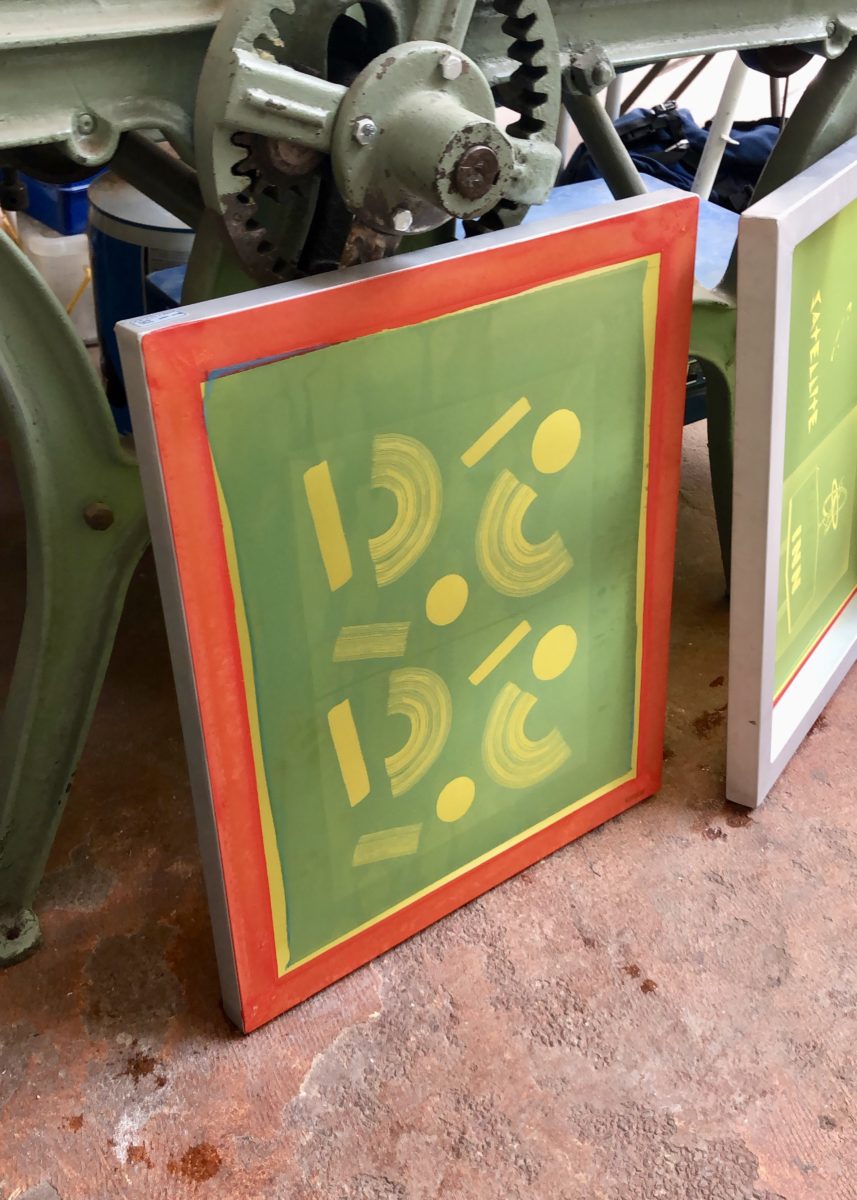
The whole process was fairly quick since the instructor had already prepared our screens with the photo emulsion fluid. Usually that step takes a day to dry/cure.
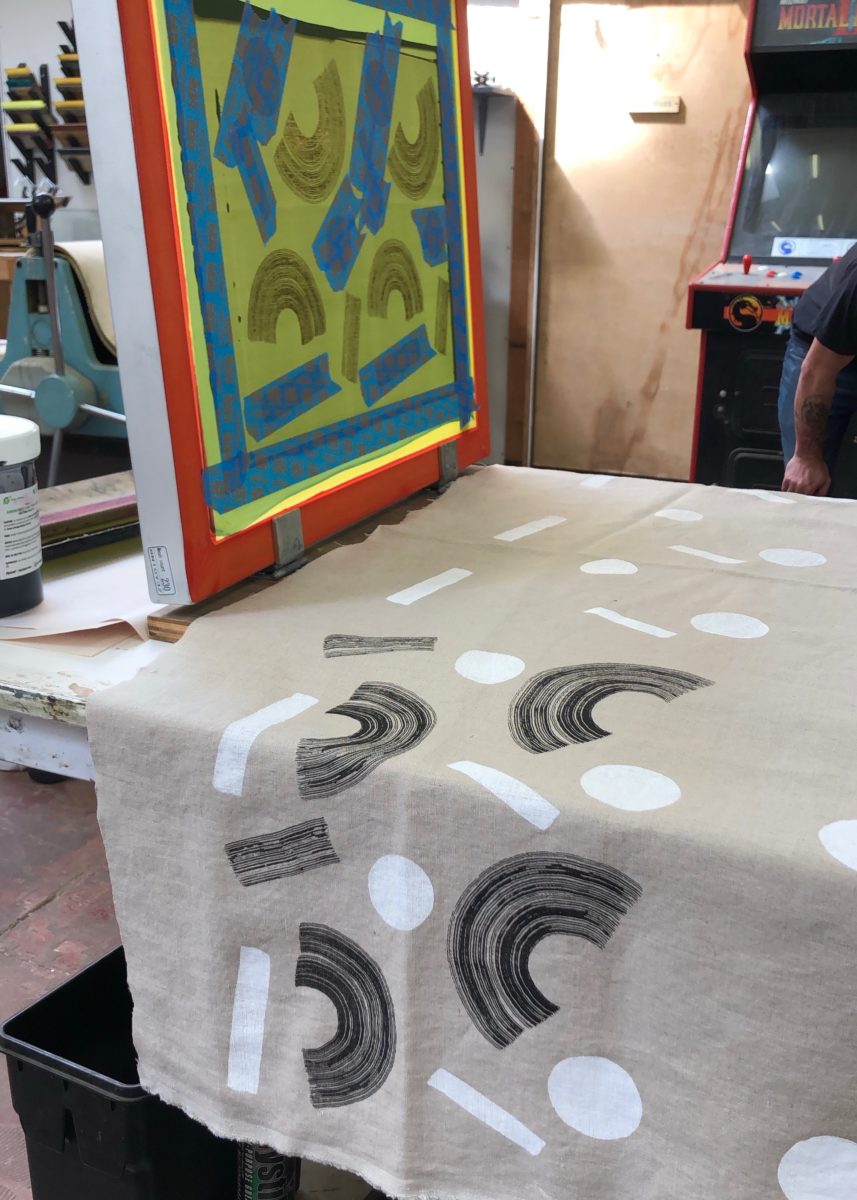
I didn’t take the time to register the fabric prior to printing so each print’s placement was just a guess. Again the class wasn’t set up to print on fabric, so I just had to wing it. I decided to print the solid shapes white and the brushstrokes in black. You can simply mask off the parts of the screen you don’t wish to print with painters tape.
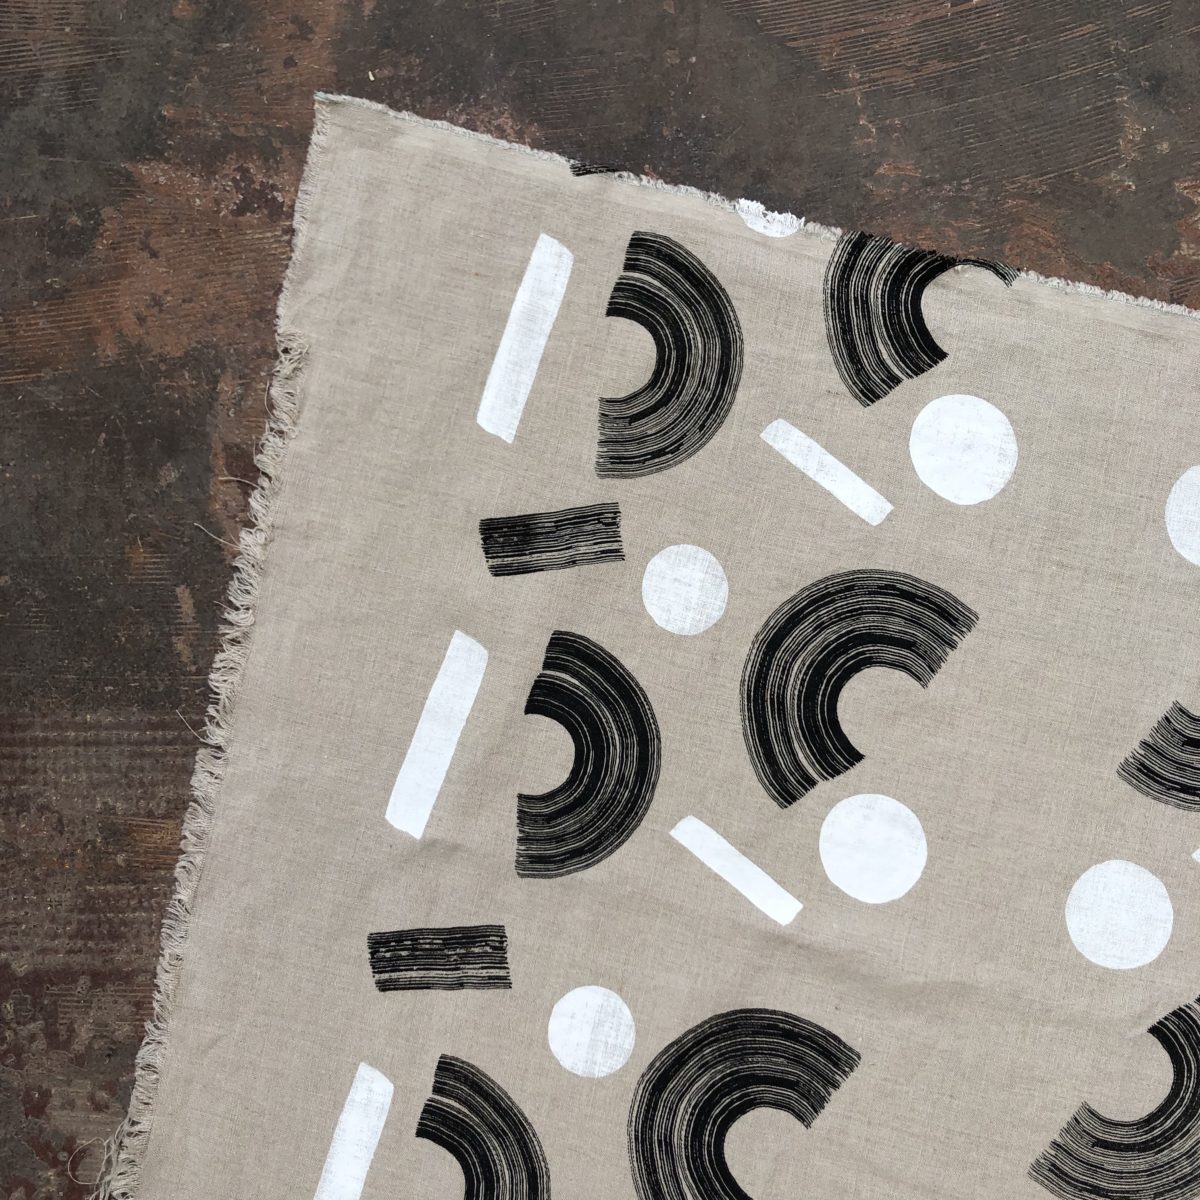
Pulling prints is super physical and my lack of upper body strength became very apparent. I think that having a softer squeegee might help though – all of the tools were meant to print on paper and were quite firm. I had to pull each print a few times to get the desired coverage. We got to take home our screens!
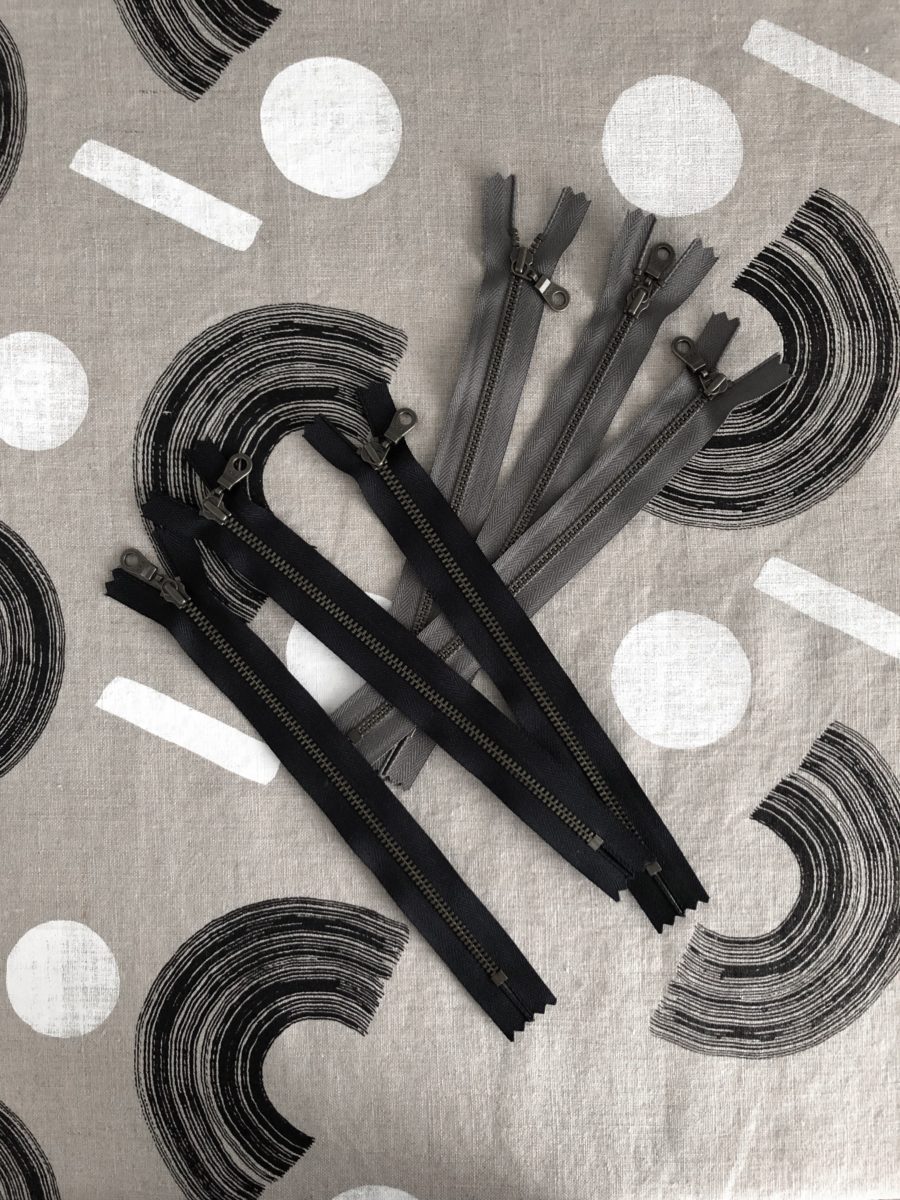
I’m so impressed with the level of detail you can achieve with screen printing. I could have never created a lino block for that brushstroke arch!
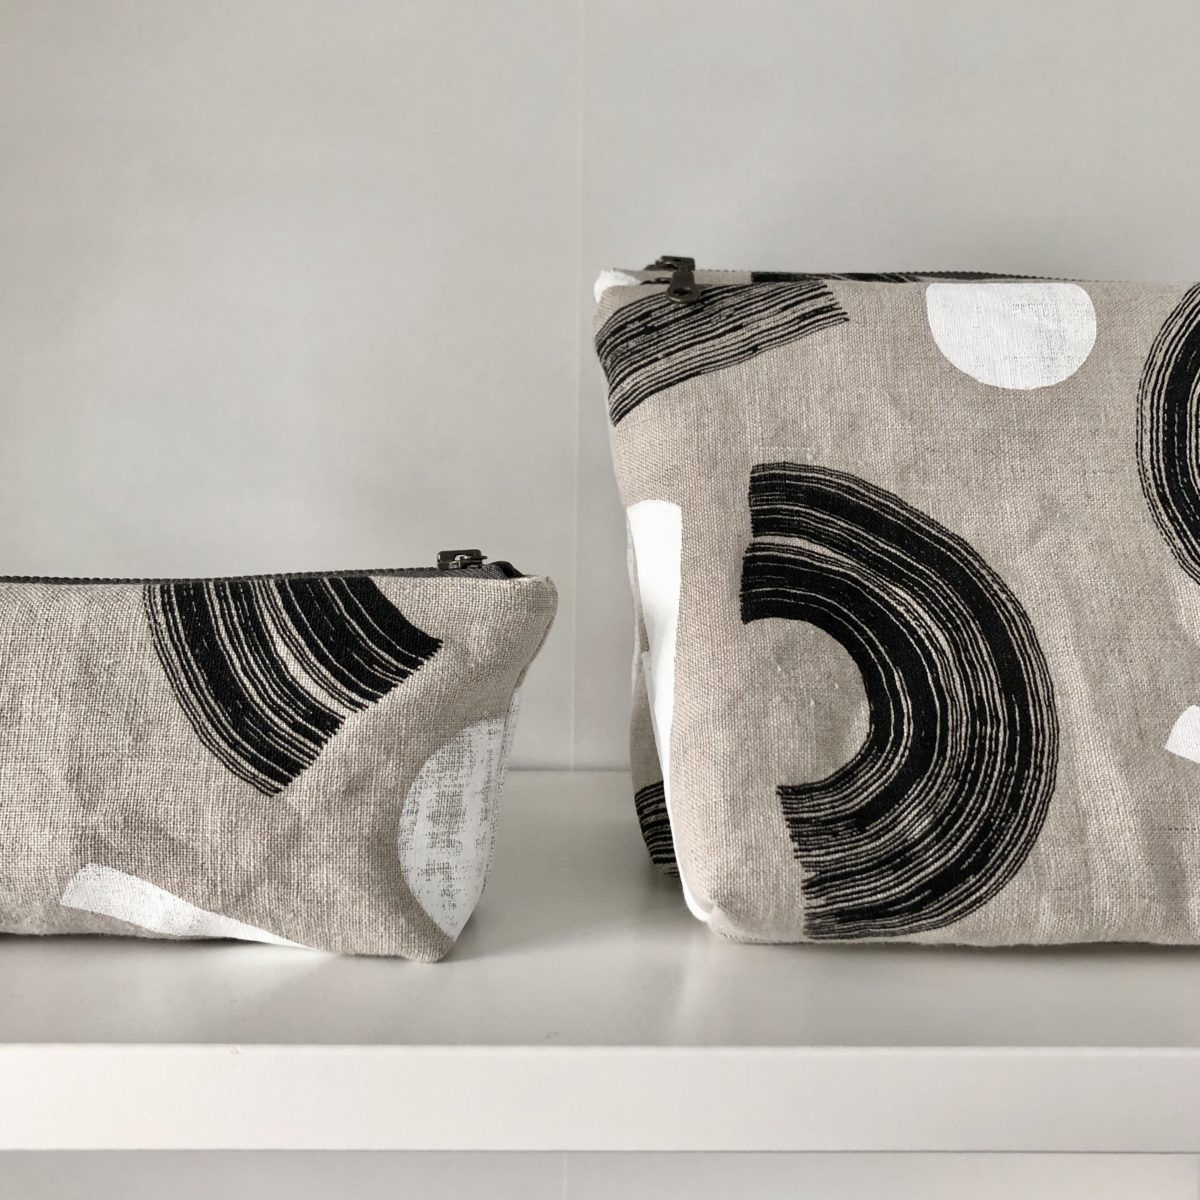
After heat setting the prints with a hot iron, I decided to sew up some zippered pouches. I think they’re pretty darn cute (and functional!). I’m figuring out a web shop, so they’ll be up for grabs soon!
Maywood Totepack by Klum House

5 Comments

Back in December of 2018, Klum House reached out to ask if I’d be willing to make the relaunch of their Maywood Totepack once it was ready. I had already made their Dopp Kit and had recently purchased a Finishing Kit for the first Maywood pattern, so I was definitely on board!

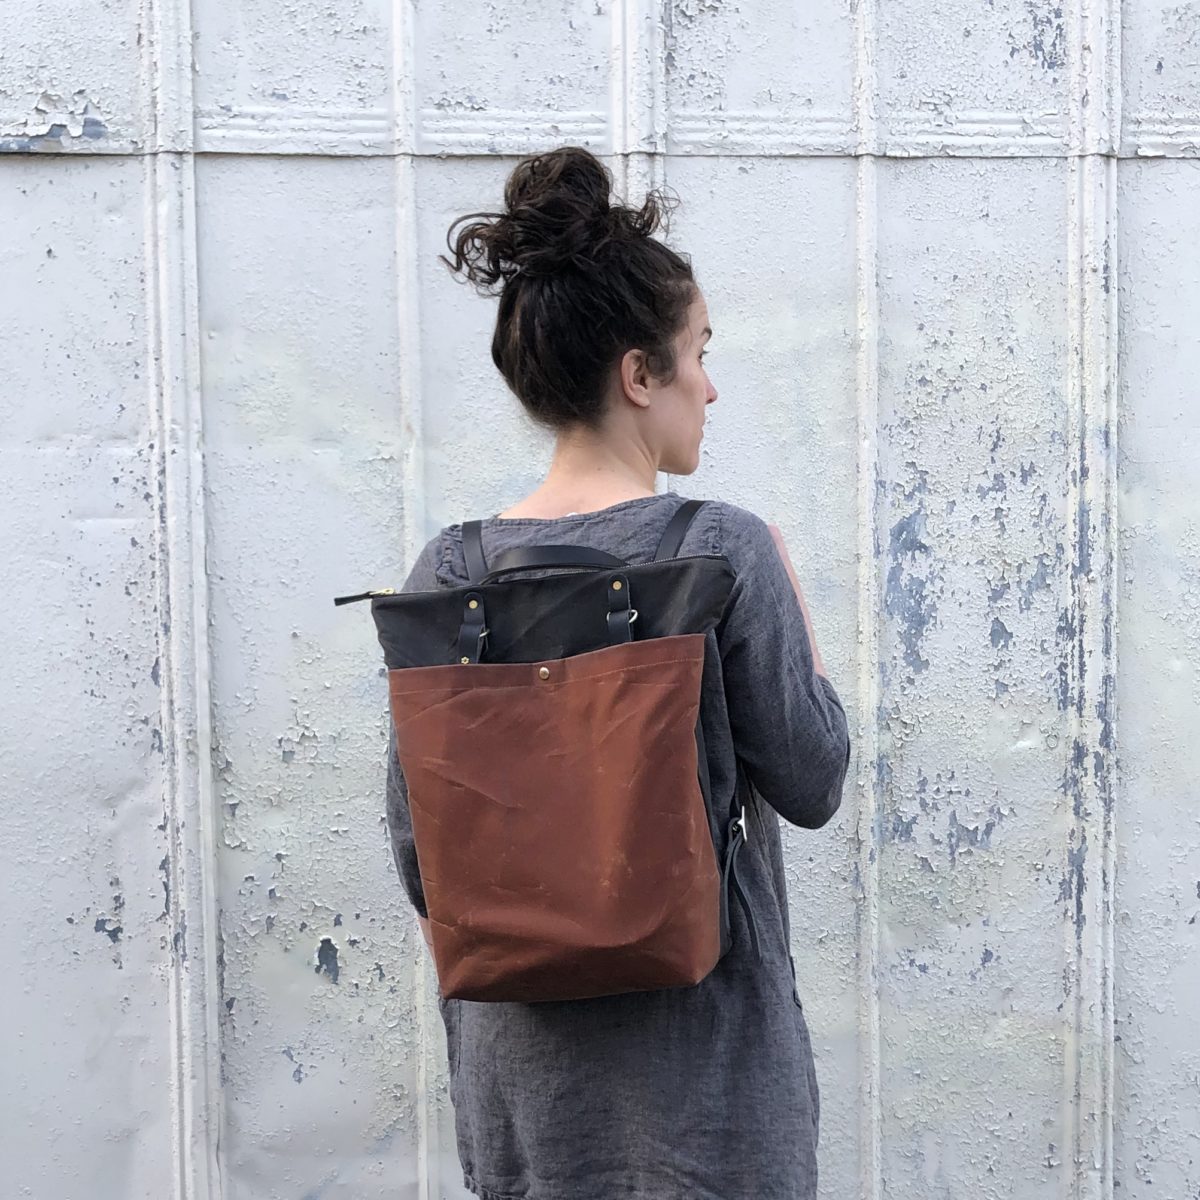
The Maywood is not only a classic bag you’ll use for years, but its making process teaches you clever construction techniques and satisfying hardware setting skills. If you’re looking for a versatile bag with top notch finishes, look no further, the Klum House Maywood Totepack is for you!

PATTERN: Maywood Totepack by Klum House

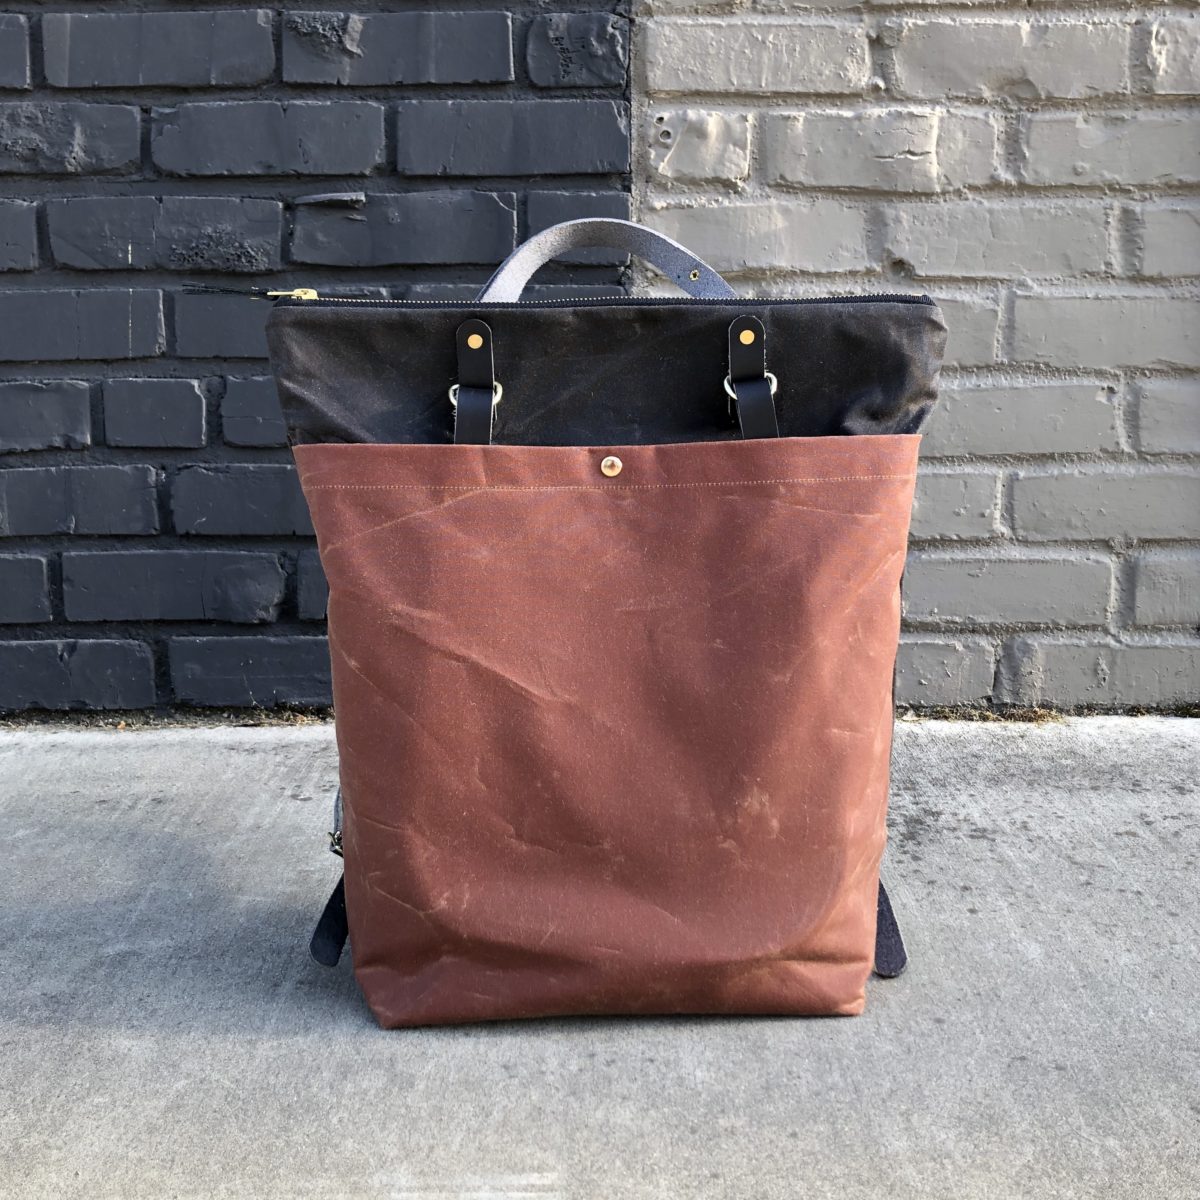
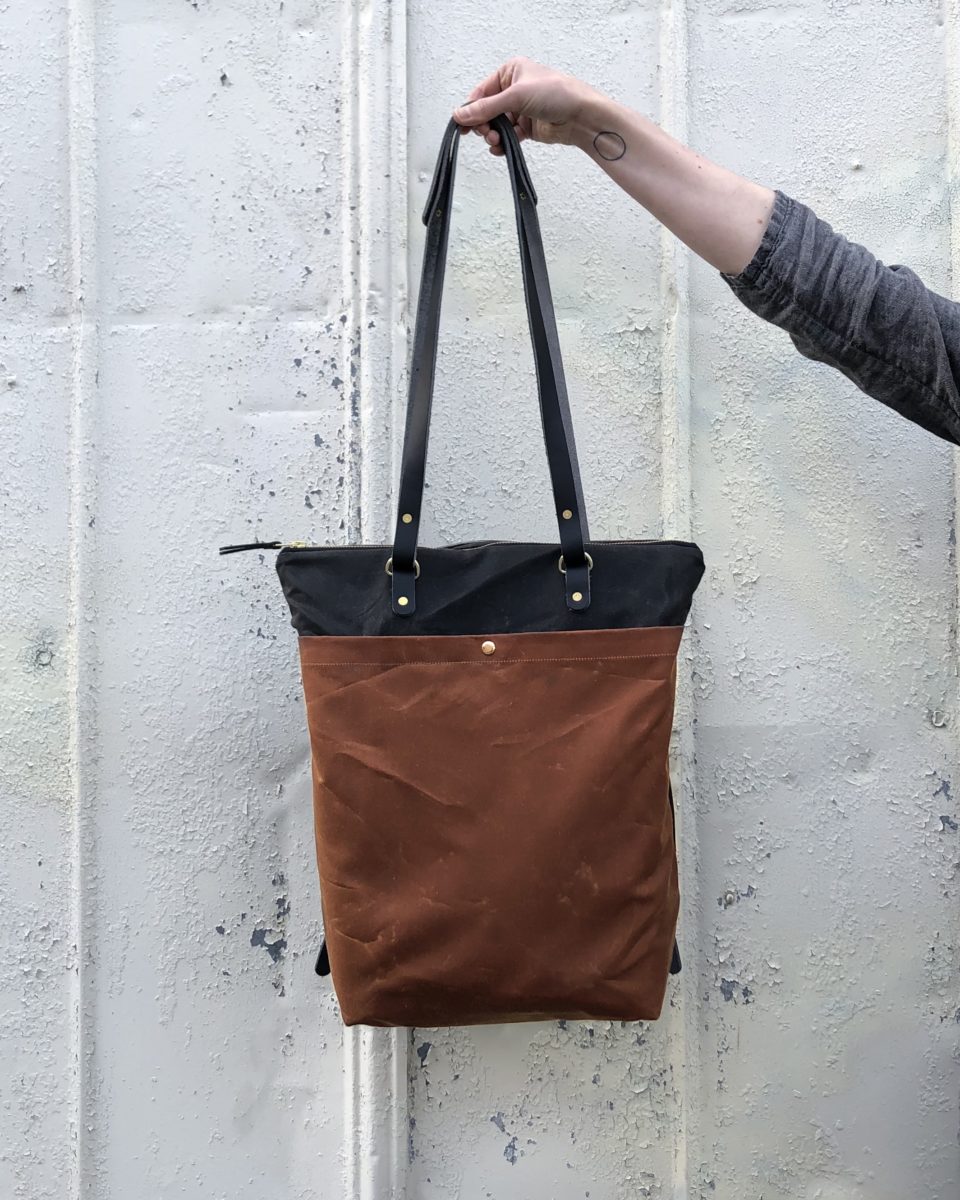
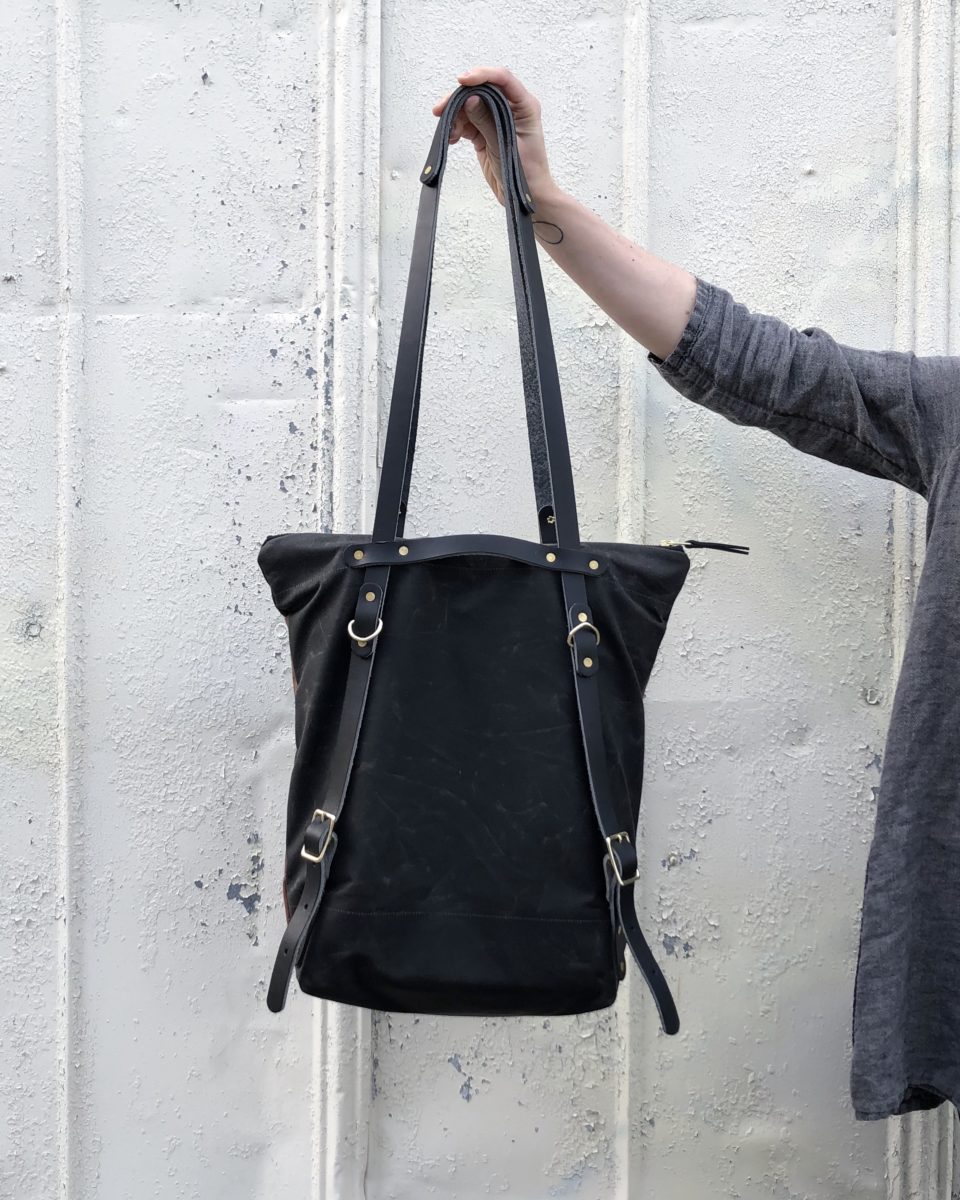
FABRIC & MATERIALS: Maywood Maker Kit, comes with EVERYTHING you need AND the fabric is already cut out and marked! After much deliberation, I went with the Brush Brown canvas for the front pocket, Dark Brown canvas for the exterior (which reads as a warm black to my eyes), black leather, and brass hardware. There are so many colors to choose from – it took me a while to settle on a color combination!

Sewing and installing the hardware only took a couple of hours, thanks to the Maker Kit. Maker Kits include pre-cut and marked fabric, making the process super fast. Klum House also has Finishing Kits, which include the leather and hardware – you just supply the fabric, or for ultimate customization options, you can buy just the pattern.

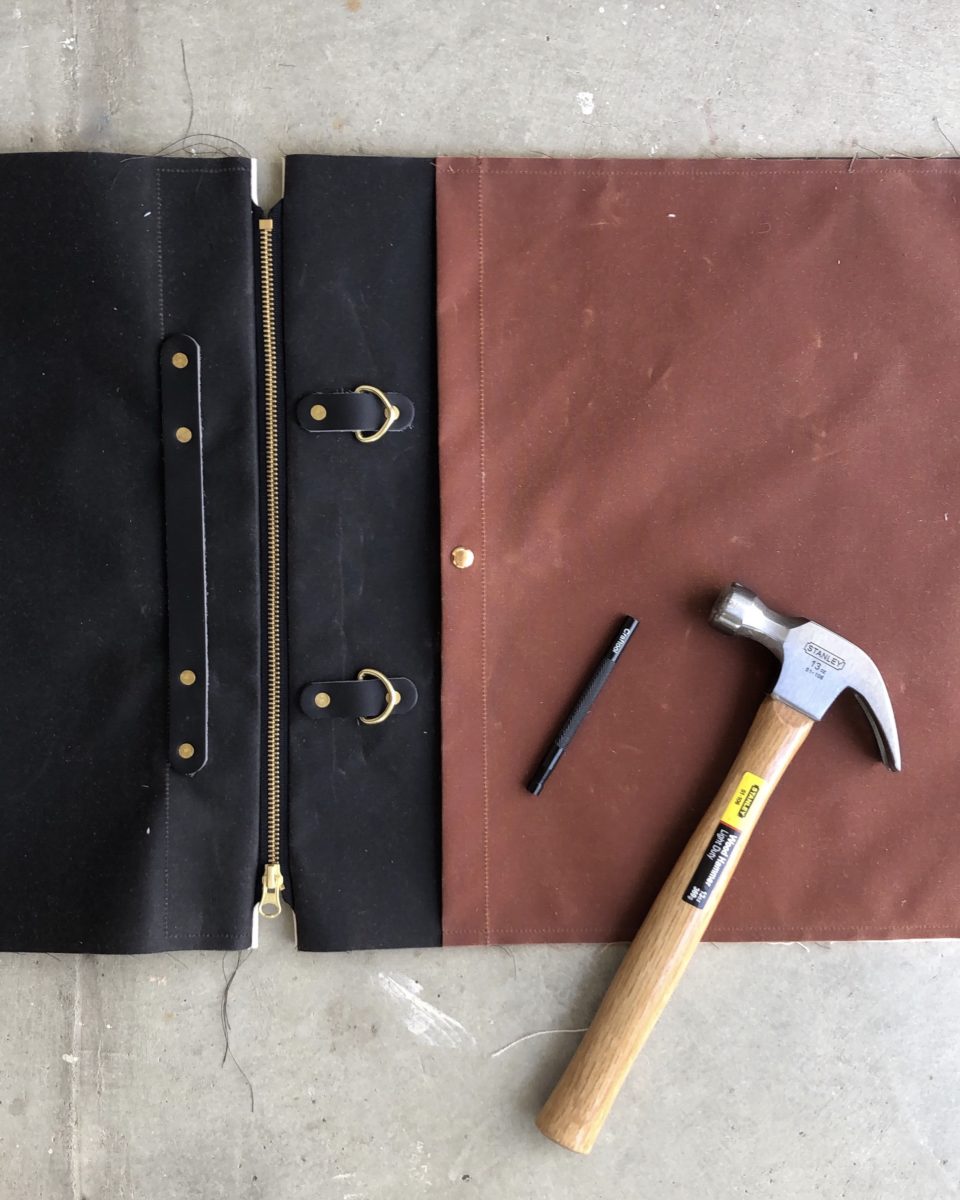
I will say that Ellie’s video tutorial (access included with pattern purchase) make rivet setting look like it takes just a few light taps, but I found I really needed to put some weight into it and hammer on the concrete of my porch. The tubular rivets, which are new for the relaunch, are really, really durable. The Finishing and Maker Kits also come with all the tools you need!

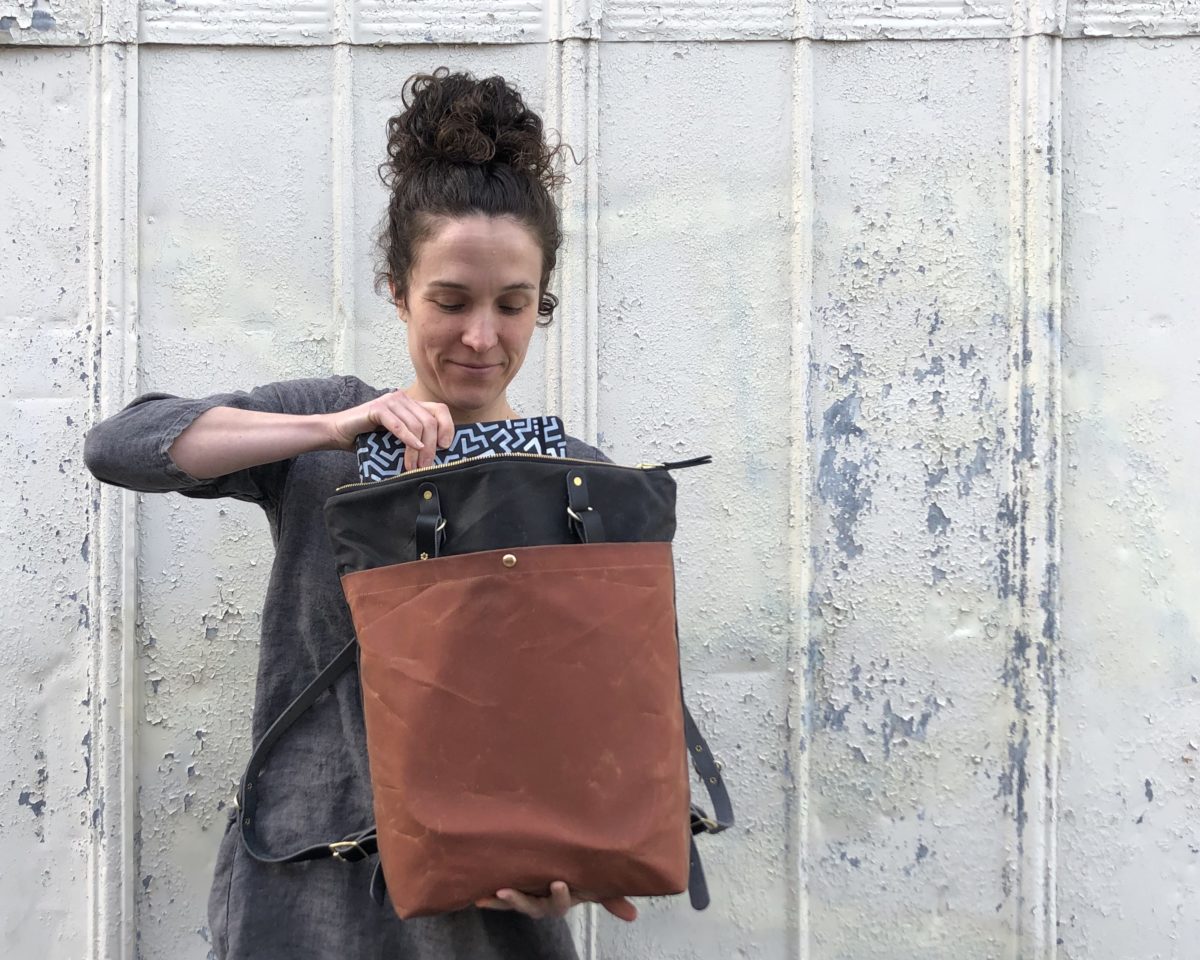
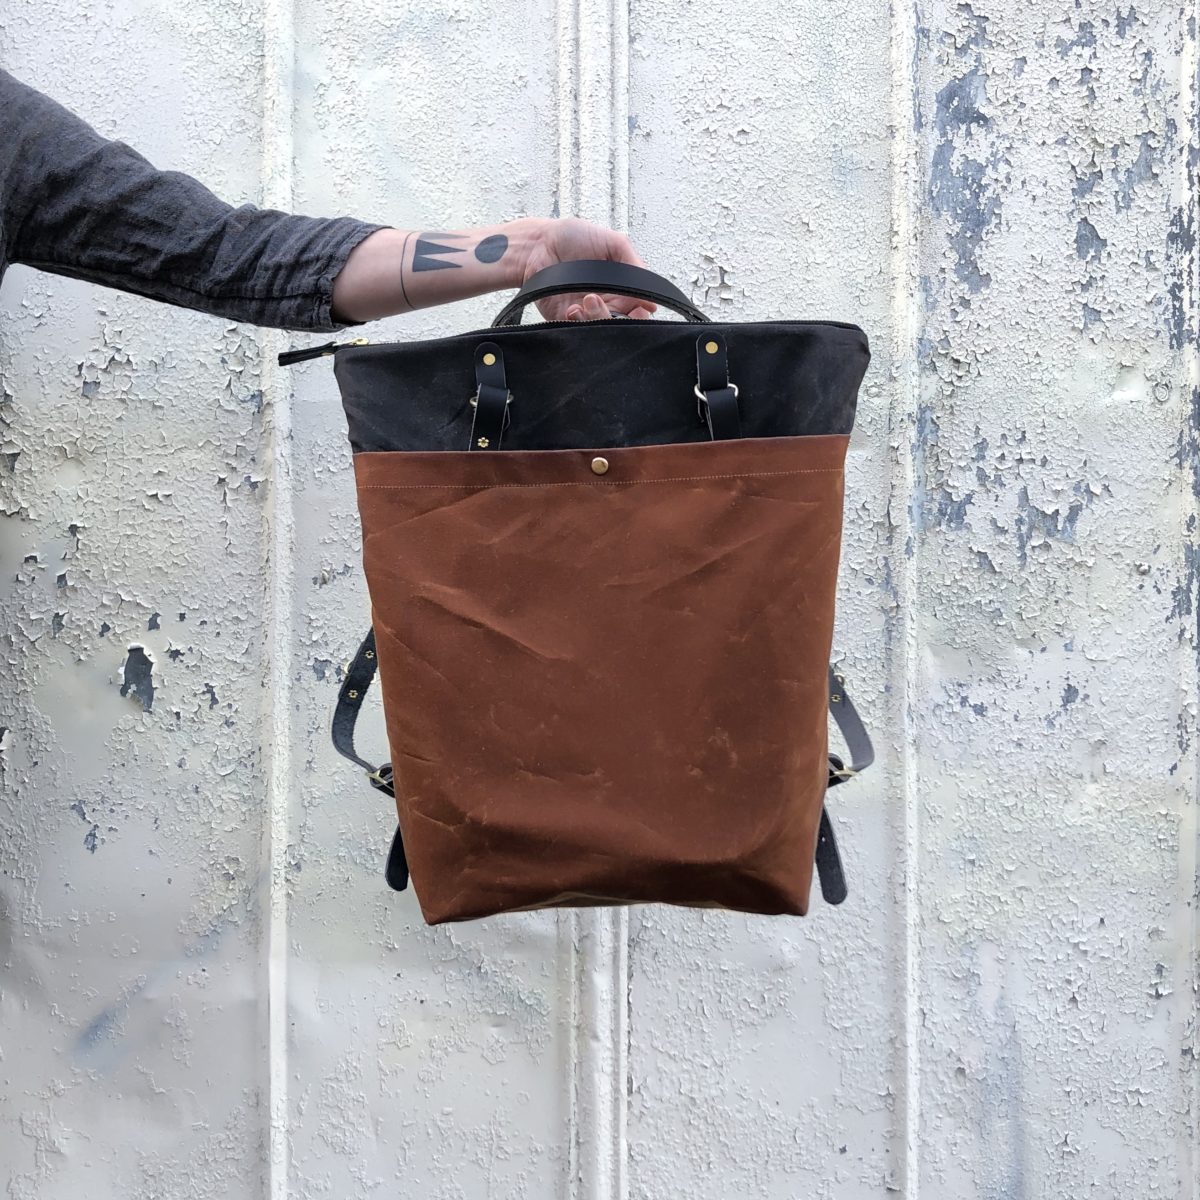
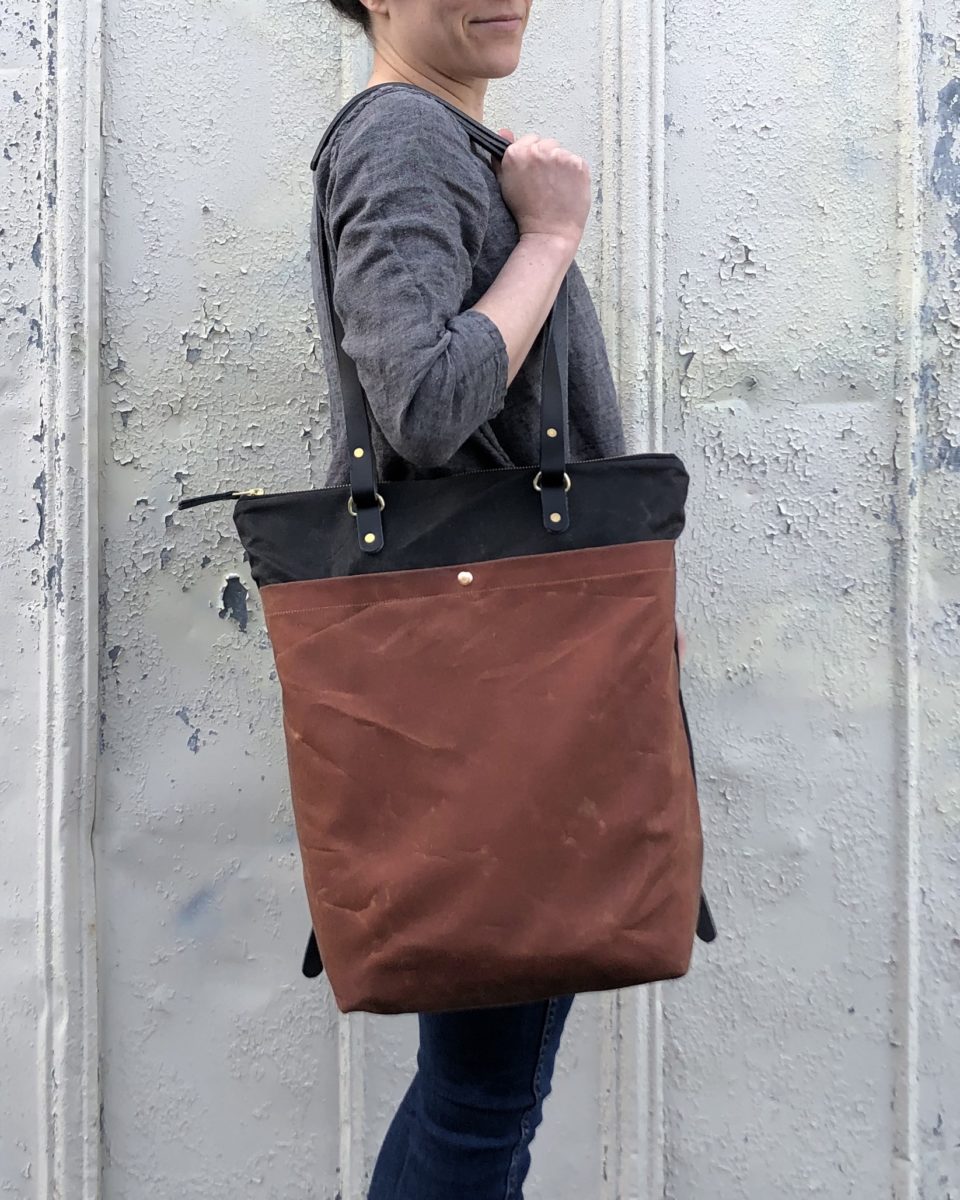
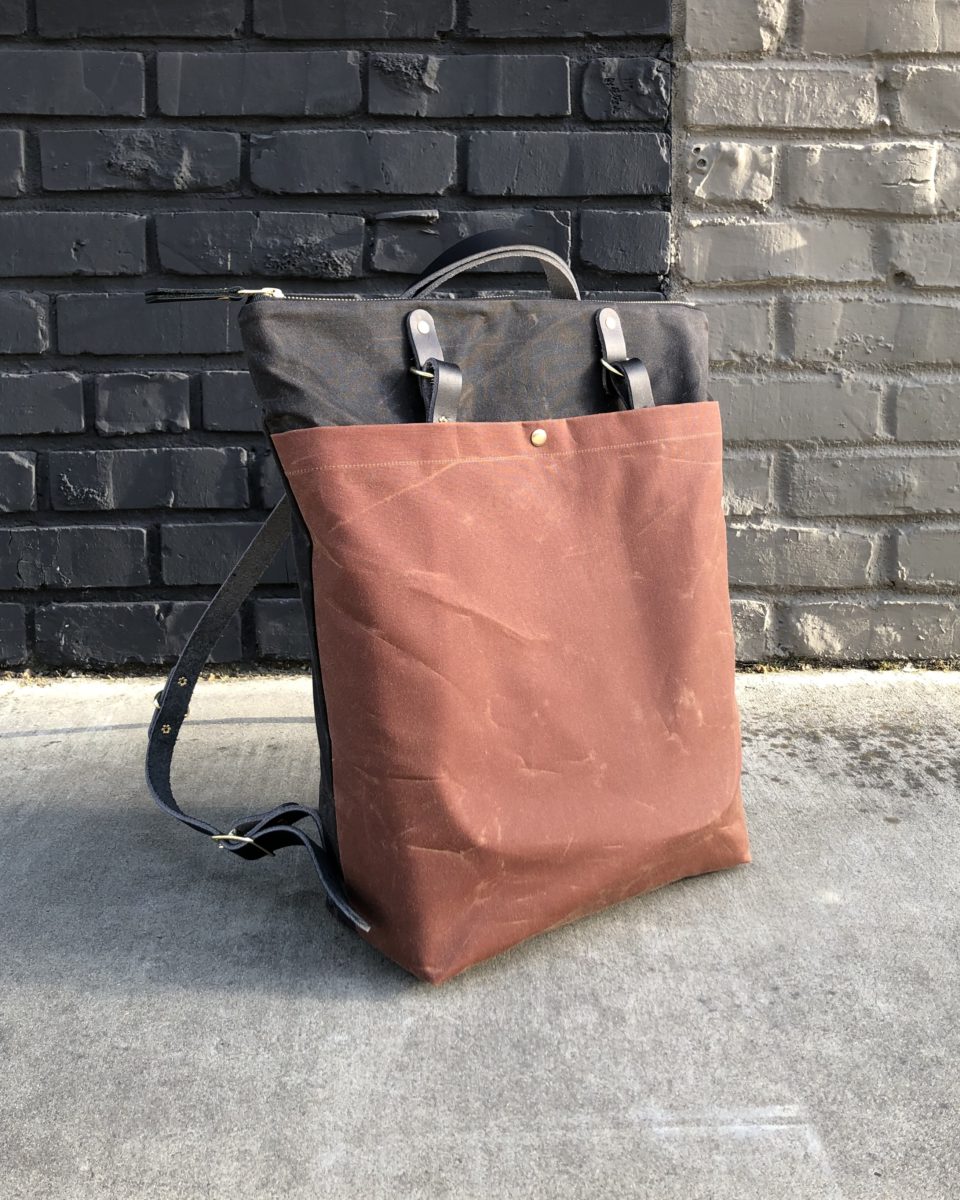
The Maywood is a really good size for a day bag. I have been able to carry my 15″ laptop, a sketchbook, a small bag of art supplies, and my usual purse things (wallet, lotion, keys, etc.) comfortably and with some room to spare. The front pocket provides additional toting space even with the front strap tucked inside.

I’ve made many a boxed corner, but the construction technique used in this pattern is super smart. It pretty much guarantees your seams will match up!

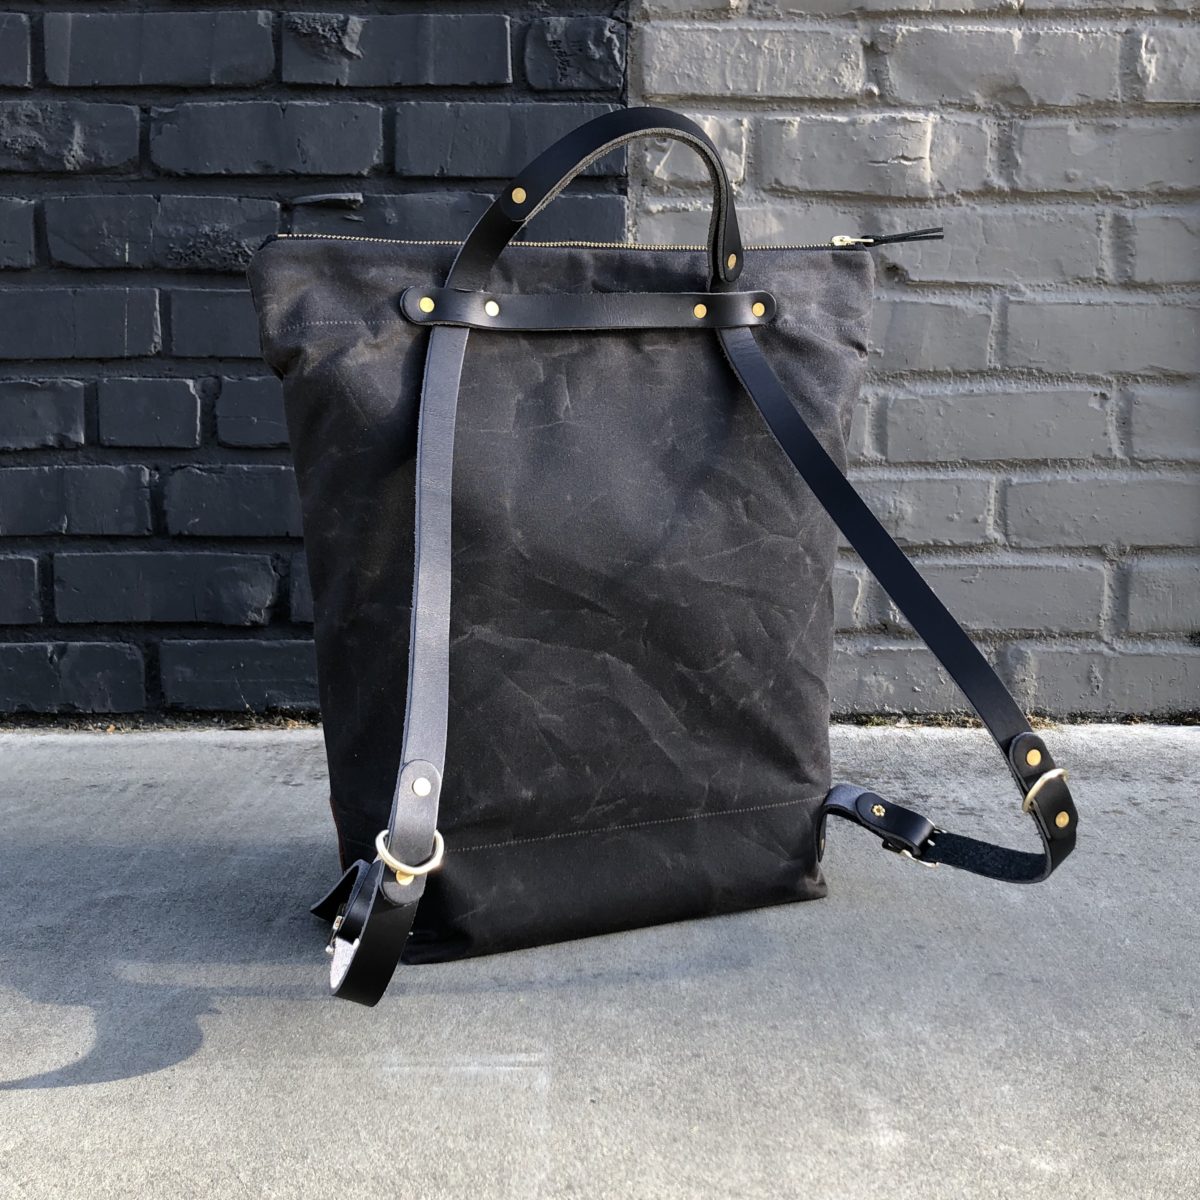
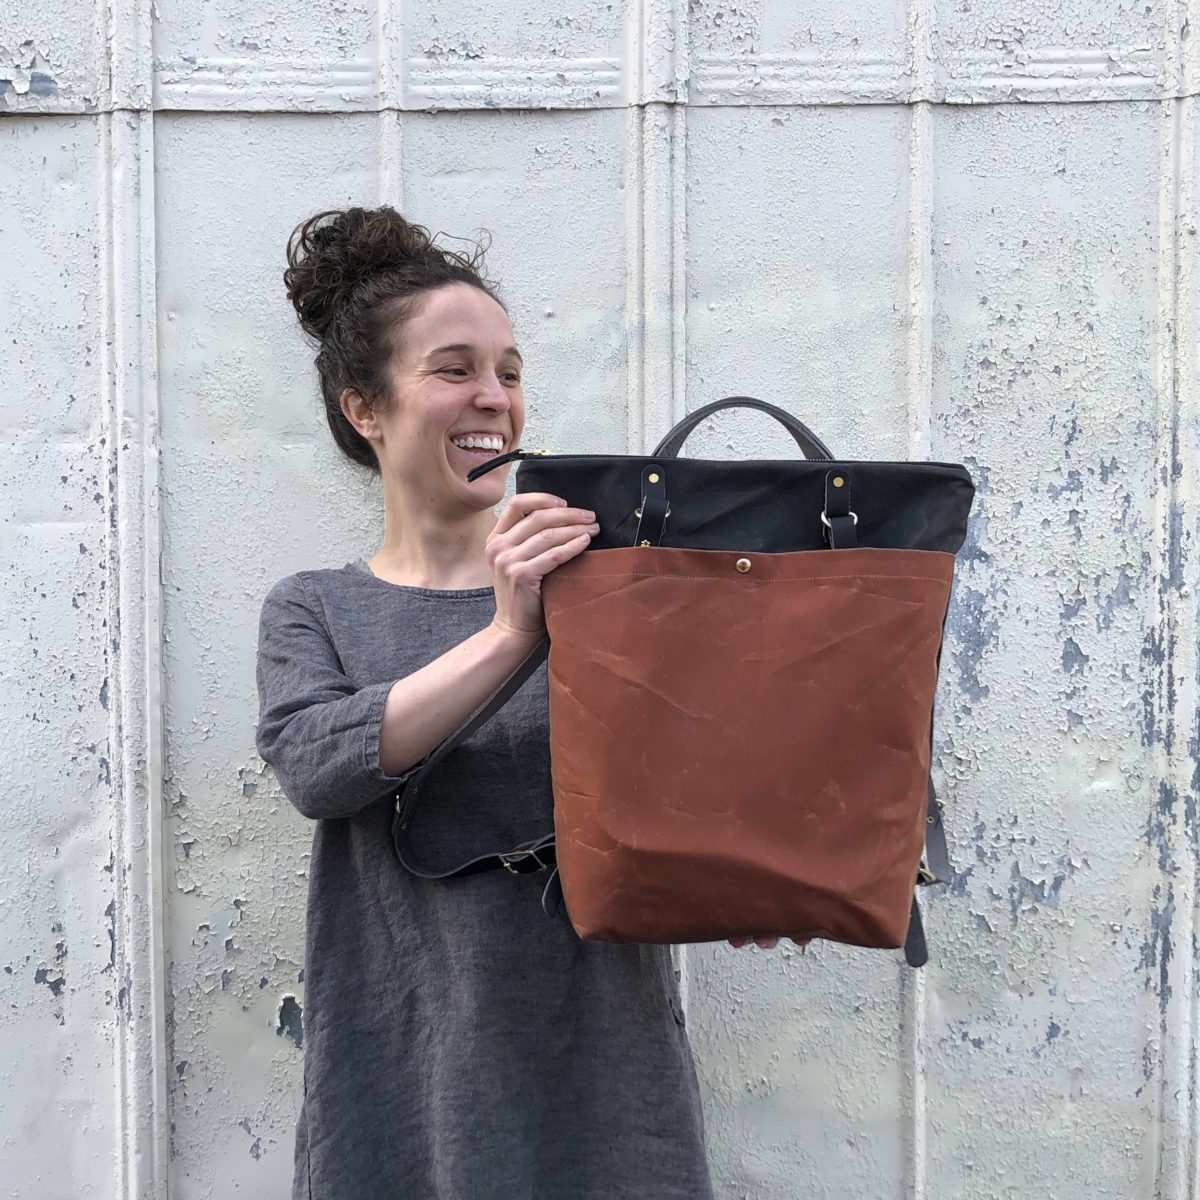
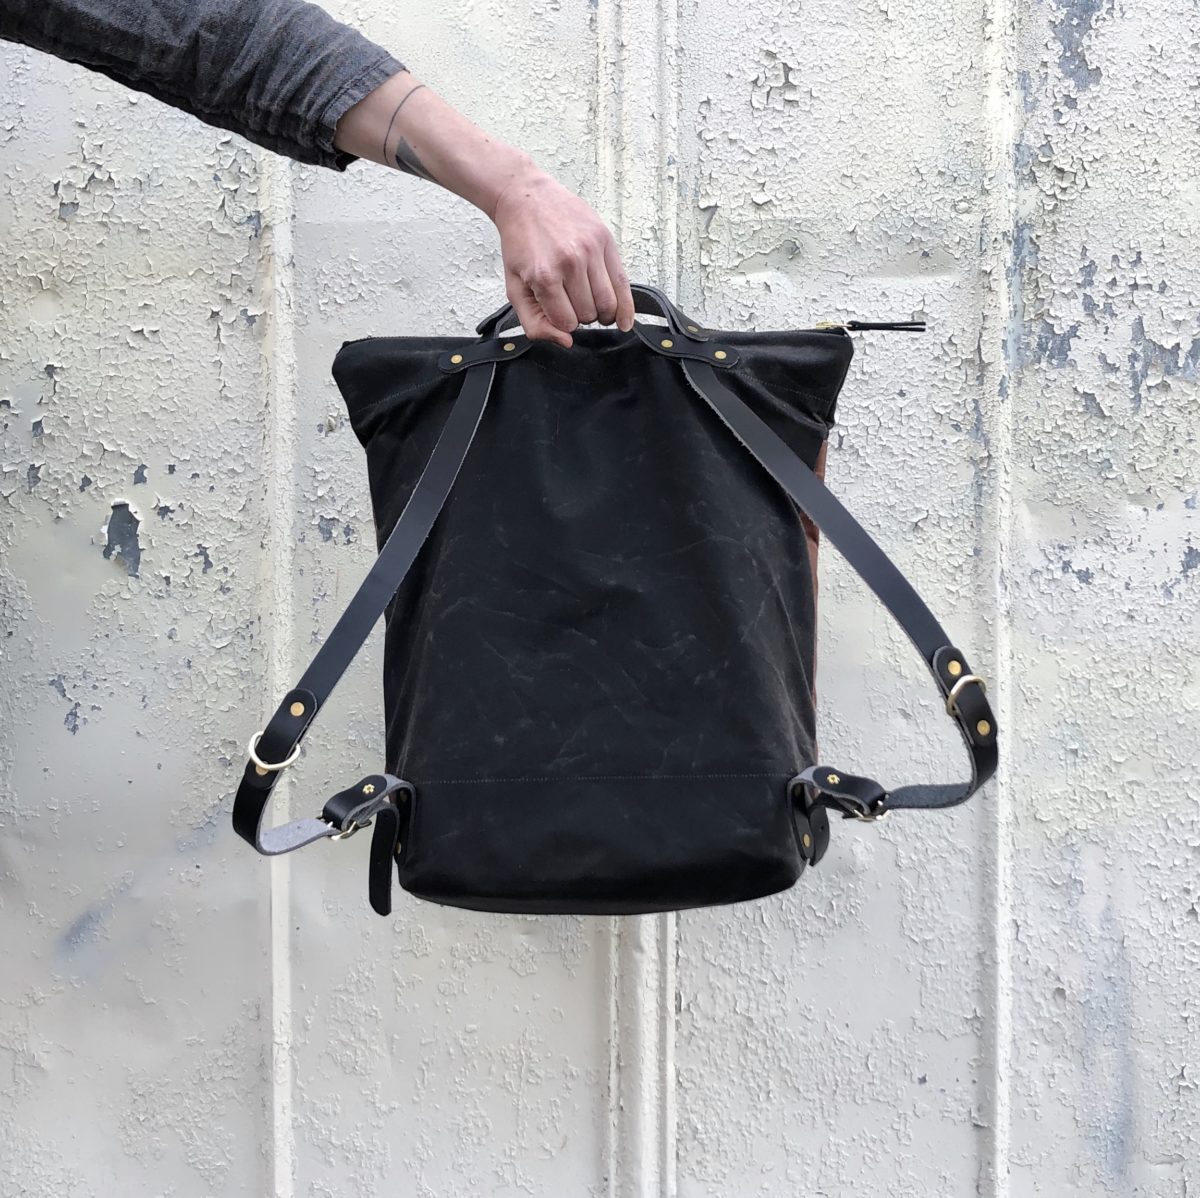
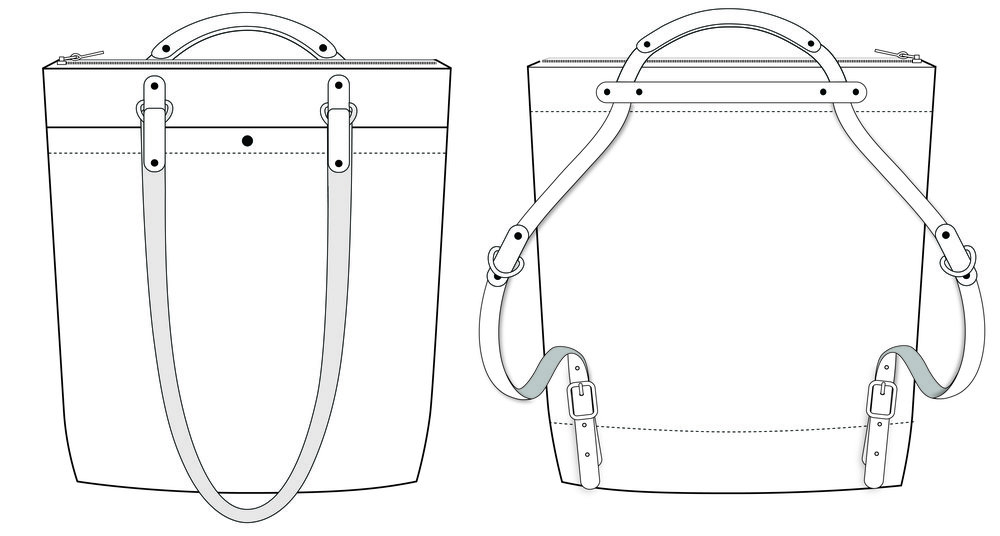
Here’s the coolest part of this bag – its versatility. Prefer to carry the day’s load at your side, it does that. Want to carry your stuff on your back, no problem. With a simple tuck and pull, the Maywood converts from a tote into a backpack. So clever!

I’m very happy with this make and am contemplating making a matching Fremont Tote for a slick travel set.

Remember there’s a discount code that’s good until April 22, if you want to make the Maywood too! The discount code MAKEMAYWOOD will take 10% off the purchase of any Maywood products.

Click here to shop Maywood!

Disclosure: I received the Maywood Maker Kit for free but all thoughts and opinions are my own. If you use the above link to purchase a Maywood product, I will receive a small commission from the sale with no change in cost to you.

WOOT – the Maywood Totepack is here!

Leave a comment

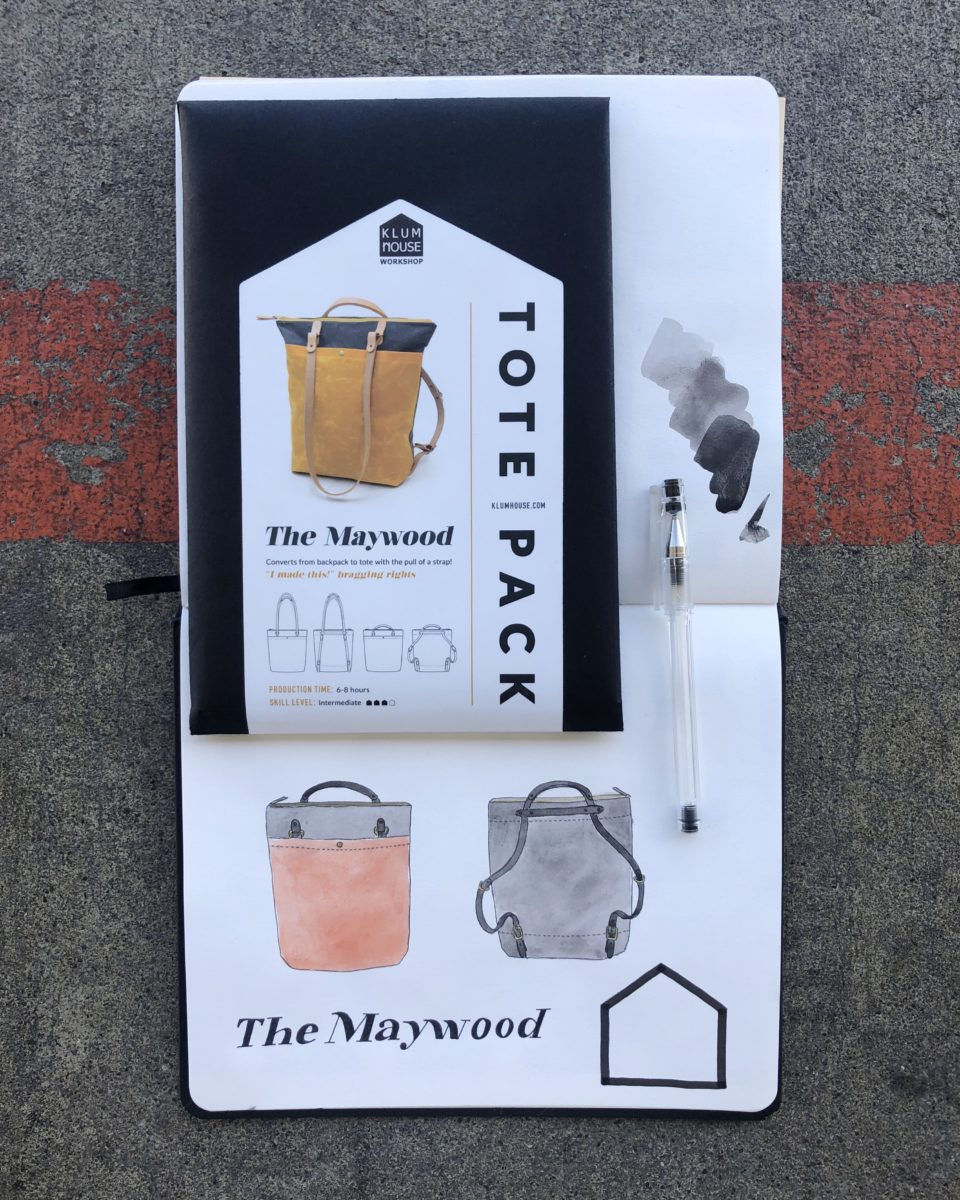
The revamped Maywood Totepack has arrived! The Maywood is basically two bags in one; it transforms from a tote to a backpack with a simple slide and tuck and I CANNOT WAIT TO MAKE IT.

Ellie over at Klum House is a gem and has asked me to test out the updated pattern / hardware and share the process with you all. Best part? She’s included a sweet discount code for you!

Click here to shop Maywood!

The discount code is MAKEMAYWOOD. It will take 10% off the purchase of any Maywood products between now and Monday, April 22 at midnight.

What? There’s more?

April 22 is the shipping deadline for anyone who wants to participate in Klum House’s Live Virtual Maywood Class on Sunday, April 28. Access to that live class is free for anyone who buys a full Maywood Maker Kit (and $10-30 sliding scale without the maker kit).

Klum House patterns are super approachable and result in really fabulous, high quality bags. Make the Maywood with me – I’ll be sharing my progress on Instagram and my finished bag on the blog April 17th!

Click here to shop Maywood!