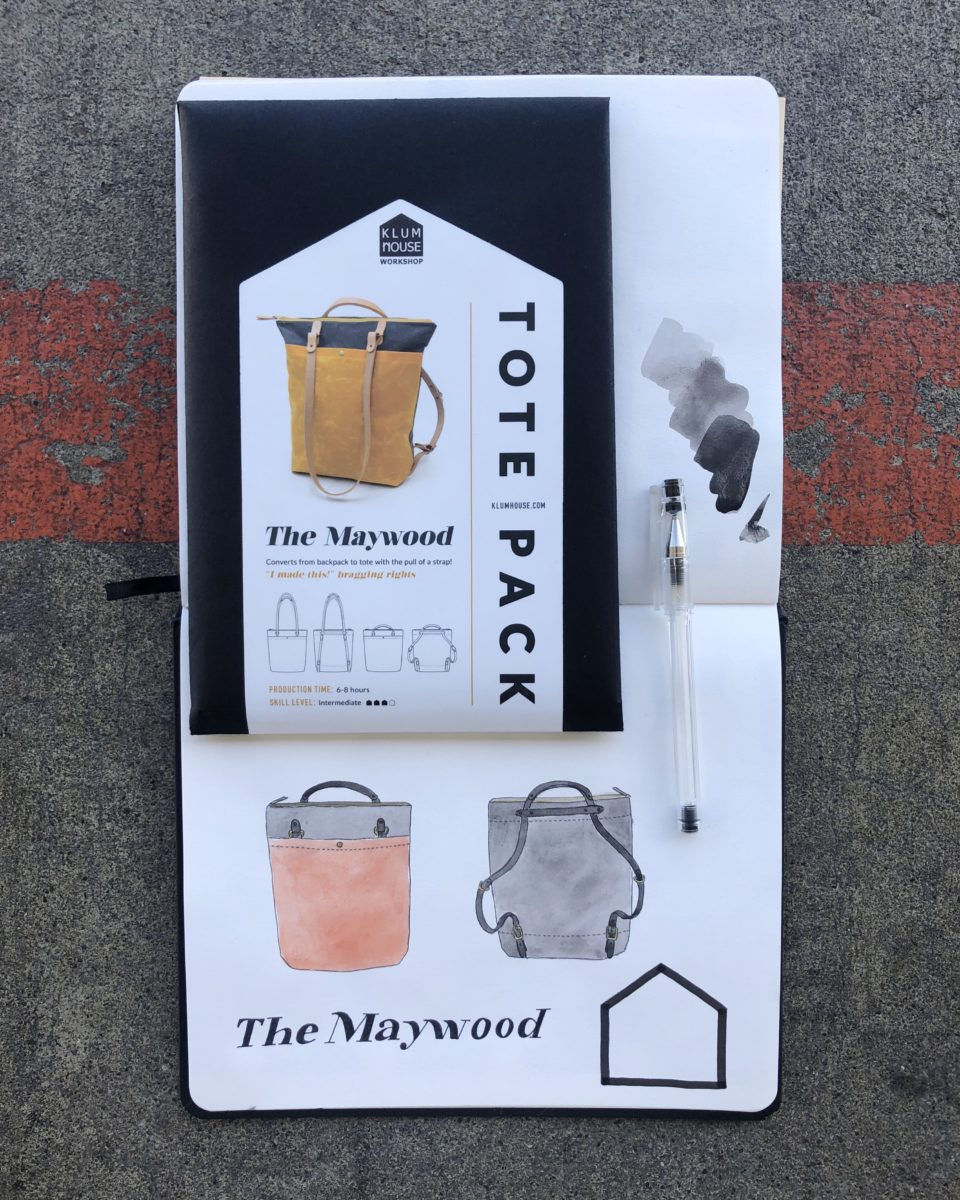
Back in December of 2018, Klum House reached out to ask if I’d be willing to make the relaunch of their Maywood Totepack once it was ready. I had already made their Dopp Kit and had recently purchased a Finishing Kit for the first Maywood pattern, so I was definitely on board!
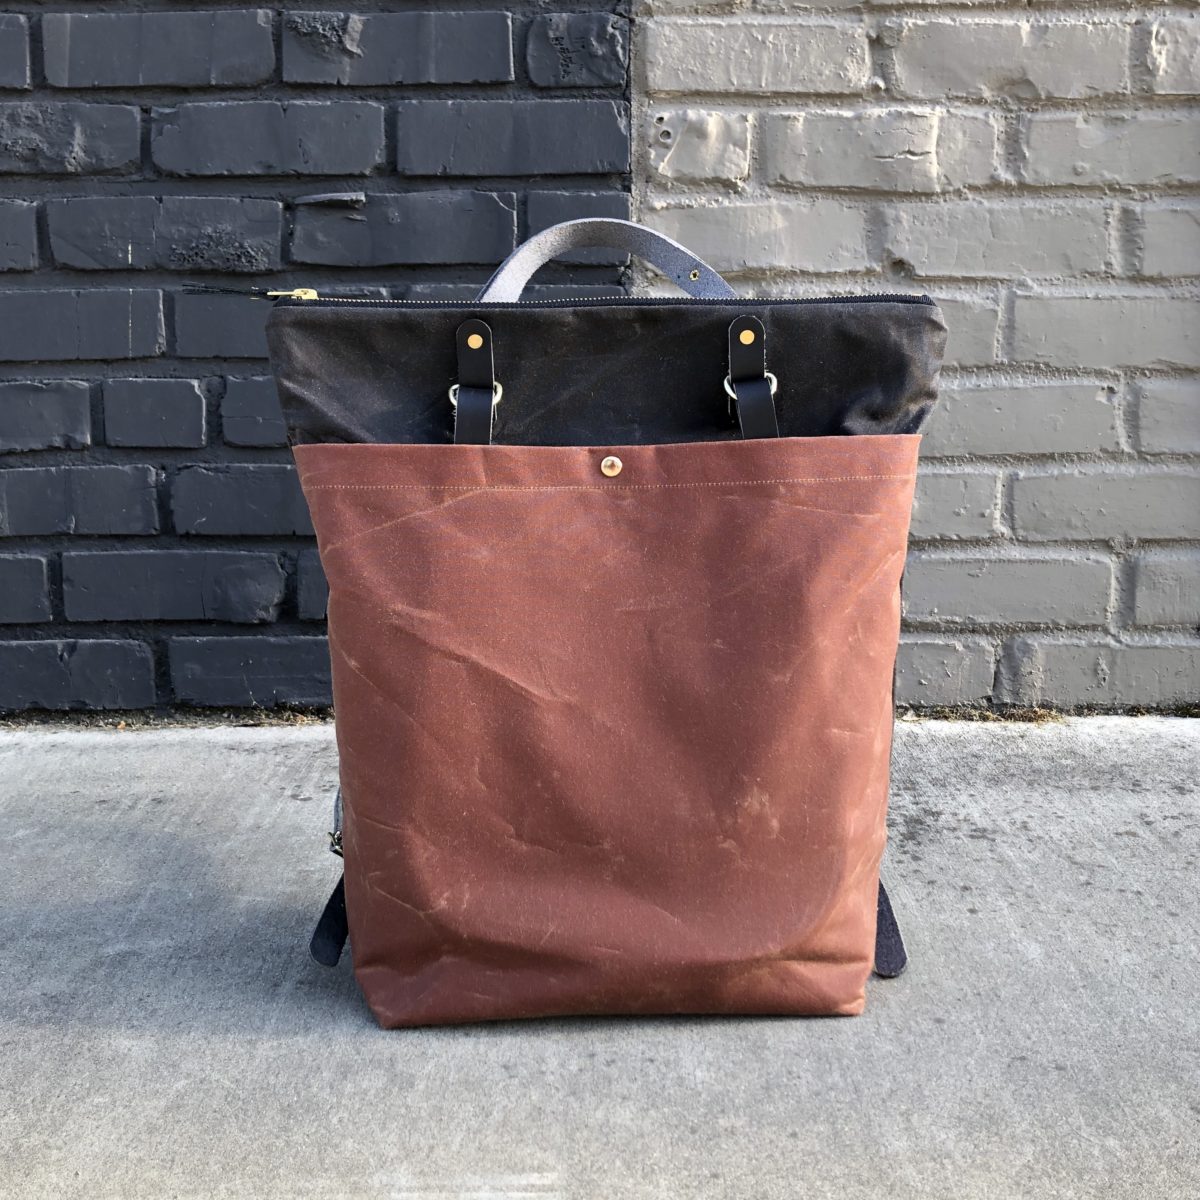
The Maywood is not only a classic bag you’ll use for years, but its making process teaches you clever construction techniques and satisfying hardware setting skills. If you’re looking for a versatile bag with top notch finishes, look no further, the Klum House Maywood Totepack is for you!
PATTERN: Maywood Totepack by Klum House
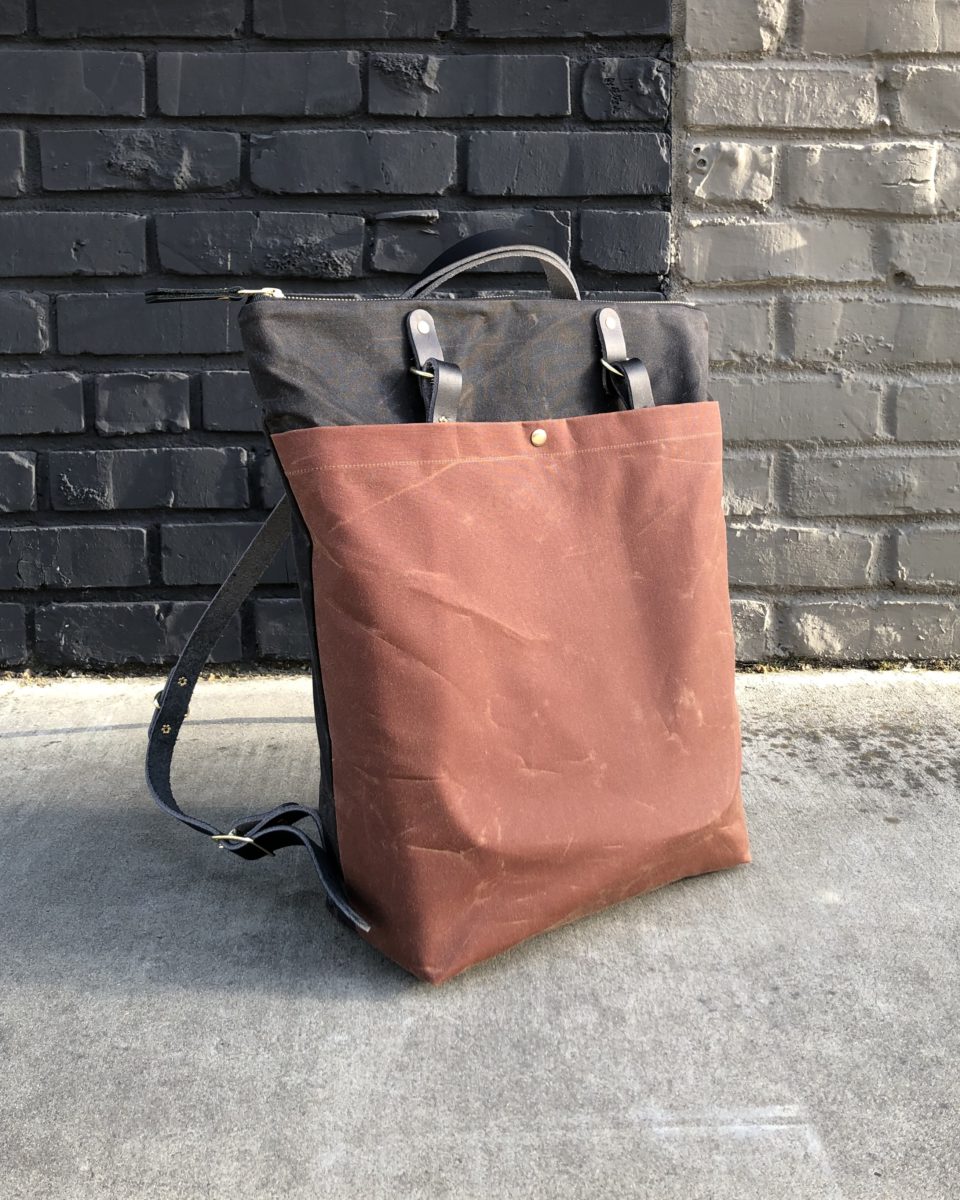
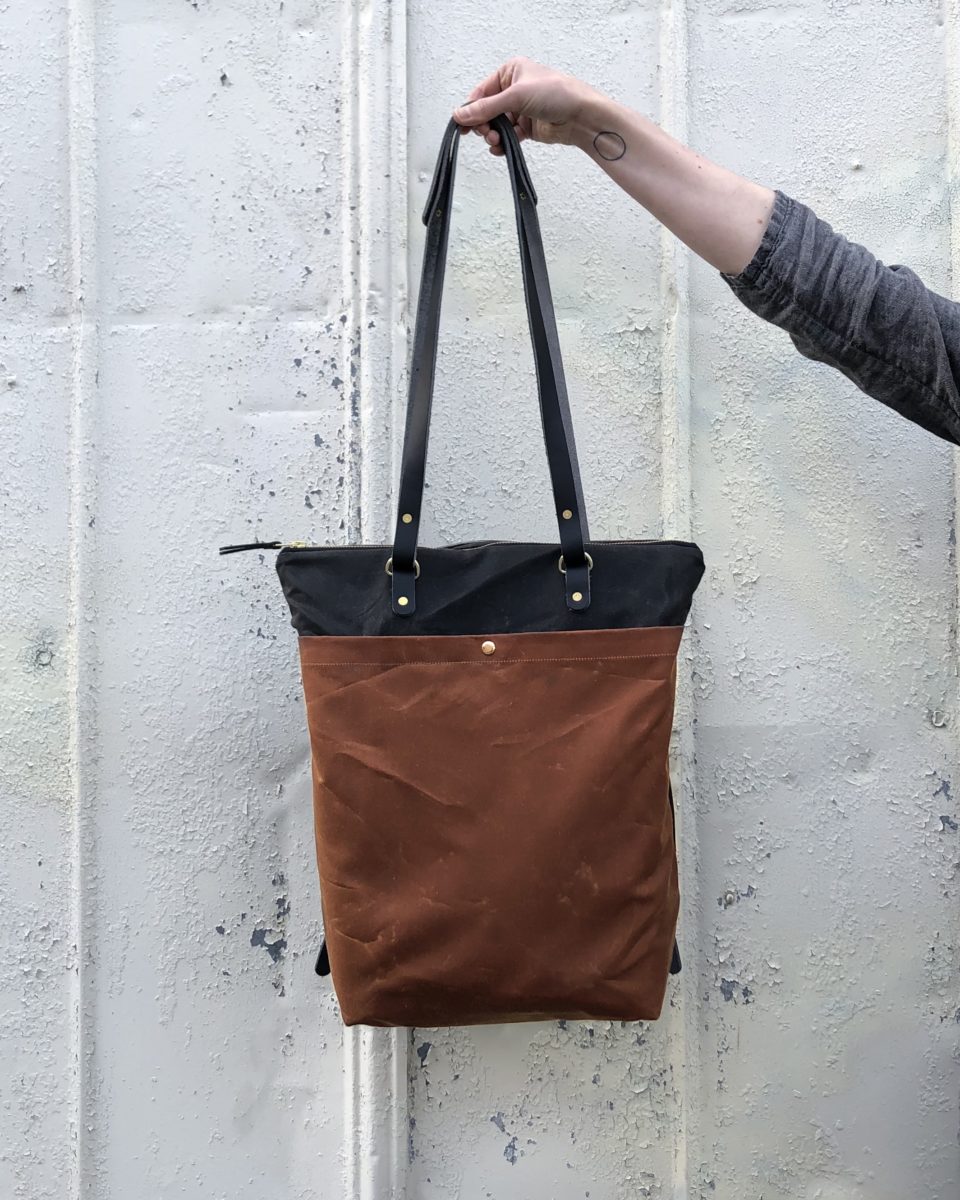
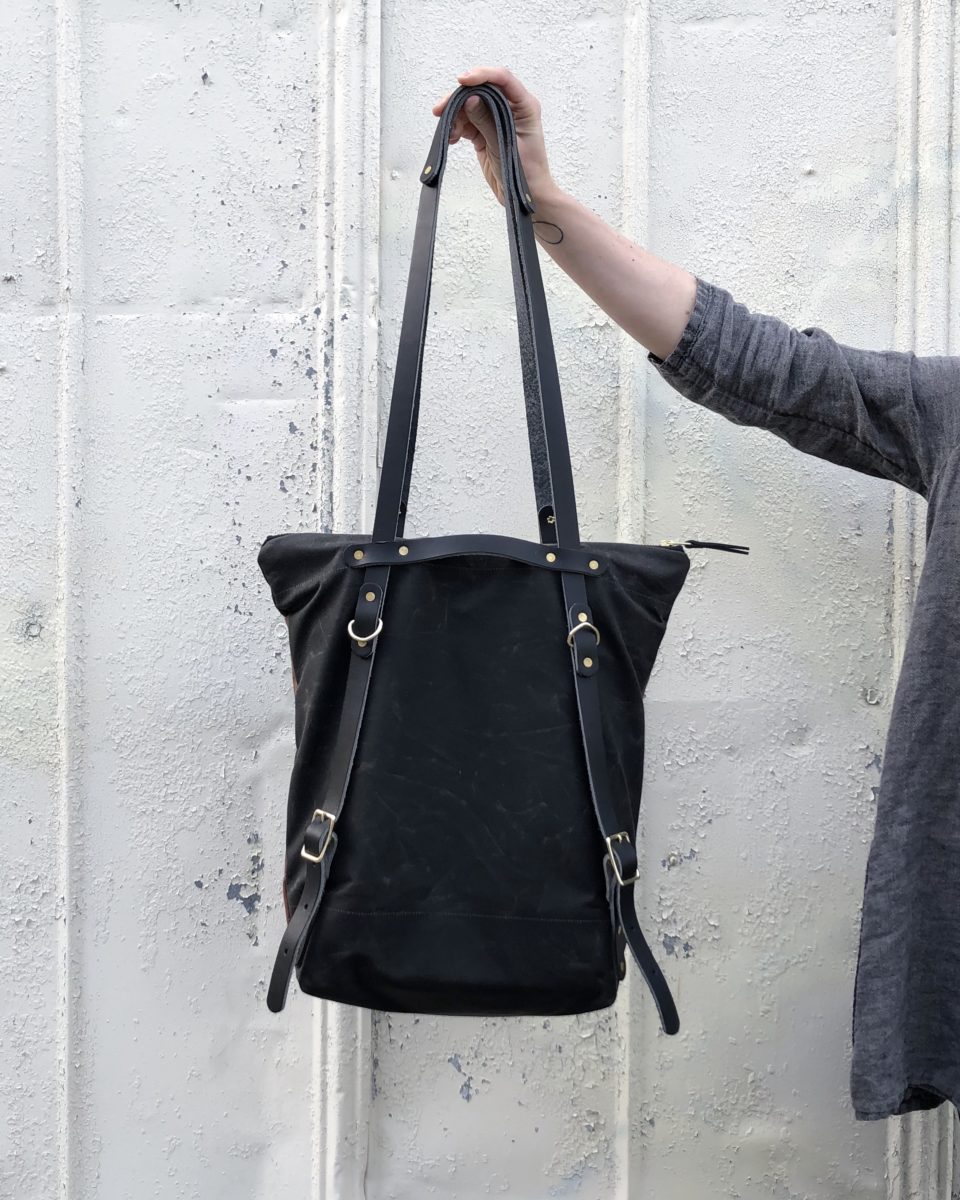
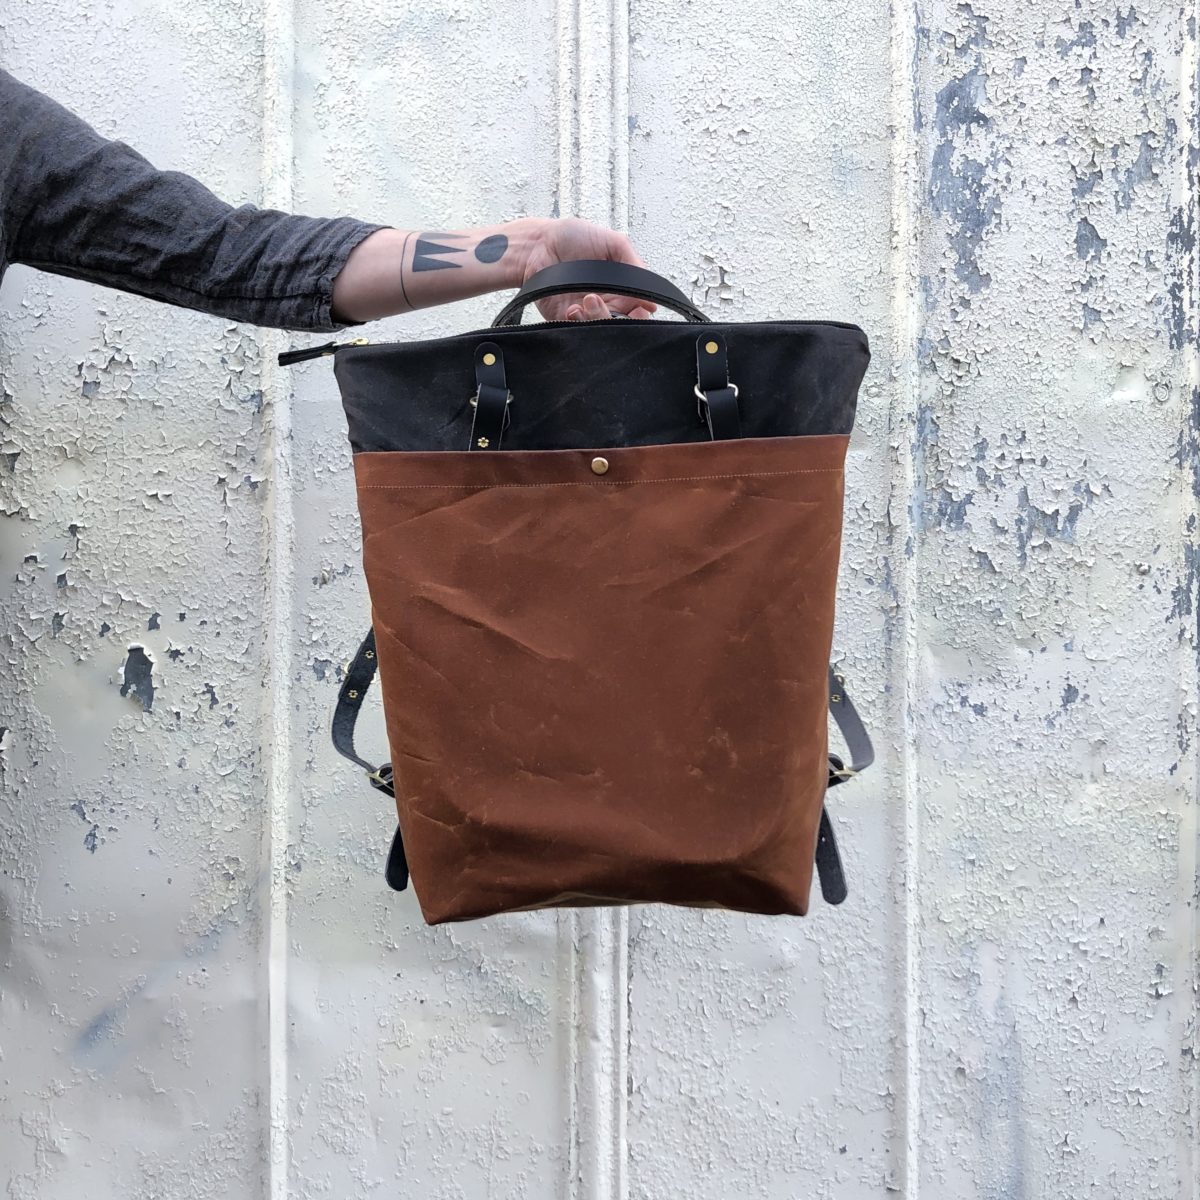
FABRIC & MATERIALS: Maywood Maker Kit, comes with EVERYTHING you need AND the fabric is already cut out and marked! After much deliberation, I went with the Brush Brown canvas for the front pocket, Dark Brown canvas for the exterior (which reads as a warm black to my eyes), black leather, and brass hardware. There are so many colors to choose from – it took me a while to settle on a color combination!
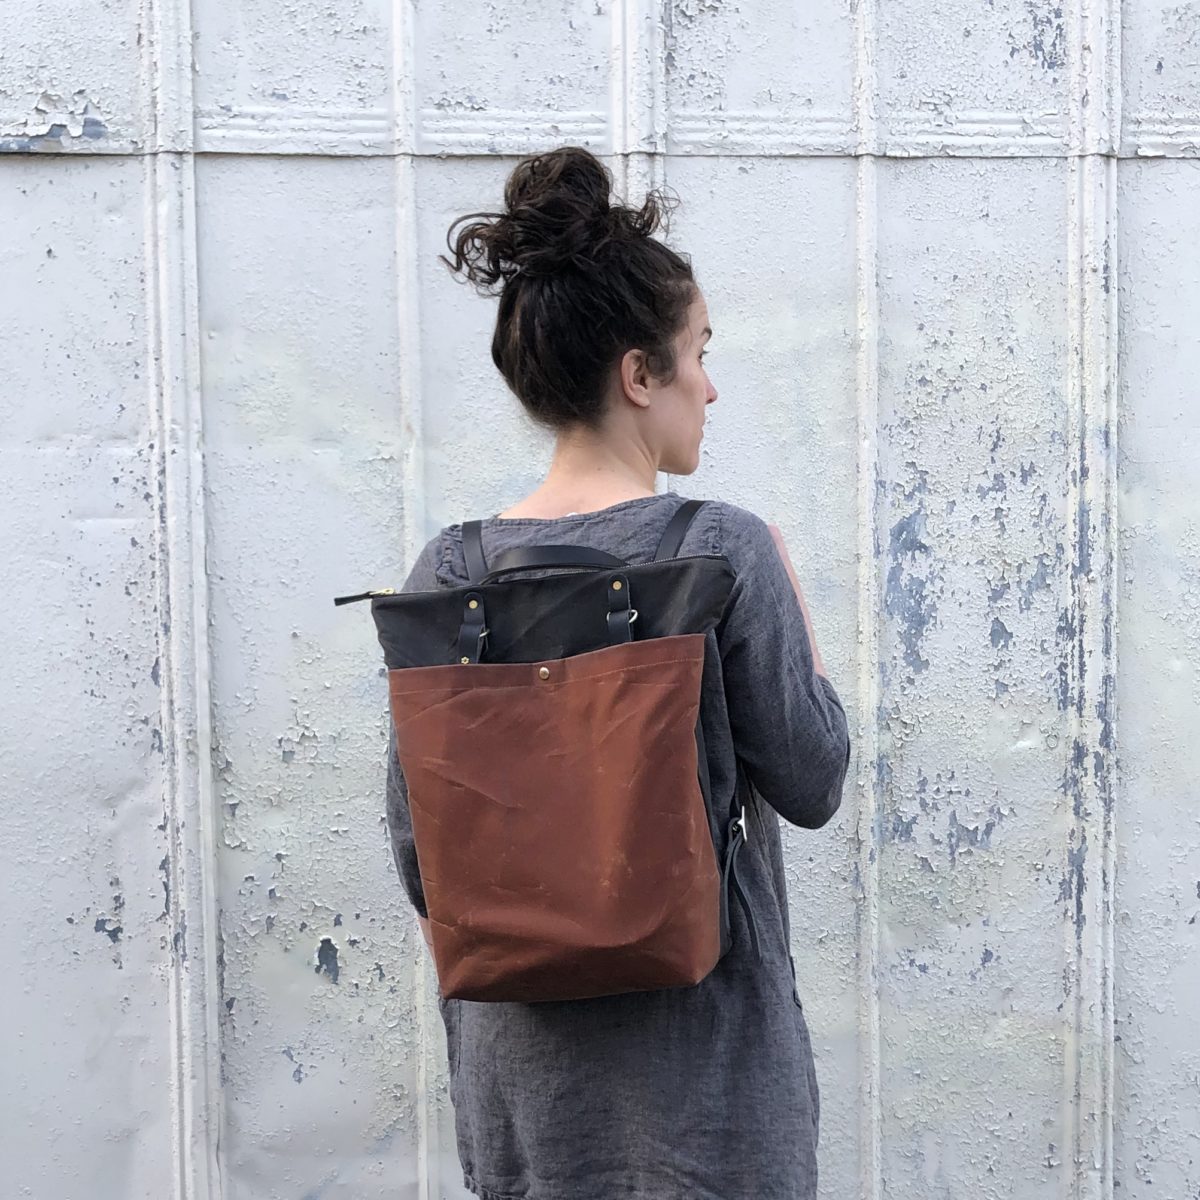
Sewing and installing the hardware only took a couple of hours, thanks to the Maker Kit. Maker Kits include pre-cut and marked fabric, making the process super fast. Klum House also has Finishing Kits, which include the leather and hardware – you just supply the fabric, or for ultimate customization options, you can buy just the pattern.
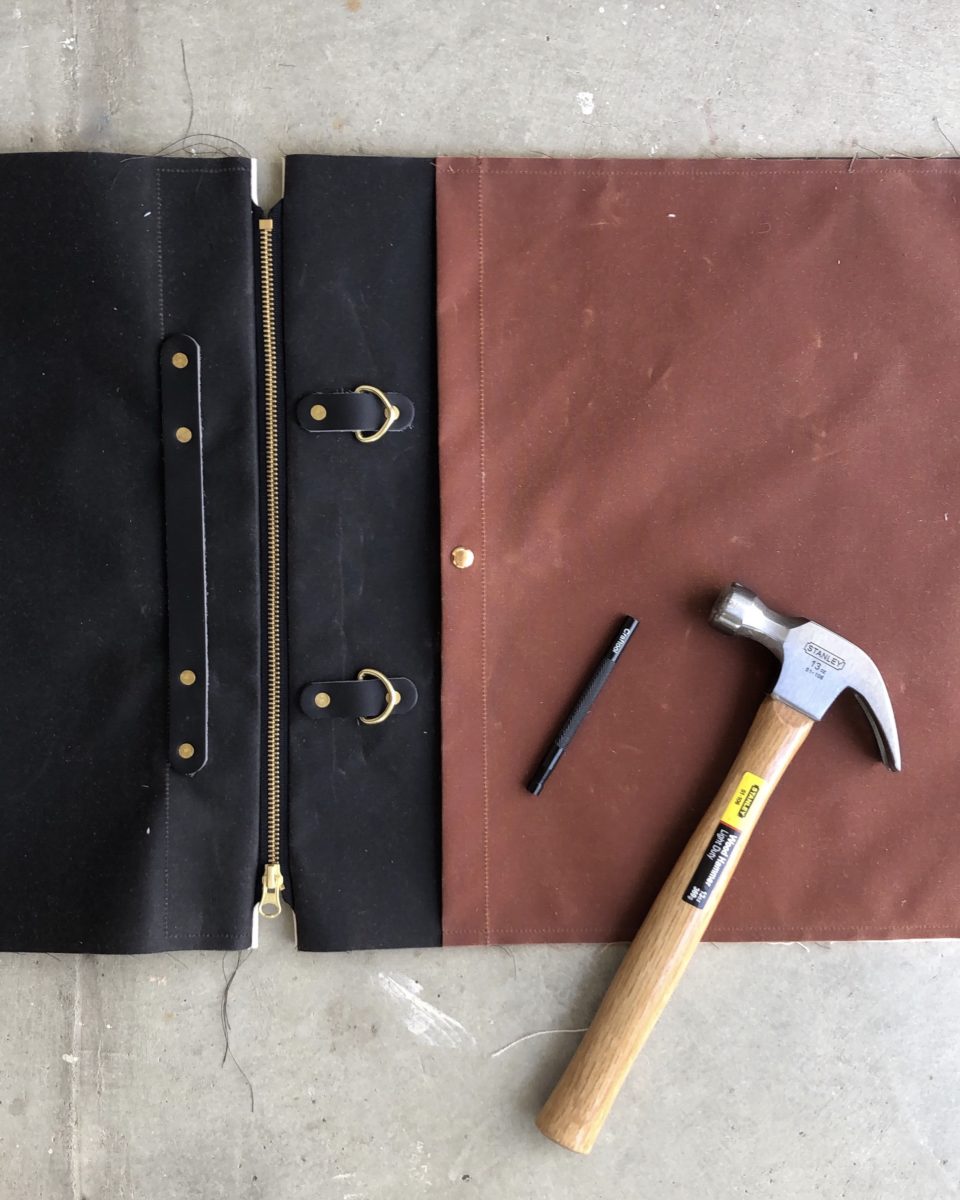
I will say that Ellie’s video tutorial (access included with pattern purchase) make rivet setting look like it takes just a few light taps, but I found I really needed to put some weight into it and hammer on the concrete of my porch. The tubular rivets, which are new for the relaunch, are really, really durable. The Finishing and Maker Kits also come with all the tools you need!
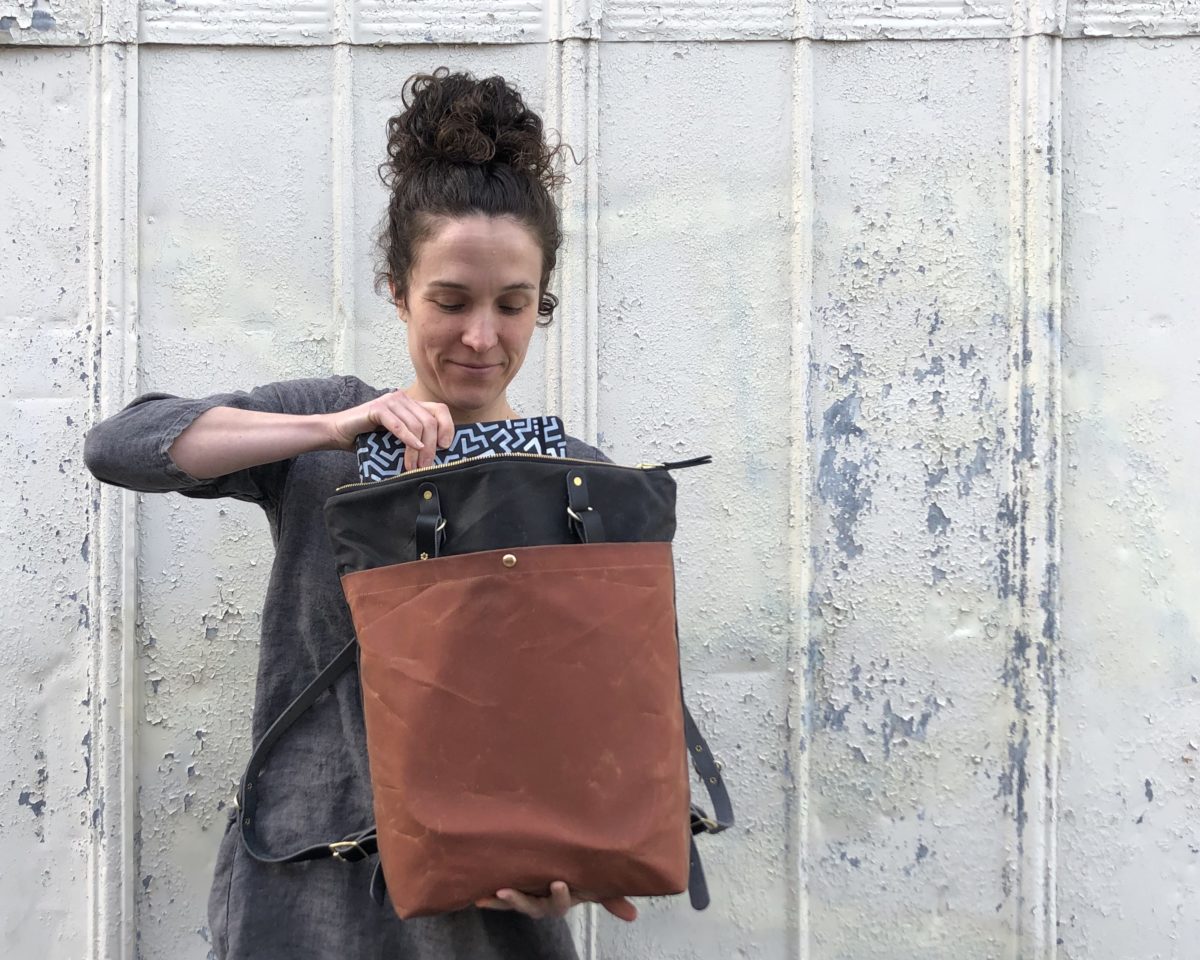
The Maywood is a really good size for a day bag. I have been able to carry my 15″ laptop, a sketchbook, a small bag of art supplies, and my usual purse things (wallet, lotion, keys, etc.) comfortably and with some room to spare. The front pocket provides additional toting space even with the front strap tucked inside.
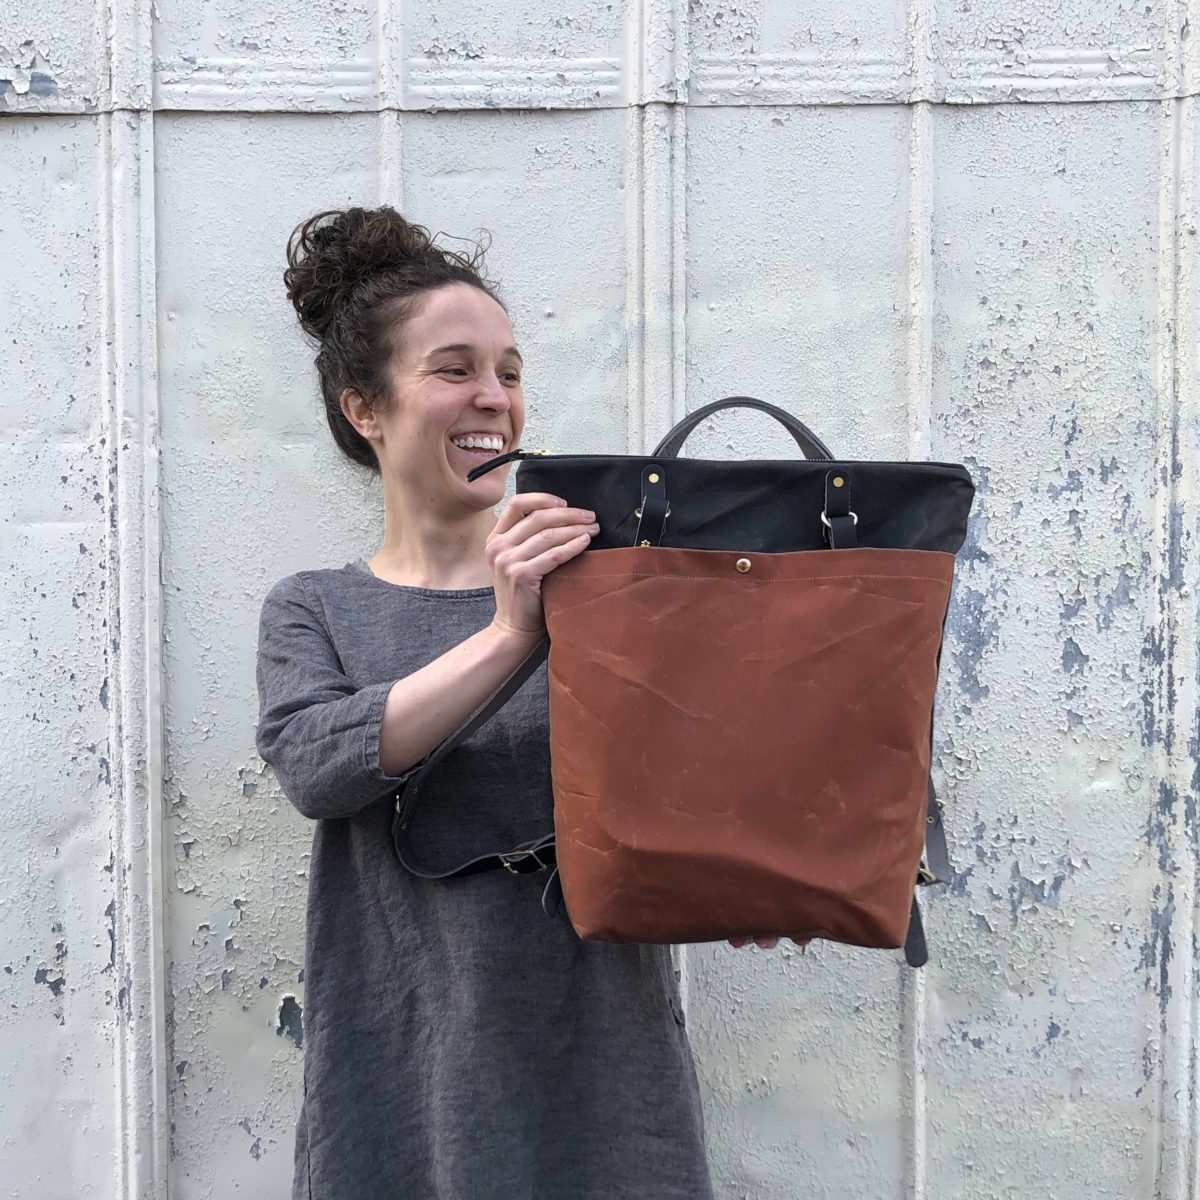
I’ve made many a boxed corner, but the construction technique used in this pattern is super smart. It pretty much guarantees your seams will match up!
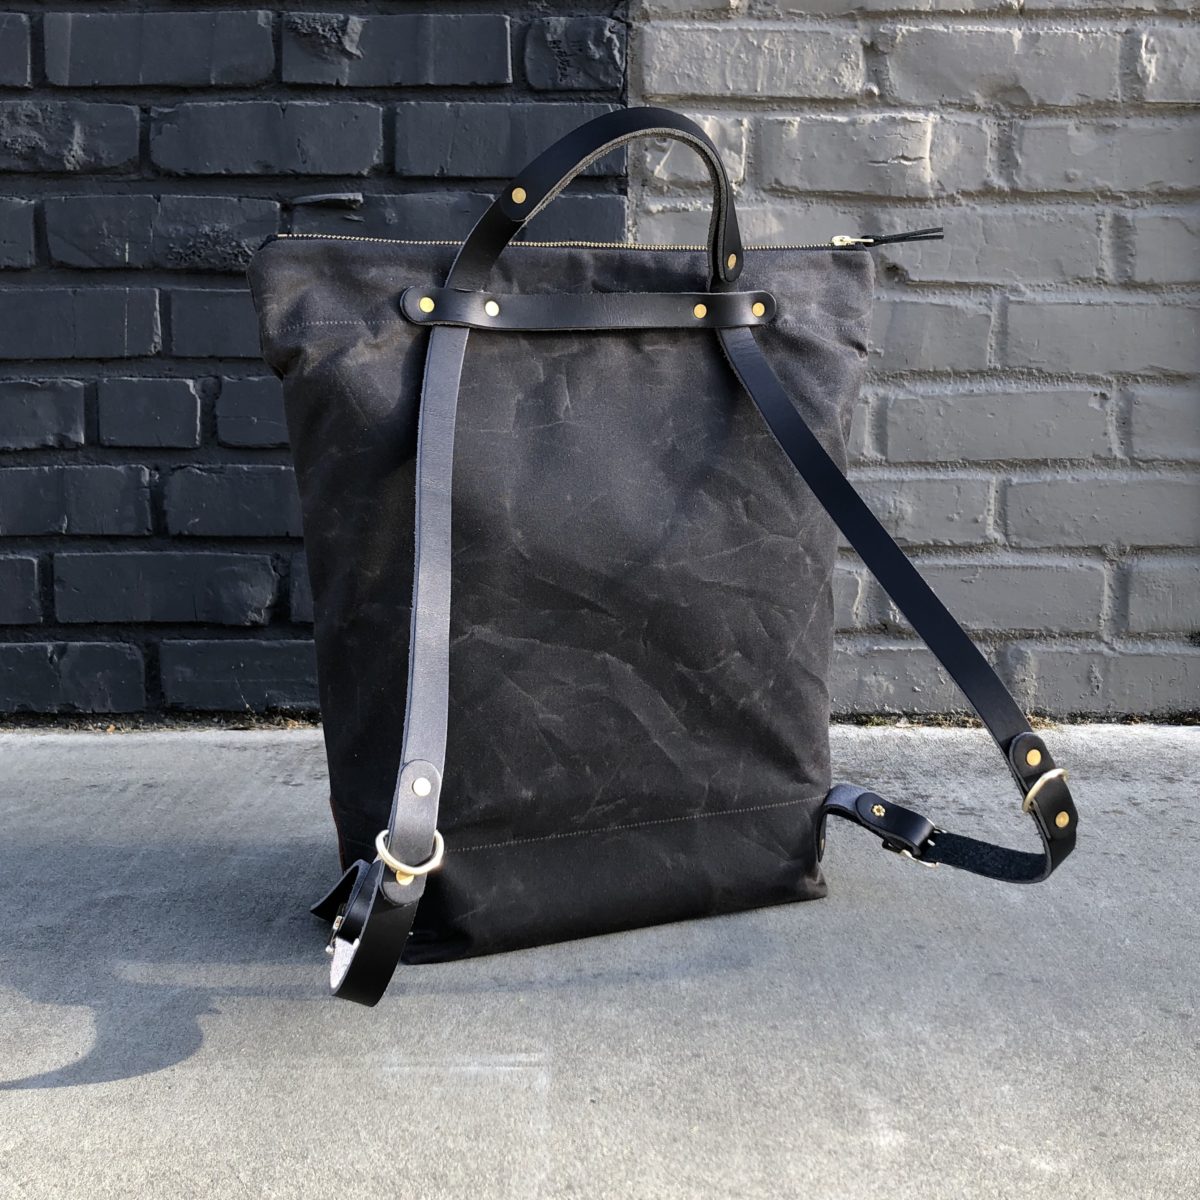
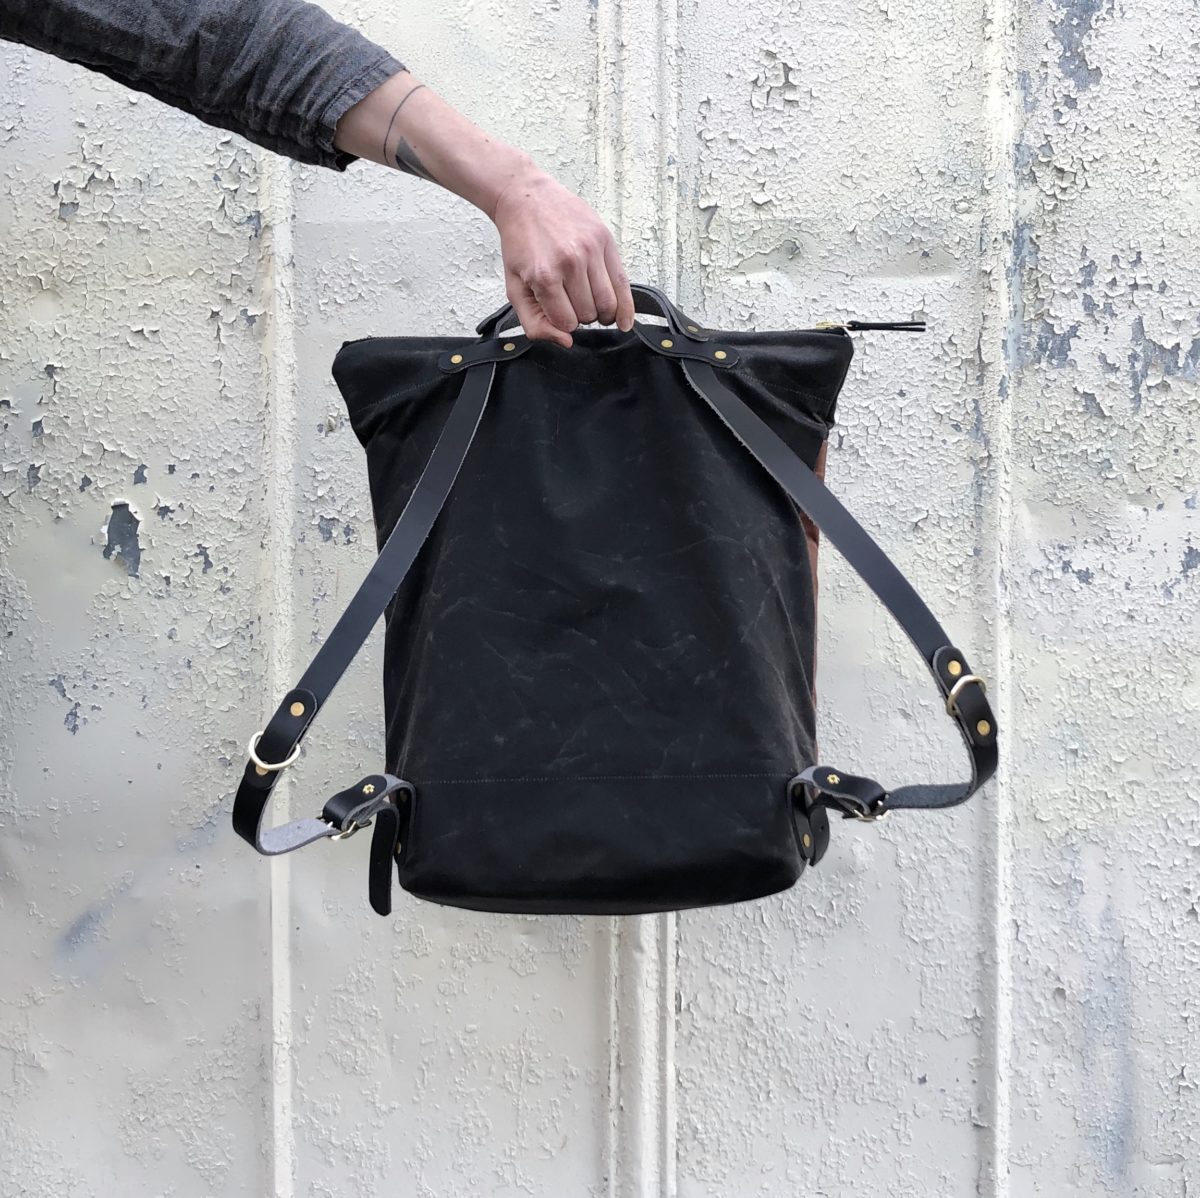
Here’s the coolest part of this bag – its versatility. Prefer to carry the day’s load at your side, it does that. Want to carry your stuff on your back, no problem. With a simple tuck and pull, the Maywood converts from a tote into a backpack. So clever!
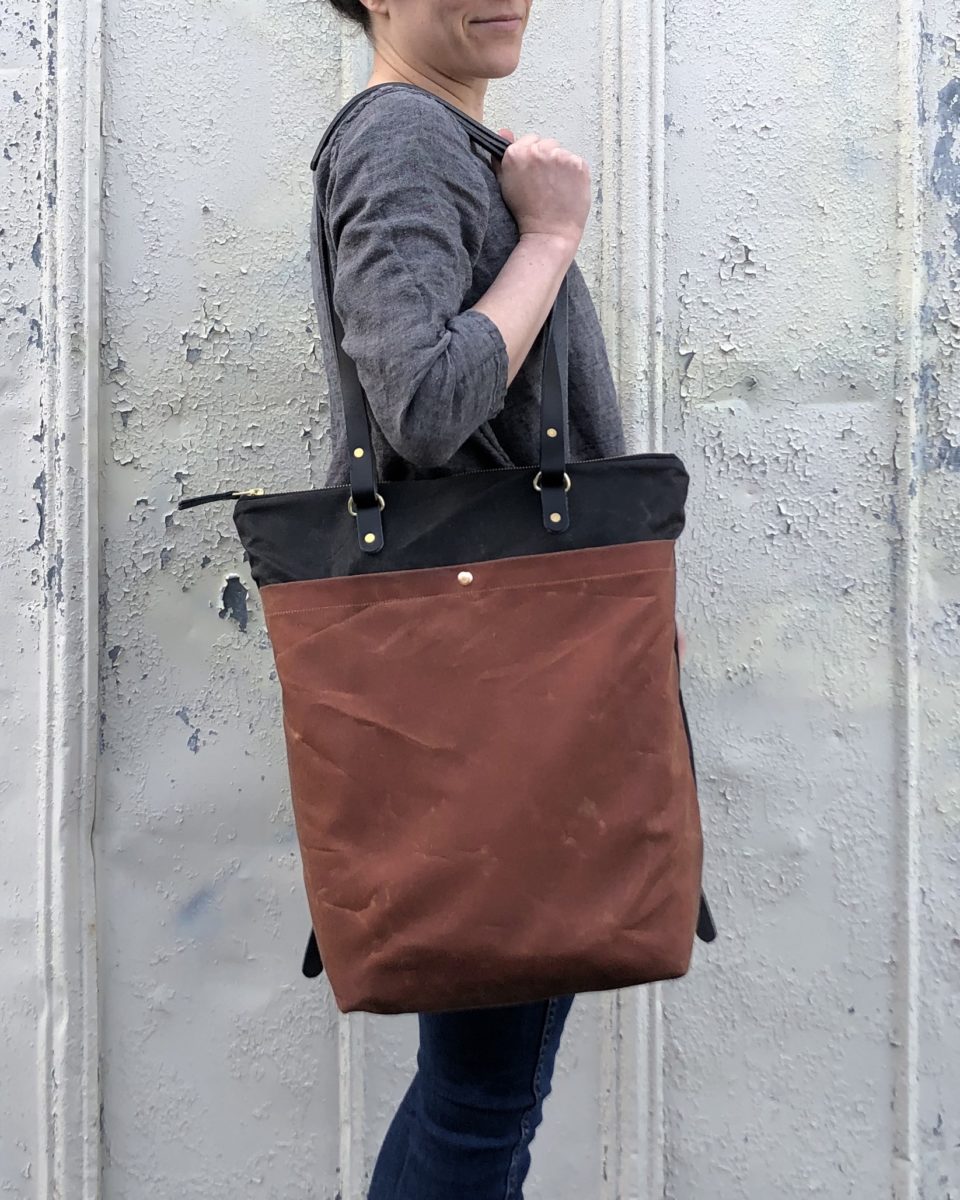
I’m very happy with this make and am contemplating making a matching Fremont Tote for a slick travel set.
Remember there’s a discount code that’s good until April 22, if you want to make the Maywood too! The discount code MAKEMAYWOOD will take 10% off the purchase of any Maywood products.
Click here to shop Maywood!
Disclosure: I received the Maywood Maker Kit for free but all thoughts and opinions are my own. If you use the above link to purchase a Maywood product, I will receive a small commission from the sale with no change in cost to you.
Thanks so much for this and your other excellent reviews. Your many beautiful makes are very inspiring. So inspiring that I bought this kit, am about to start it and re-reading your advice for courage. LOL Instagram is great, but blogging is forever!
Thanks so much for this review, this seems like a perfect combination of tote and backpack. Used your code to purchase a kit!
Happy making!
So cool! Just a few weeks ago I bought a similar style tote/backpack from Fjallraven and I love it. Makes me want to make this pattern, but I don’t really need two.