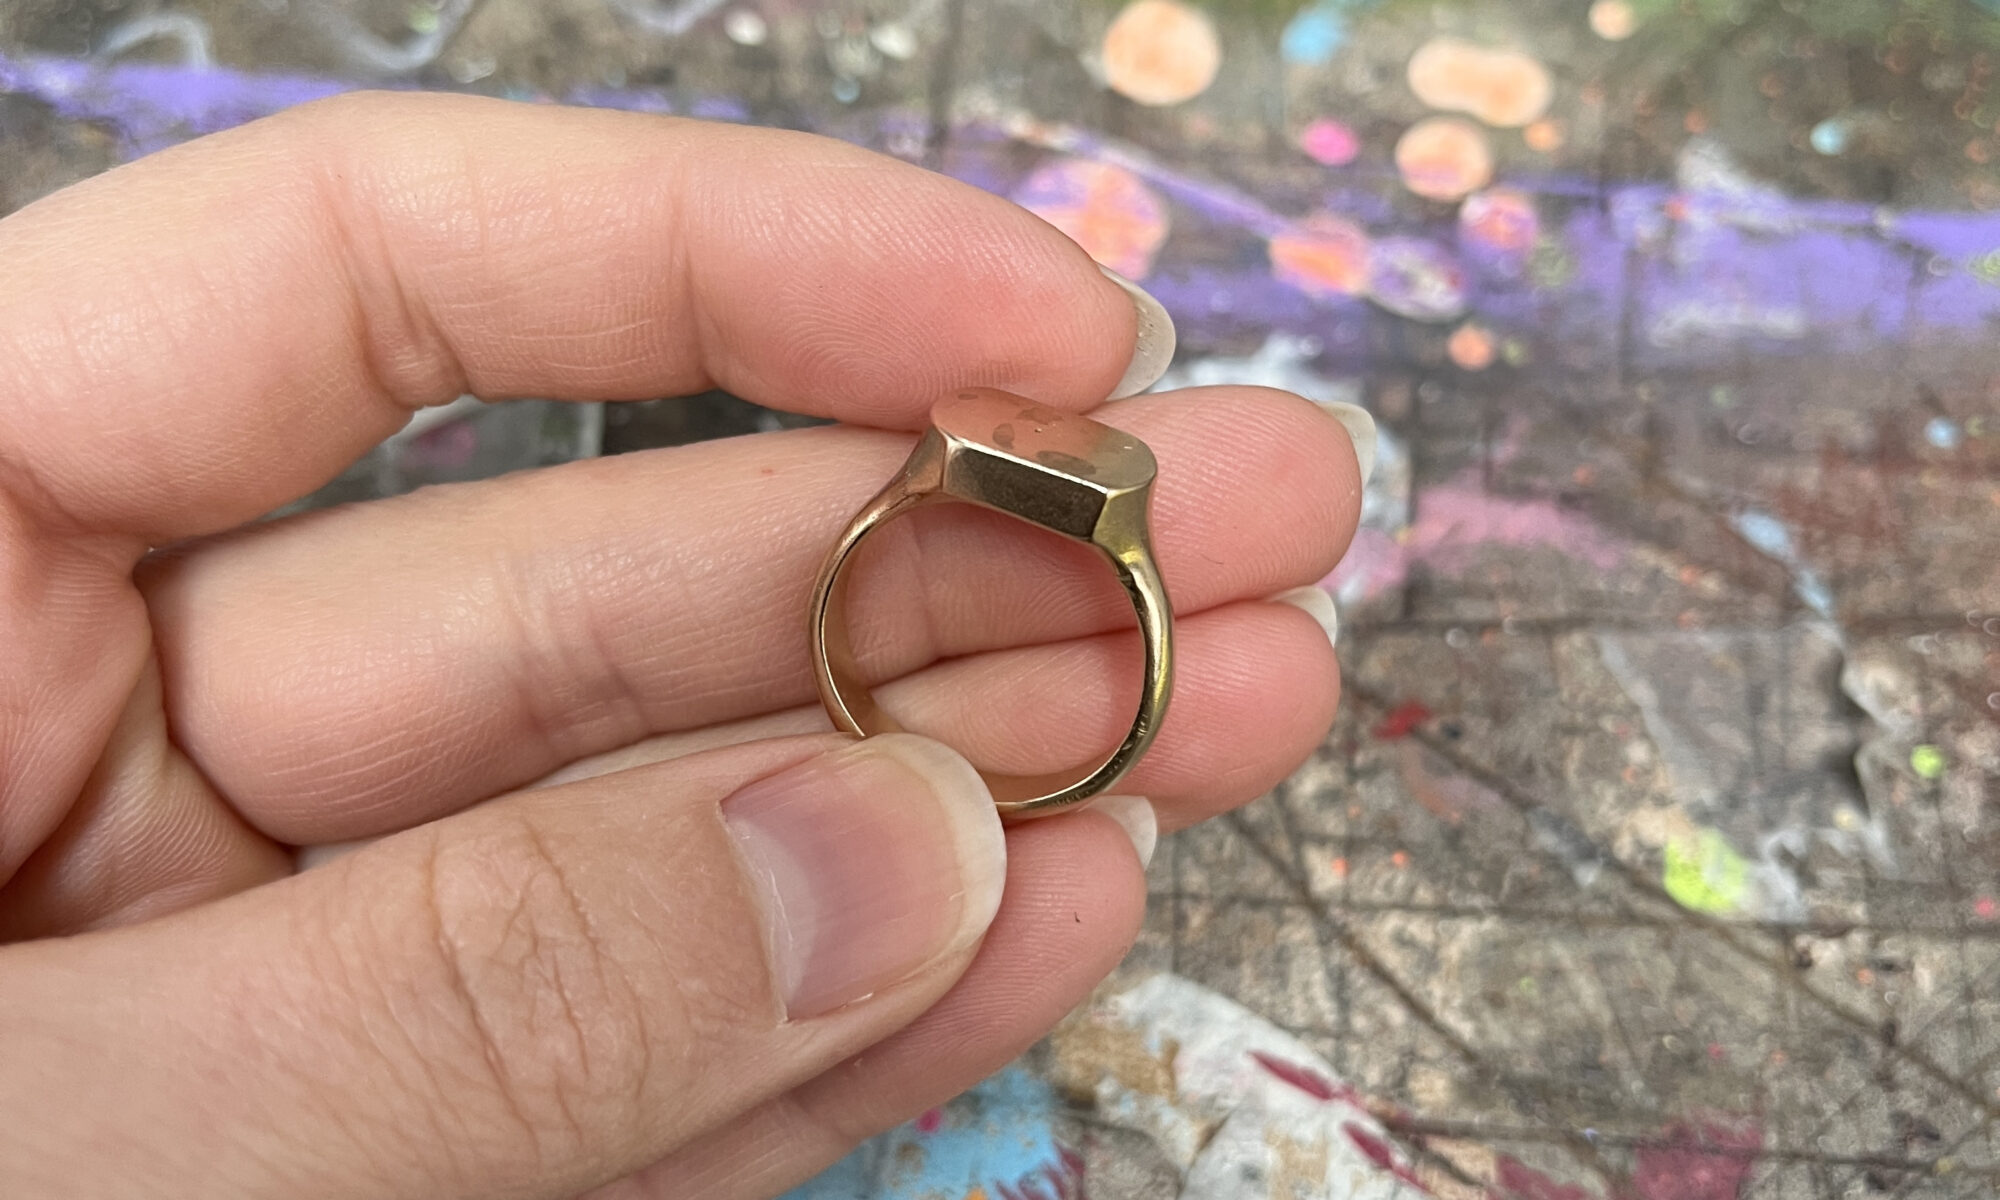
I’ve taken a couple jewelry classes over the years, but had never tried lost wax casting. Wildcraft offers a two-day ring workshop hosted by Arielle Brackett that is such a good peek into the process. On day one of the workshop, we started with a piece of jeweler’s wax, which we carved into our desired shape and used a special wax cutting mandrel to size them. I wanted to create a simple signet ring that started off round, but then on a whim I shaved off the top and bottom. I’m glad I did because I think it turned into a pretty fun design.
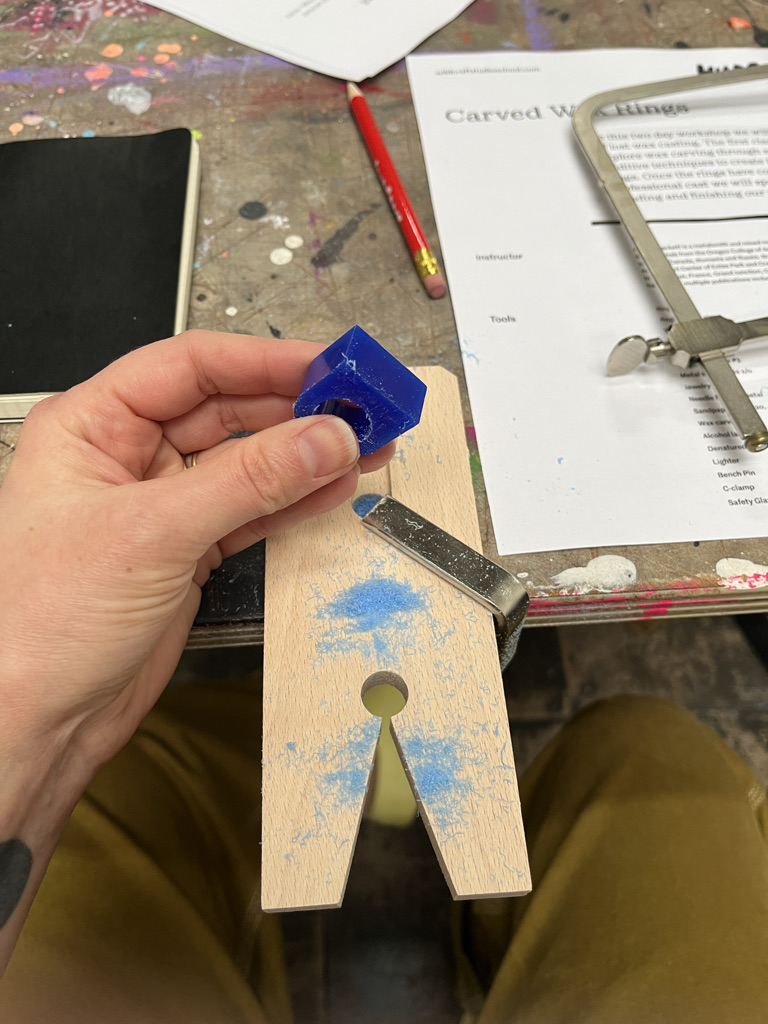
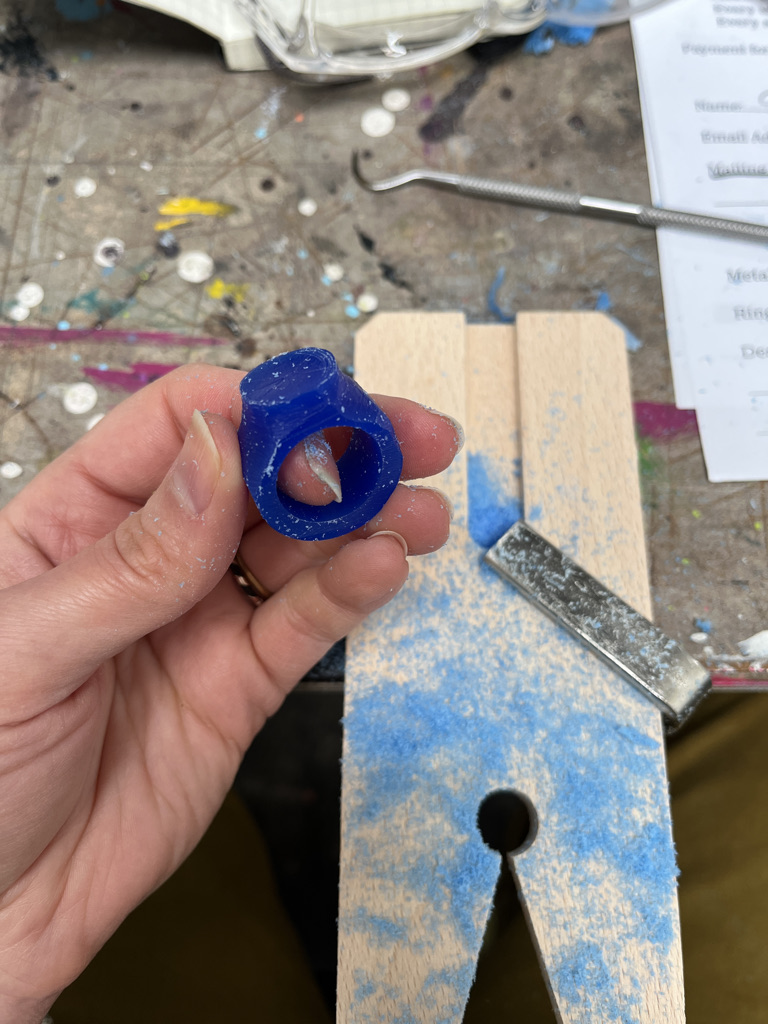
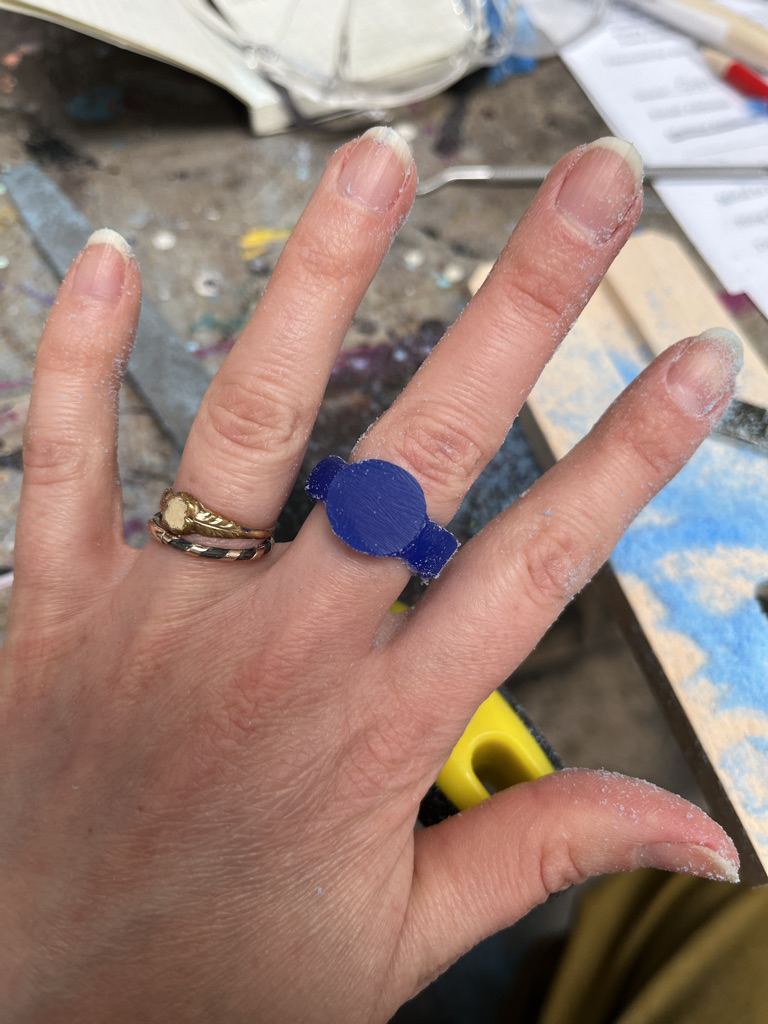
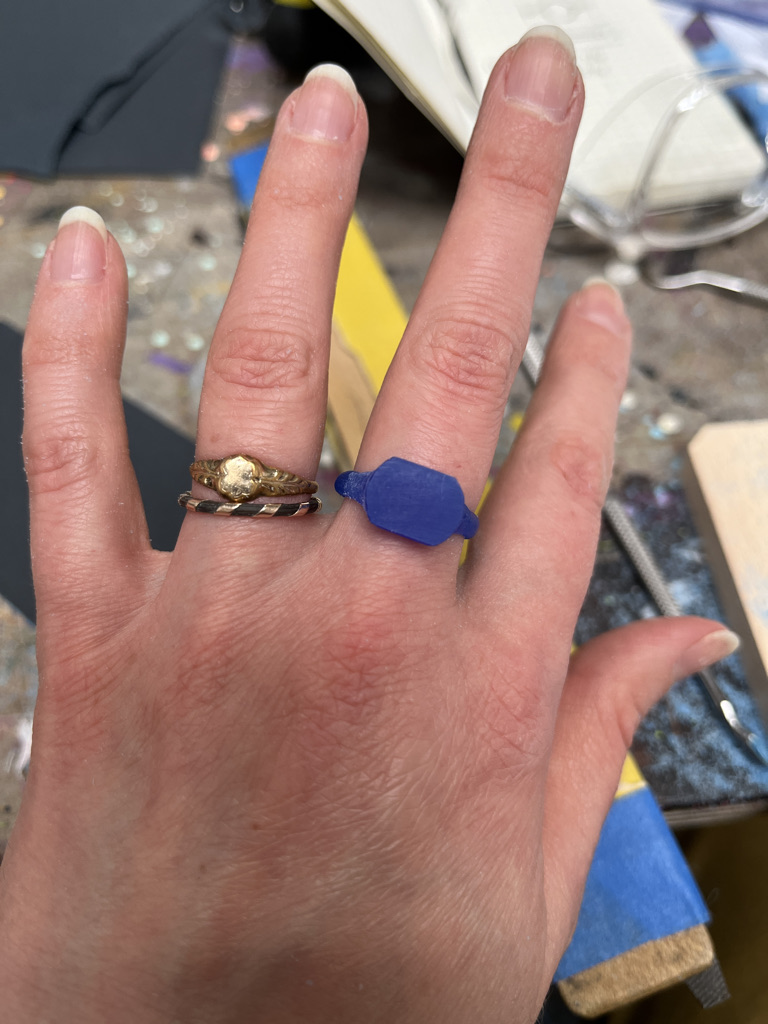
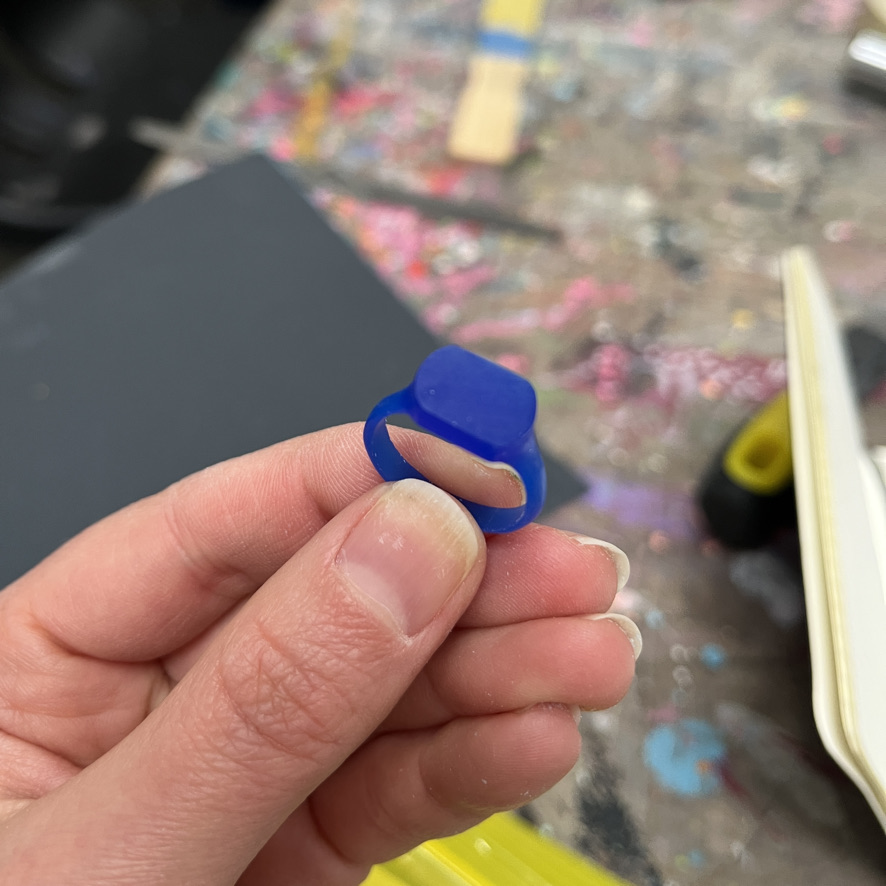
Arielle showed us how to add different textures and prep the wax so that we’d have the least amount of filing and sanding to do once it was cast in bronze. Our rings were then sent away for casting at Tiny Desk Customs. Another local option is Castaway. This process took a couple months and it was hard to wait! The actual casting step of the process is still a mystery to me.
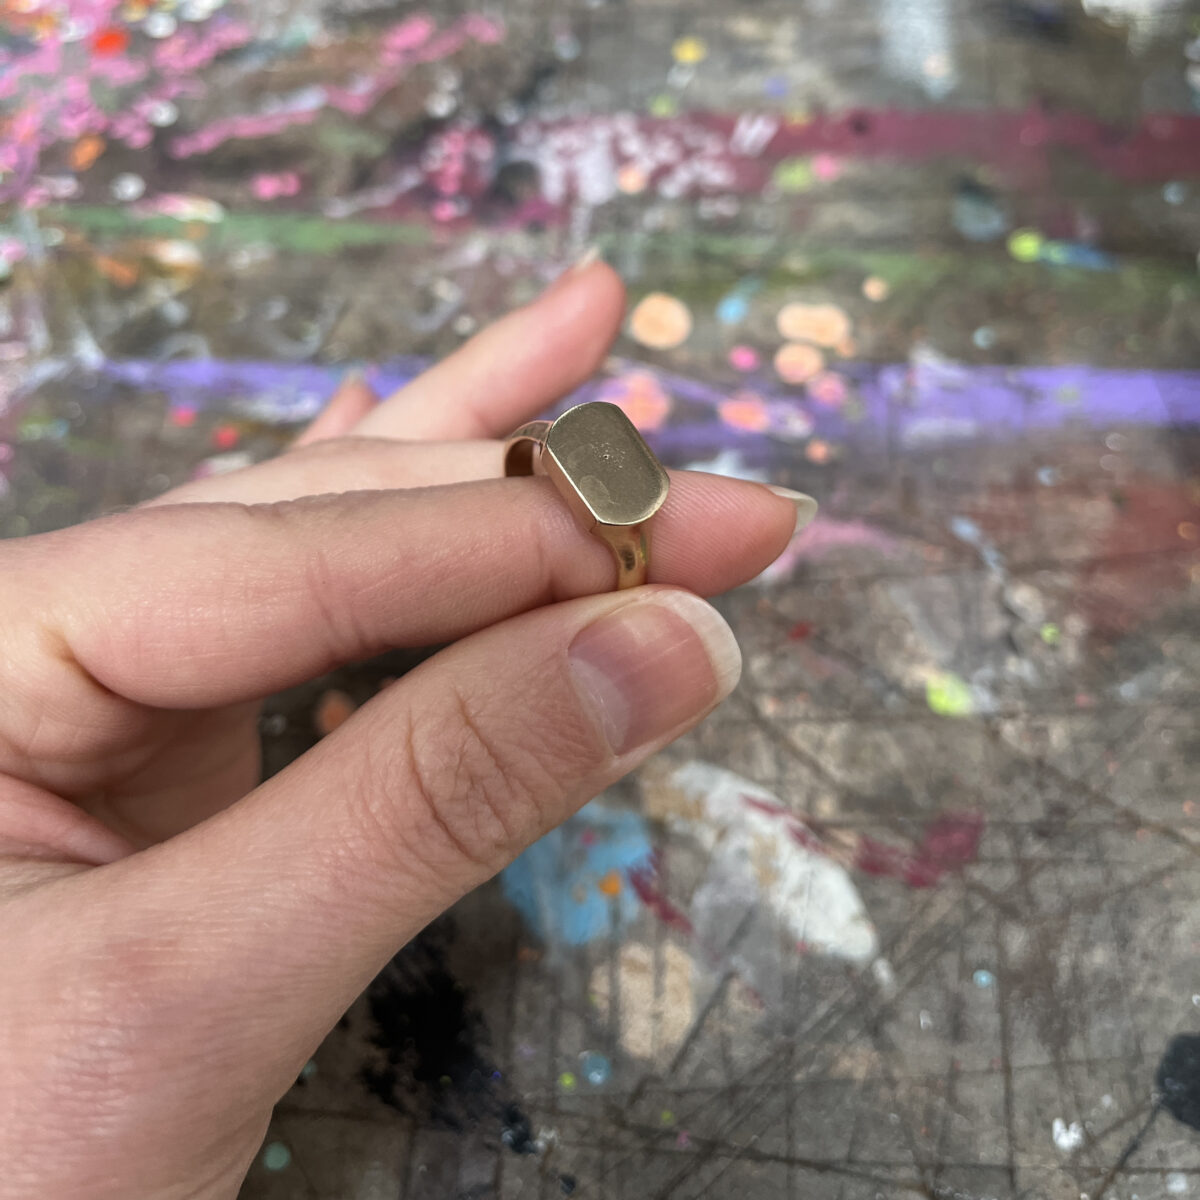
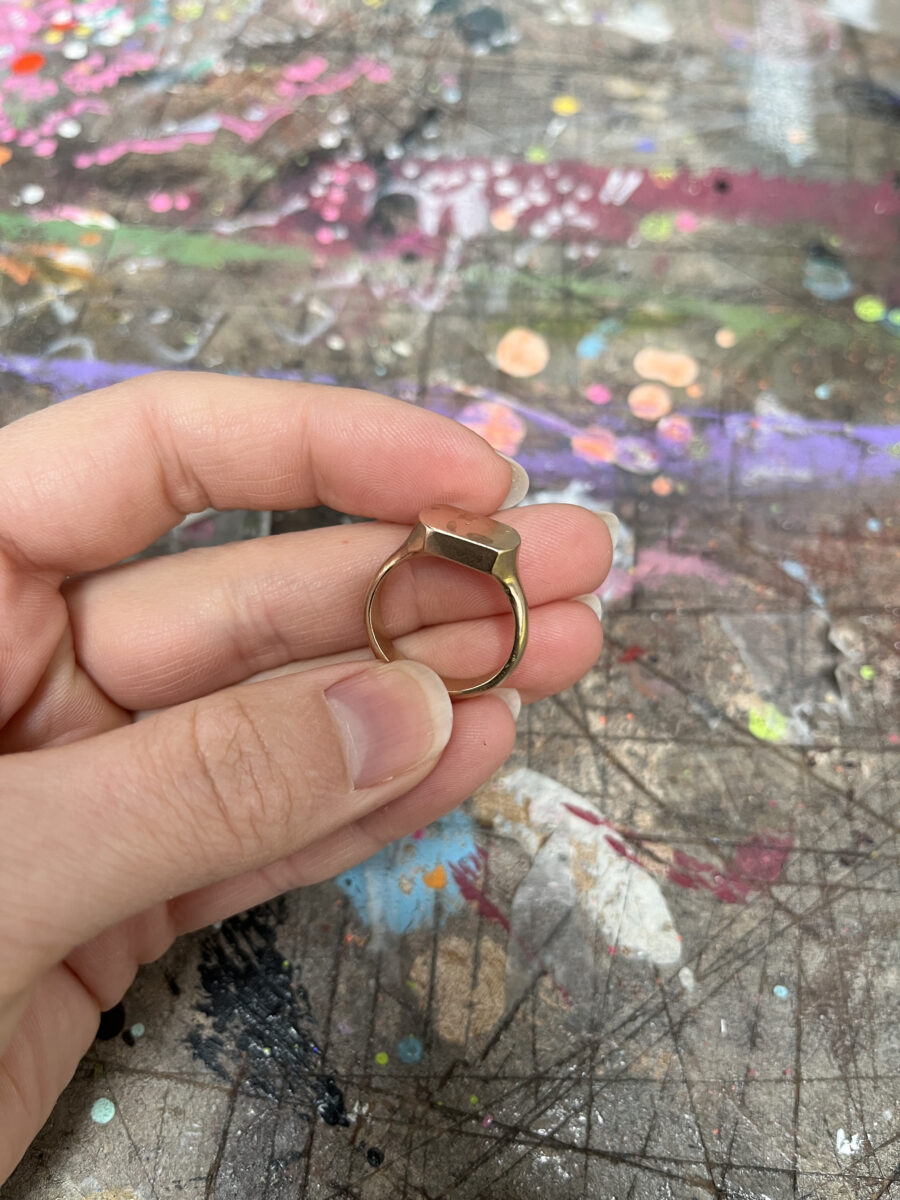
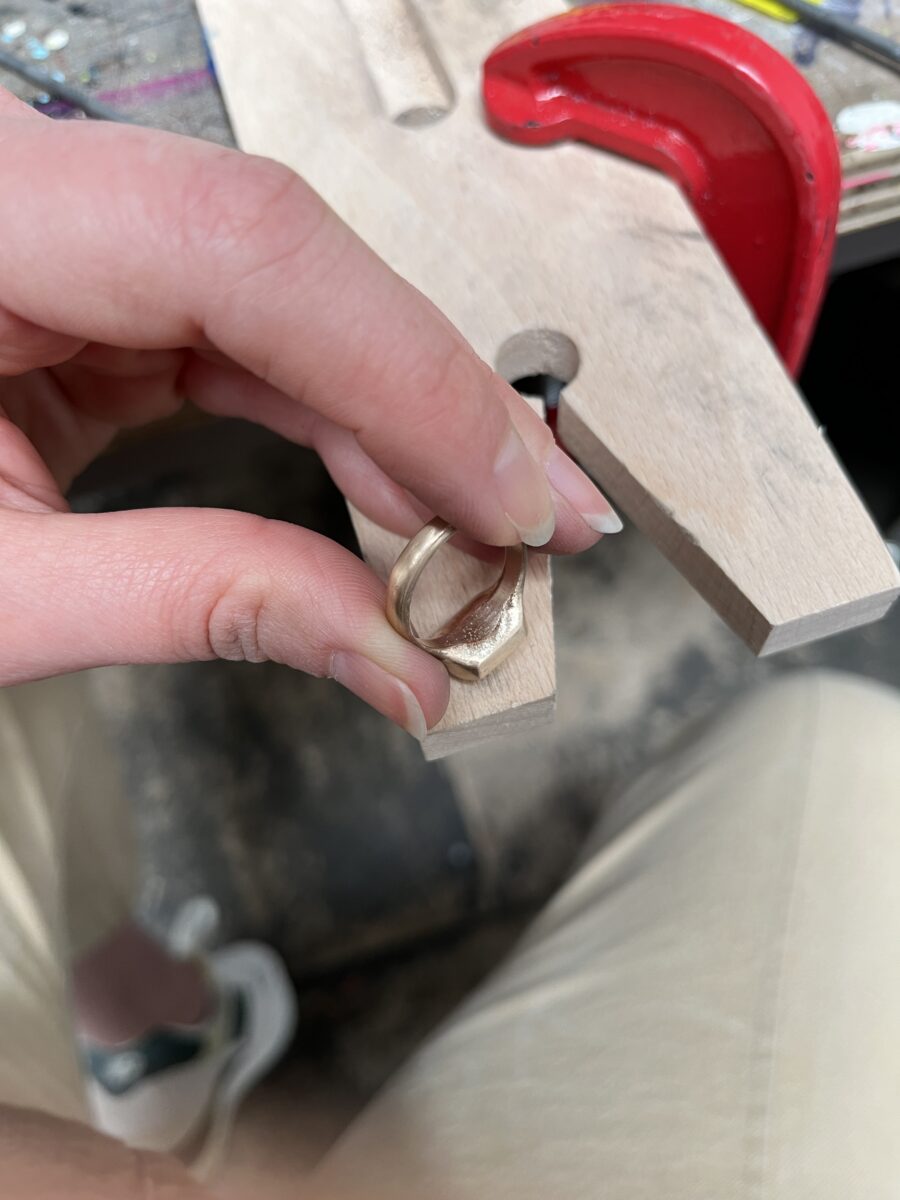
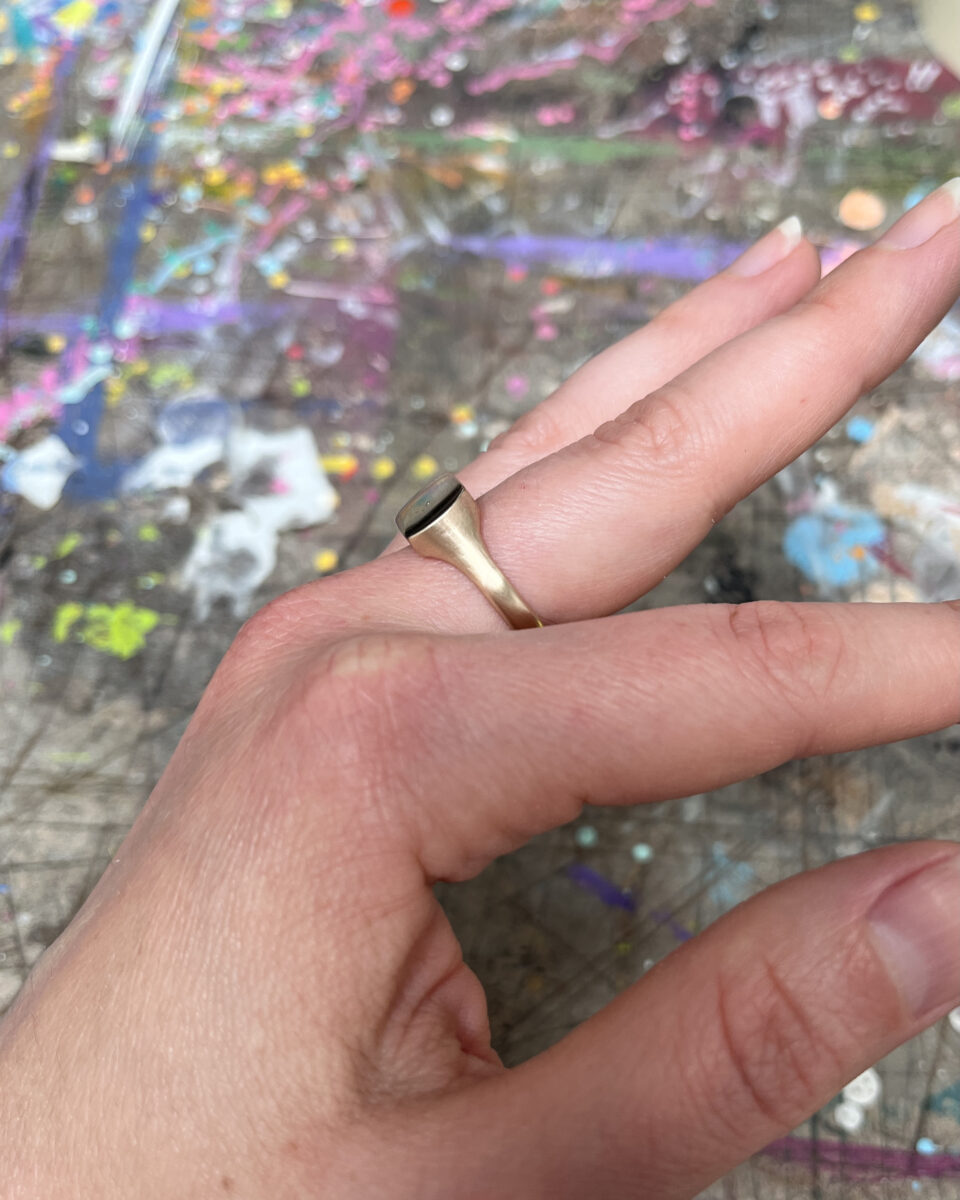
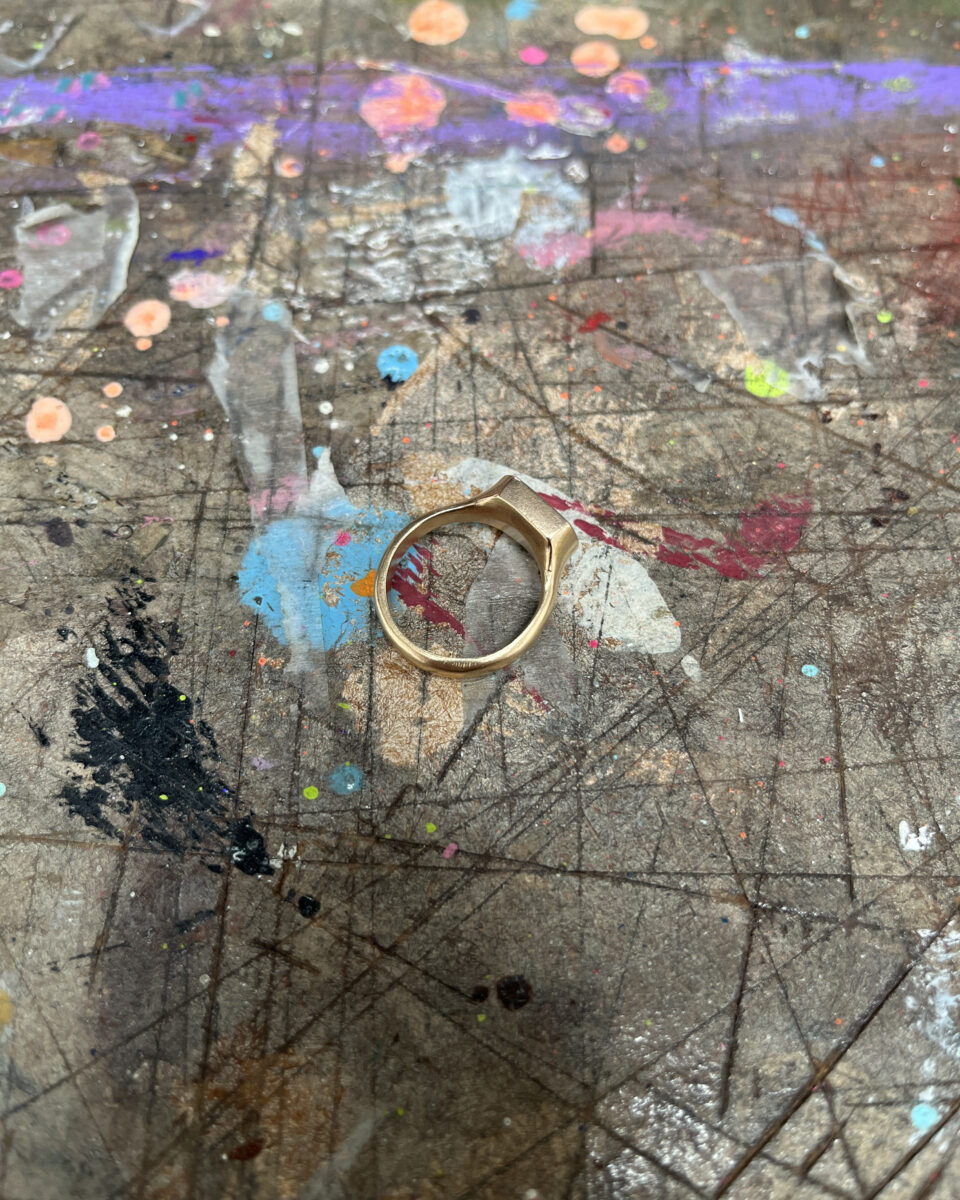
On the second date of the workshop we received our rings. They were already somewhat finished for us, like the sprue had already been sawed off, but we needed to create the satin finish through filing and sanding.
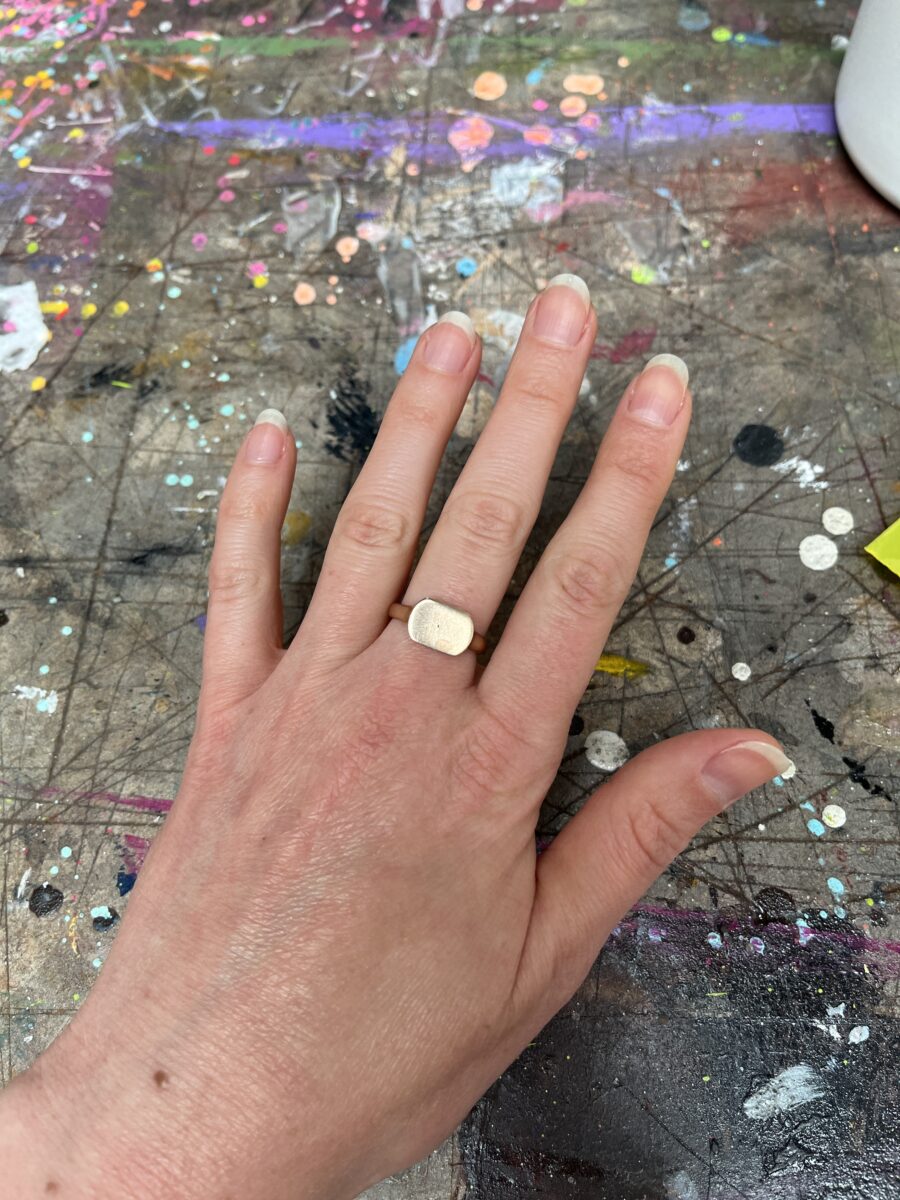
I am a little bummed that the face of my ring has a tiny hole in it. Arielle said that this sometimes happens and it’s best to leave it alone because there’s no way to know how far down that bubble goes. Other than that, I am pleased with my ring!
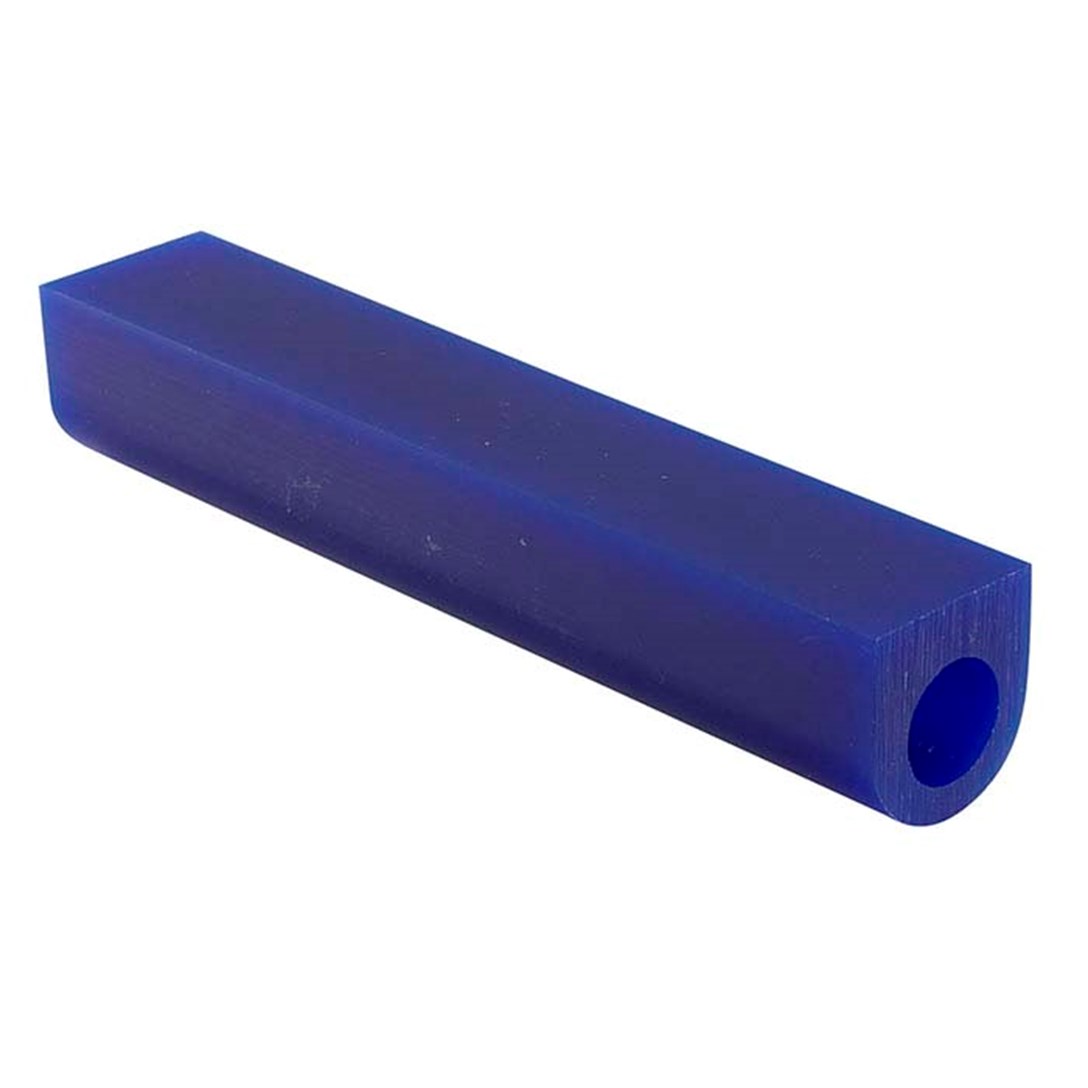
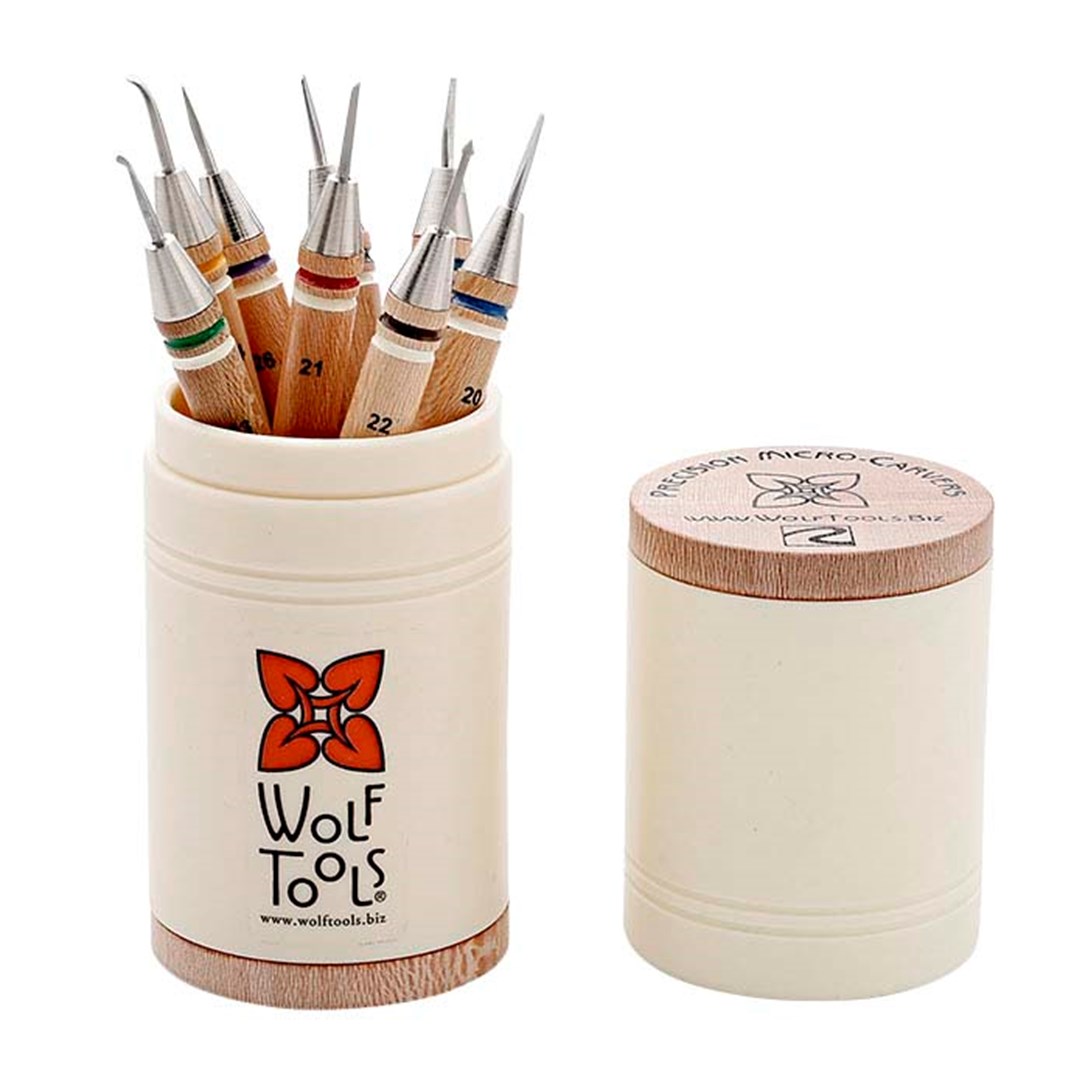
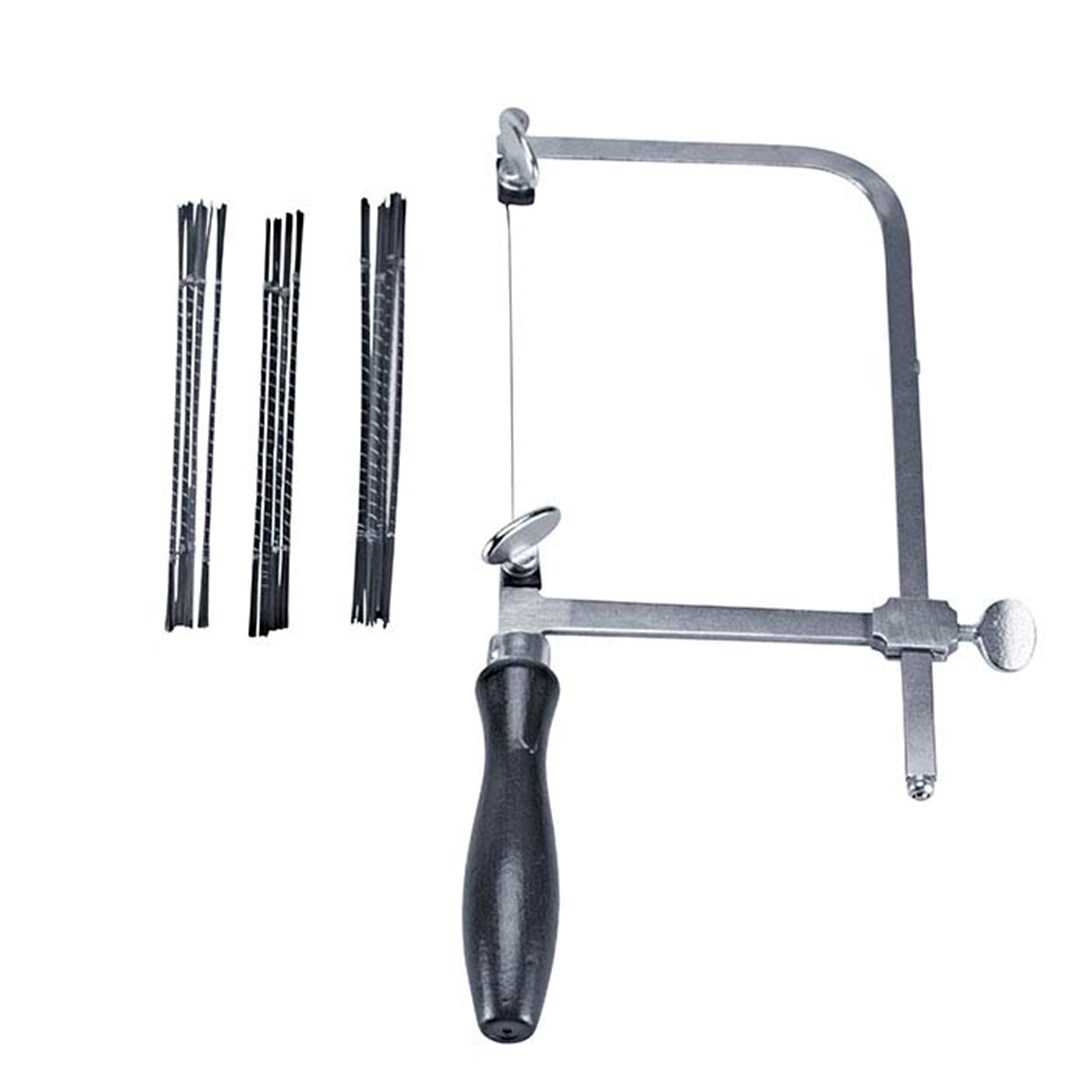
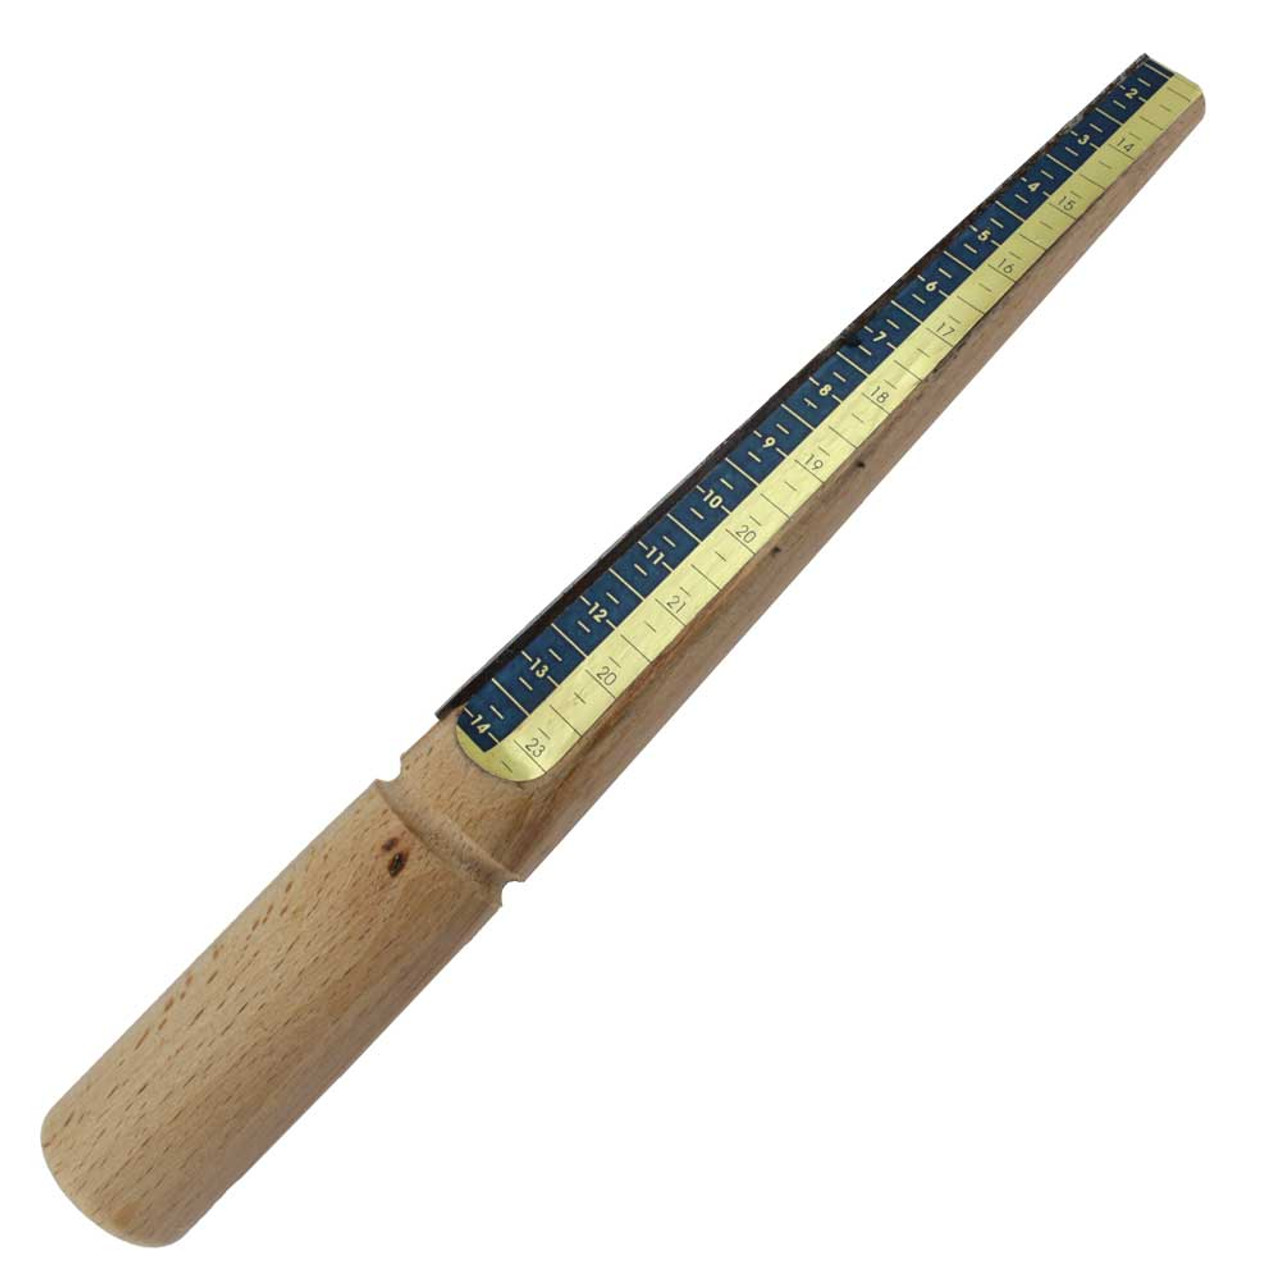
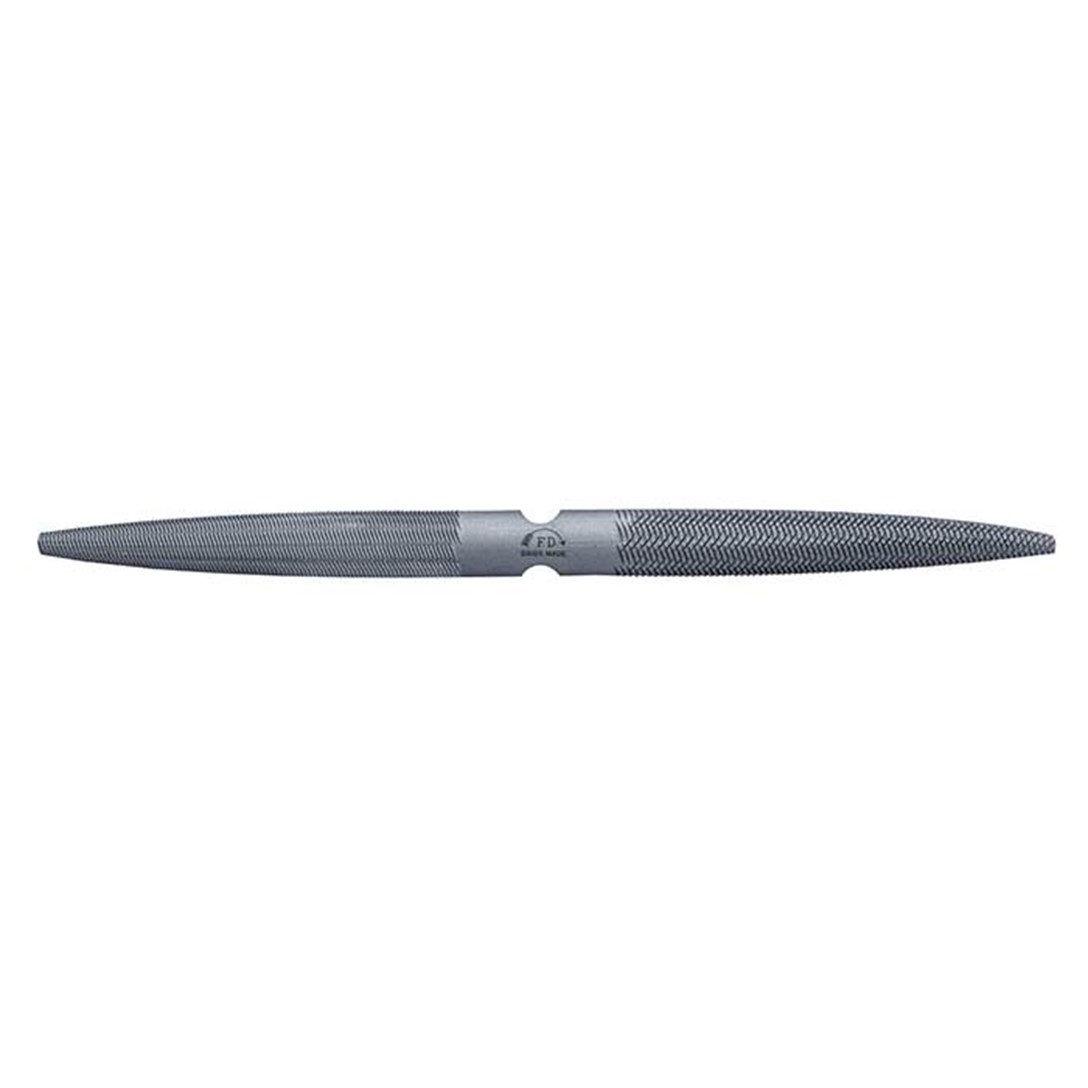
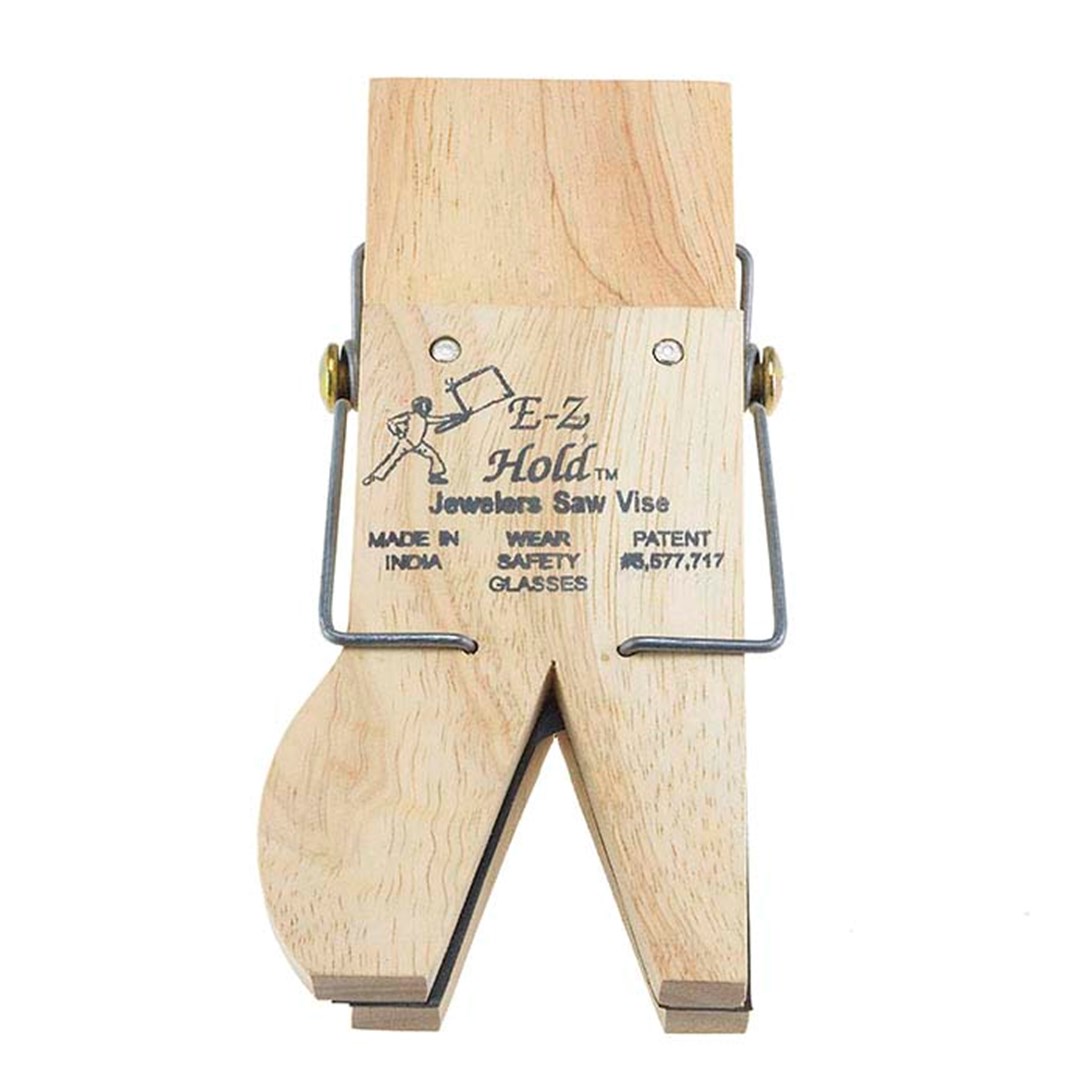
And now for a list of supplies if I ever want to attempt this at home:
- Matt™ Blue Wax Ring Tube, Flat-Top, Center Hole
- Wolf Tools “Wicked Sharp” Micro Wax Carving Tools, Set of 8
- High-Quality German Spiral Wax Saw Blades (not sure which size) and saw frame.
- Wax Ring Tube Sizer
- Friedrich Dick Double-End Hand Wax File, Coarse and Fine
- EZ Hold Spring-Loaded Bench Pin, 2″L x 3″W
